*** This version of Confluence is for testing only and contains a copy of content from June 29th 2026. No changes will be preserved. ***

 user-27d2e, last updated by user-3cacb on May 12, 2008
5 minute read
user-27d2e, last updated by user-3cacb on May 12, 2008
5 minute read
cloak.toggle.exclusive=false
In order to bridge the gap between previous and new members of the team that need to learn Process Controller for the AguaClara experiments, the Tube Flocculator team (07-08) has created a series of tutorials and exercises to learn the basic and more complicated tools of the software.
In order to be able to work with Process Controller, you must understand where everything is located within the user interface. Open Process Controller (PC) and follow the tutorial to learn the basics. Hover the mouse over the buttons for descriptions.
This is the configuration tab of the PC interface. There are three other tabs, but this is the main tab to open, save, and edit PC method files. A method file is when you write a specific program to make PC run an experiment and save it as its own file.
null
Click on this button to open any previous method files. You might have to navigate your way to the folder that has the saved method files. The tutorial files are saved on the AguaClara server/AguaClara Team Folders/Research and Development/Tube Floc/Tutorial.
null
If you have been working on the method file and want to save changes, click on this button. It will ask you to either rename the file, or click on the previous file to override the saved changes. This allows you to "save as" without changing an old file.
null
If you are running an experiment in the lab, make sure to put your name and email address in the correct boxes. Process Controller will email you automatically if the experiment shuts off due to an extreme change of pressure that you may have set in your program. Additionally, if there is a leak or problem with the setup in the laboratory, someone else in the lab can easily see who is running the experiment and email you.
null
When you are measuring a parameter such as temperature, turbidity, or pH, the data is outputted to excel files where you direct PC to drop them. The datalog files are set to be named by the current datte you are running the experiment. You must dictate where you want the datalog path. Click on the open folder button next to the datalog path name and you can navigate to a folder that you want the data files to be saved under. It can be a new folder with the current date, or one folder where all your files are located. Once you have the currect folder, click "Current Folder" on the screen and this folder will show up in the datalog path. Note: It is important that you make sure this is the correct folder whenever you run a new experiment, or else results from different experiments can mesh together in the same file if you run it in the same day.
null
In order to run a program, you need set points, rules and states that will tell PC what to do. These are all changed in another window that is opened when you select "Edit Rules" on the configuration tab. Edit rules will be discussed more in depth in the next Tutorial.
null
In this excercise, you will be creating your own PC method file to which you will make future changes to in future excercises.
Hint: It would be helpful if under your netID folder, you had a folder heirarchy such as Process Controller>Methods and Process Controller>Data to save the method and to save the datalogs respectively.
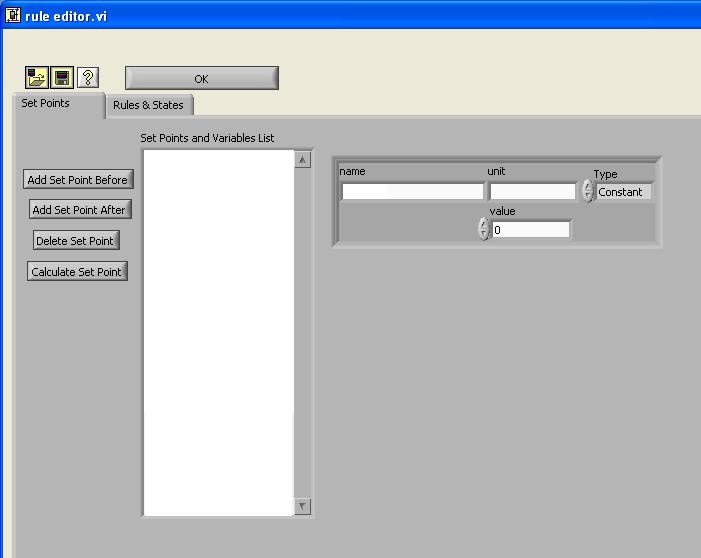
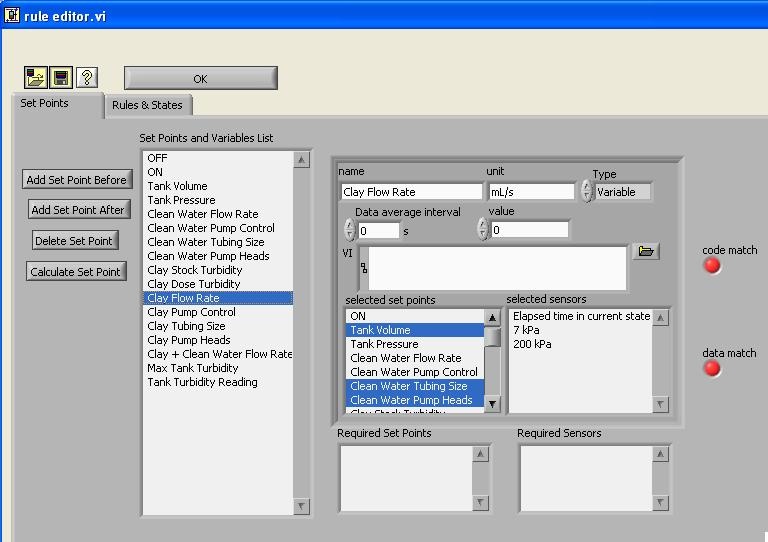
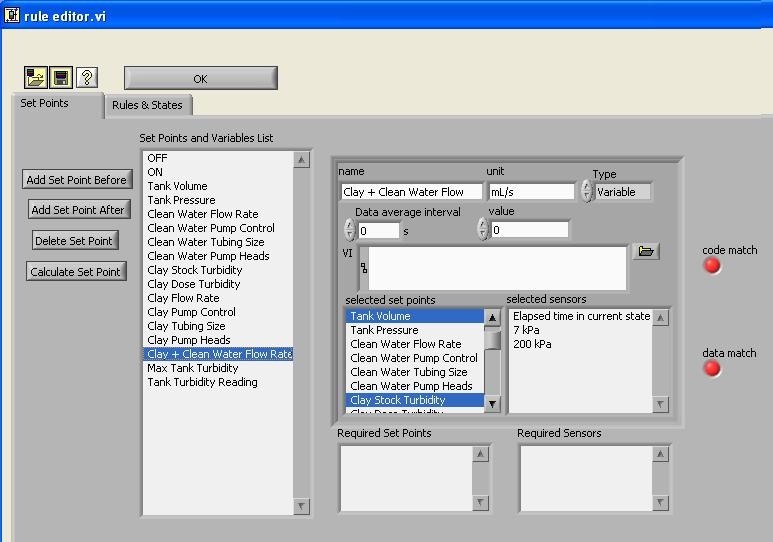
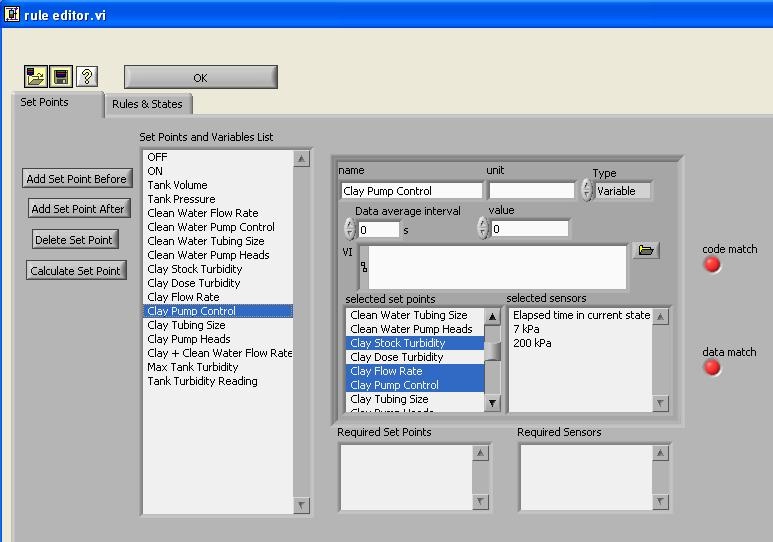
In this tutorial, you will learn how to use "Edit Rules" configuration. Once you click the edit rules button, a dialog box will pop-up. The default of the interface is on the Set Points tab.
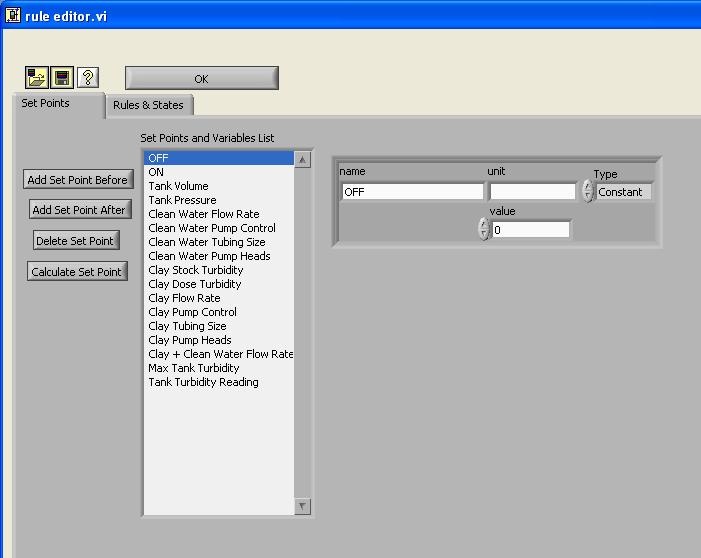
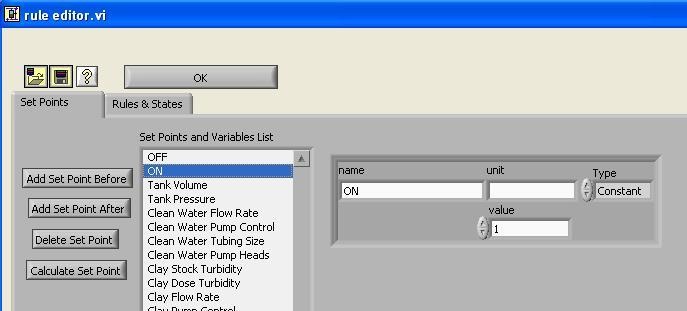
The first step that you need to do is to add a new set point by clicking "Add Set Point" button. ON and OFF set points are added and set for 1 and 0, respectively.
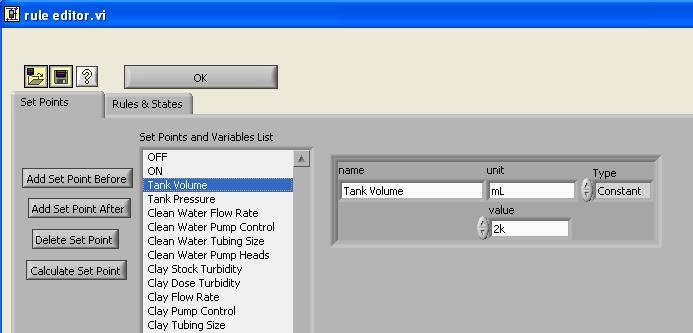
As you can see in the column, other important set points are added, depending on the experiments that are going to be conducted. The Tube Floc team is mostly dealing with alum and clay concentration, therefore, it is important to include set points for these components. The type is set as constant, such as the tank volume, tubing size, stock concentration, etc and others are set as variable, which allow the set point to be adjusted according to the other conditions. Examples are shown below:
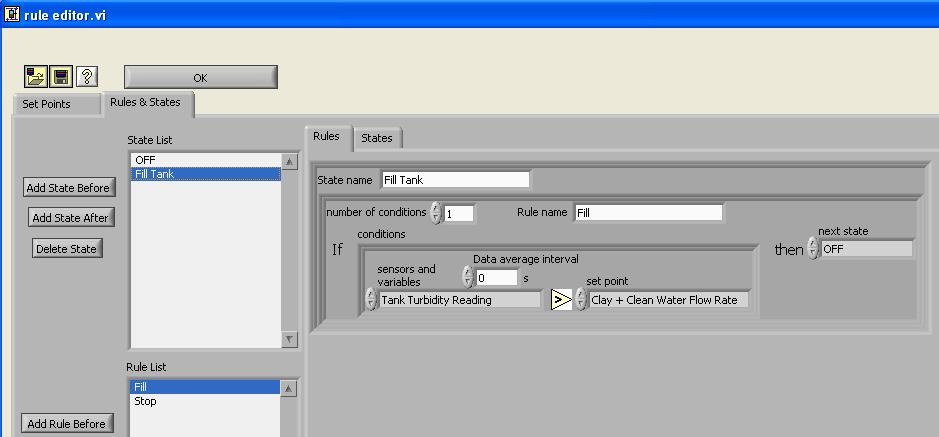
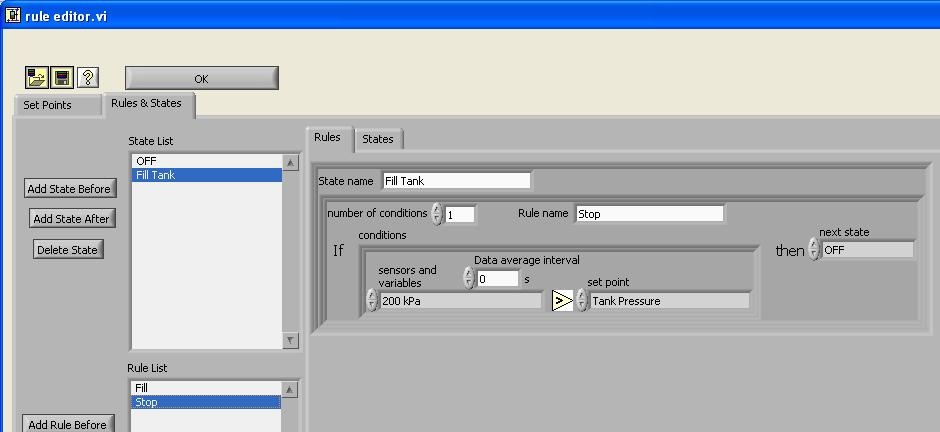
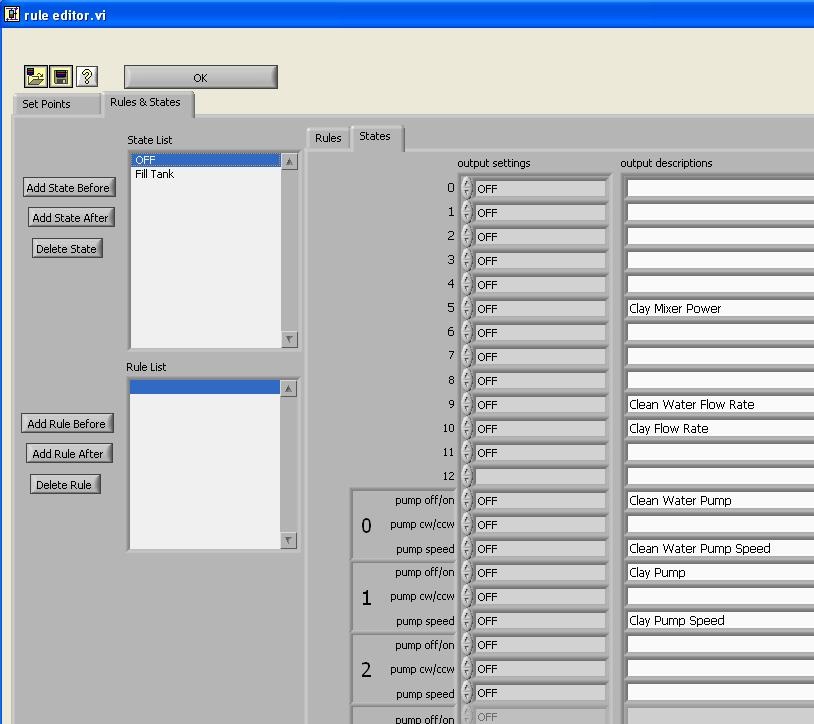
Some examples set for Rules & States that will be exposed in details in next tutorial
Blah
It is the winter, it's cold, and you want to warm up with a cup of cafe cocoa. In order to make the perfect cup, you need to add in the right mixture of coffee and hot cocoa. Here are some directions in order to make your perfect cup: