Link to the google doc version: https://docs.google.com/document/d/10mJzJUvUKSlWoK7e-n8yJ-766NdSm0LfIWmDjoRTBQ8/edit
Access infant-mongo-db & Data Pipeline:
Any user on the access list can add or remove users
[root@cbsujohnson ~]# docker1 access list
Container UserID
infant-mongo-db ad596
infant-mongo-db sw835
infant-mongo-db ap689
[root@cbsujohnson ~]#
To add or remove users, use the command:
[root@cbsujohnson docker]# docker1 access
docker1 access list
prints current access list
docker1 access remove <container name> <user id>
Removes access for <user id> to <container name>
docker1 access add <container name> <user id>
Adds access for <user id> to <container name>
3. Steps to get access to the data pipeline
docker1 run \
--volume "/workdir/yournetid/get_colors:/home/jovyan/work" \
-p 8031:8888 \
--env "GRANT_SUDO=yes" \
--env "PATH=/opt/conda/bin:/usr/local/sbin:/usr/local/bin:/usr/sbin:/usr/bin:/sbin:/bin" \
--env "DEBIAN_FRONTEND=noninteractive" \
--env "CONDA_DIR=/opt/conda" \
--env "SHELL=/bin/bash" \
--env "NB_USER=jovyan" \
--env "NB_UID=1000" \
--env "NB_GID=100" \
--env "LC_ALL=en_US.UTF-8" \
--env "LANG=en_US.UTF-8" \
--env "LANGUAGE=en_US.UTF-8" \
--env "HOME=/home/jovyan" \
--env "XDG_CACHE_HOME=/home/jovyan/.cache/" \
--label "maintainer"="Jupyter Project " \
--interactive \
"jupyter/tensorflow-notebook:20221209" \
"start-notebook.sh"
You will see a token like this: http://127.0.0.1:8888/lab?token=c7007fb9f1a6aea3c4685328c35741c968d2e24e8821ce2d
Add the highlighted part of the token to:
http://cbsujohnson.biohpc.cornell.edu:8031/lab?token=XXX
In this case, it would be:
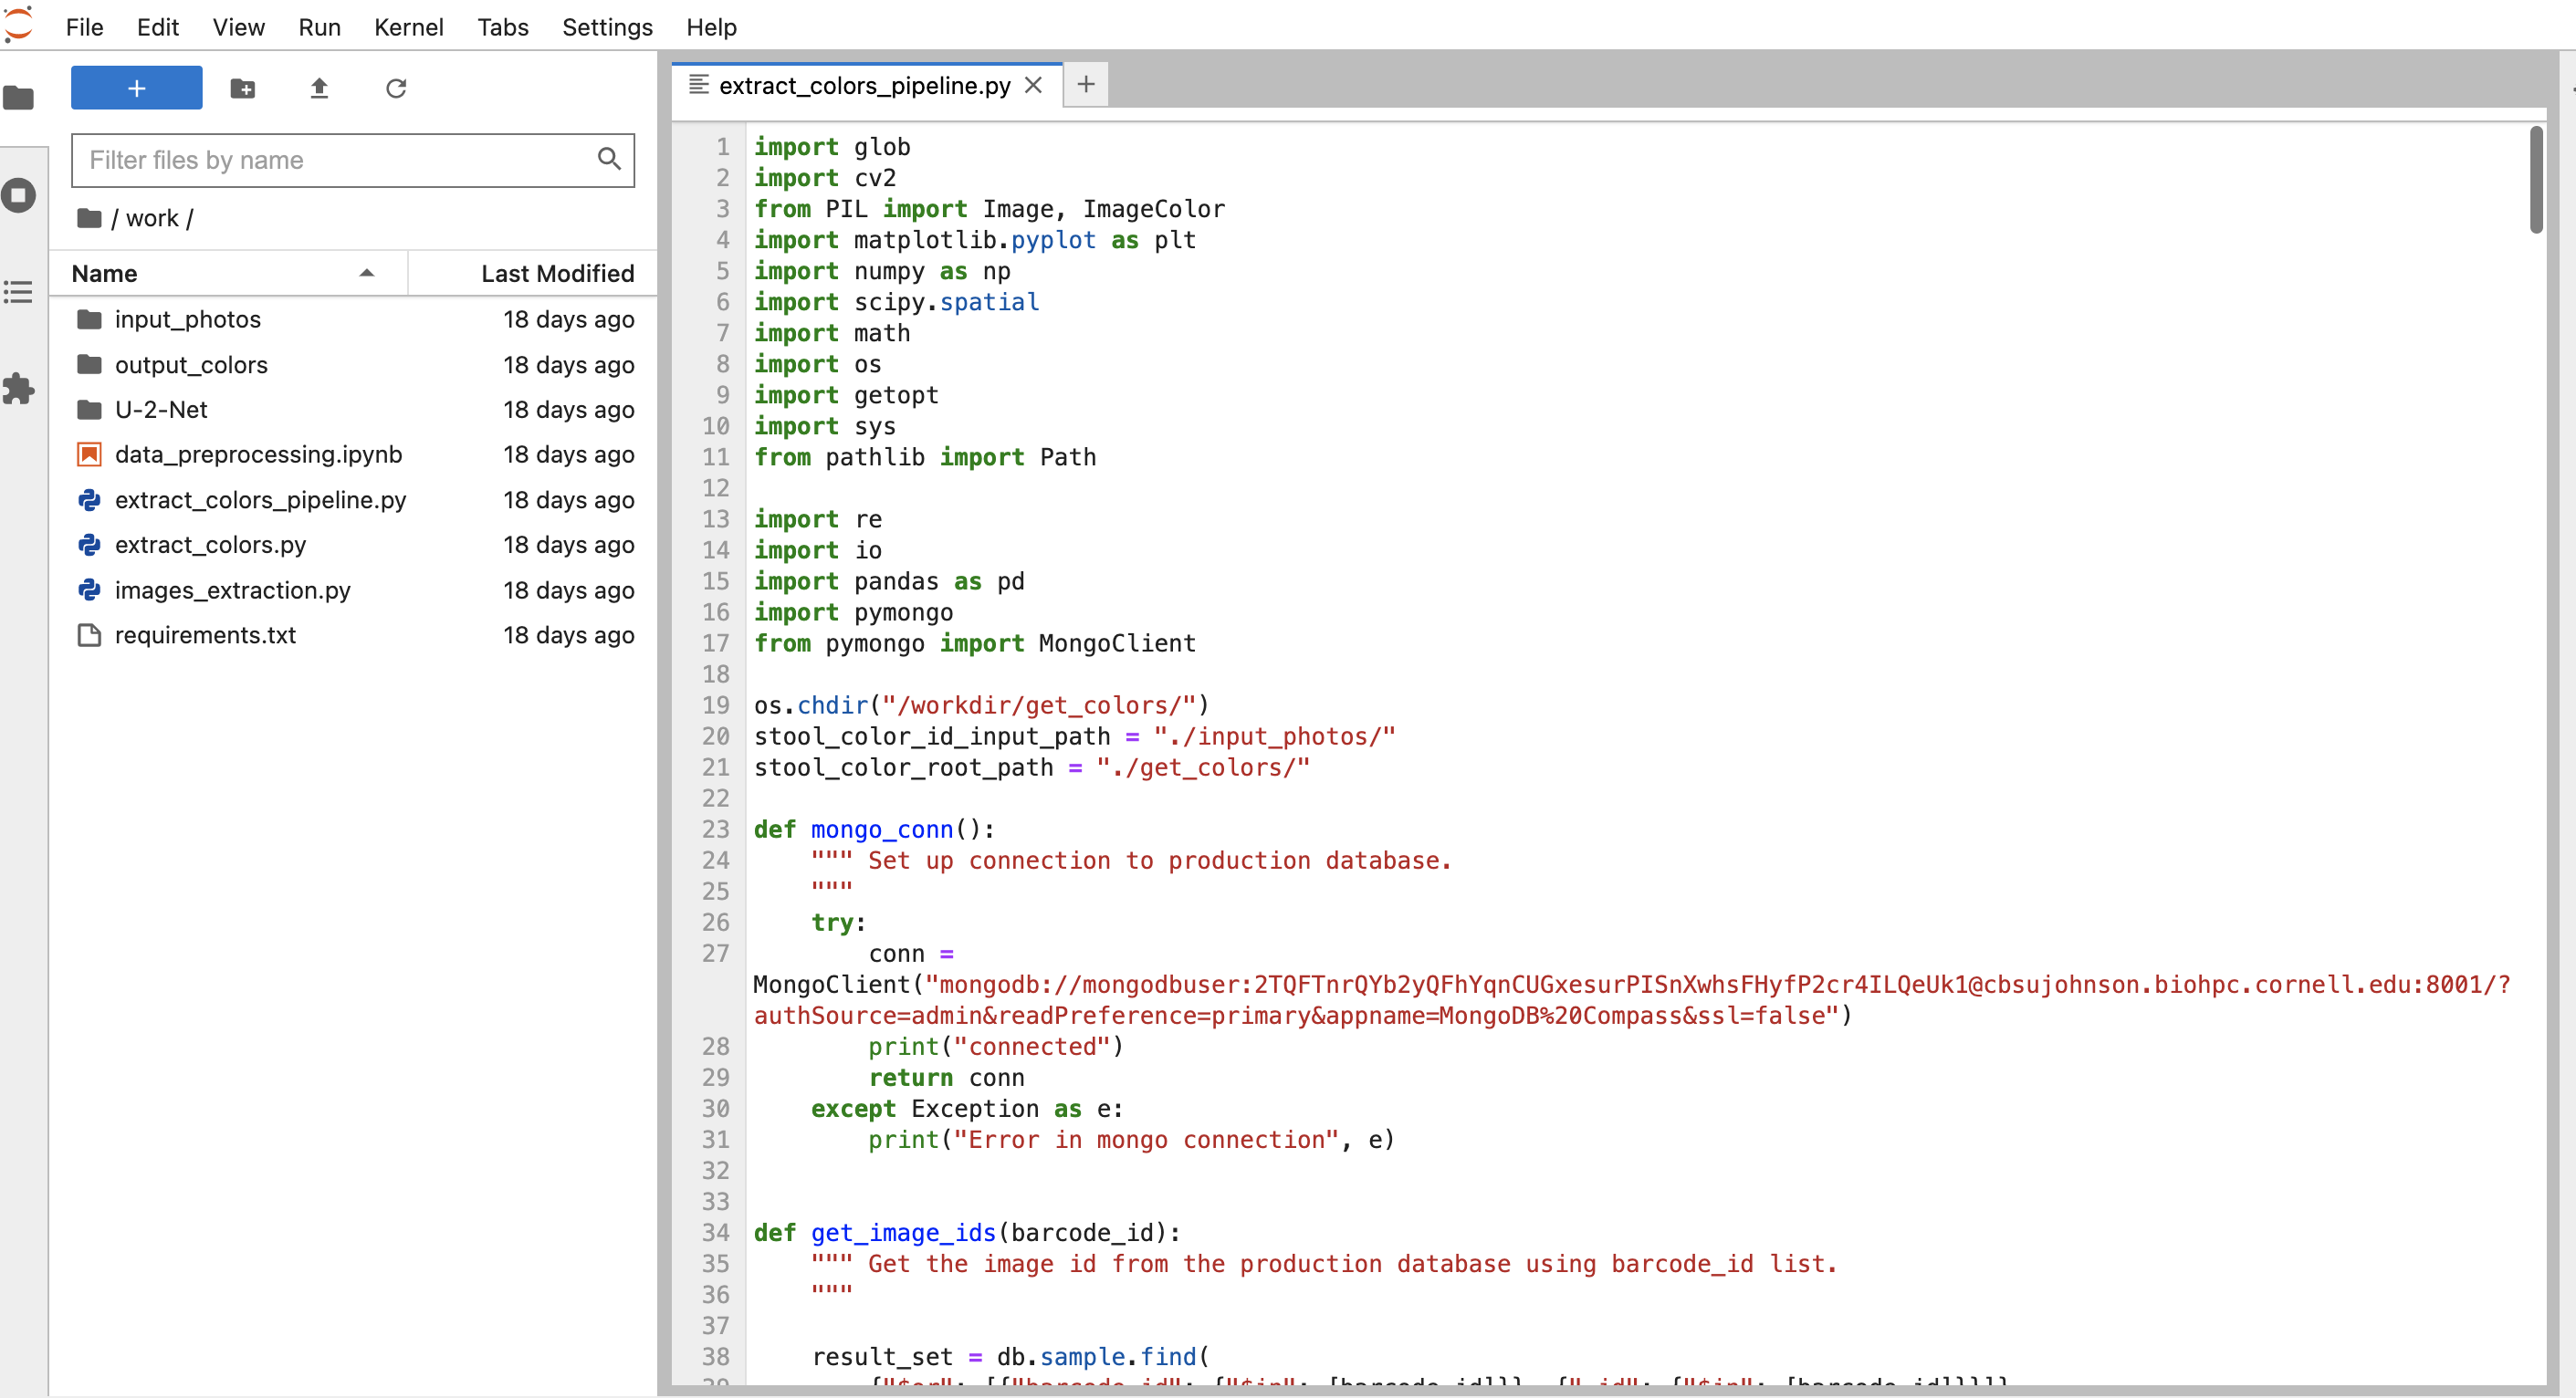
Copy this link to your browser, you can then see the jupyter notebook page