- From your Canvas Course, click the Windows Virtual Desktop button from the Navigation Pane.
- Click the 'open to a new tab' button.
- Sign in to Microsoft with your netid@cornell.edu
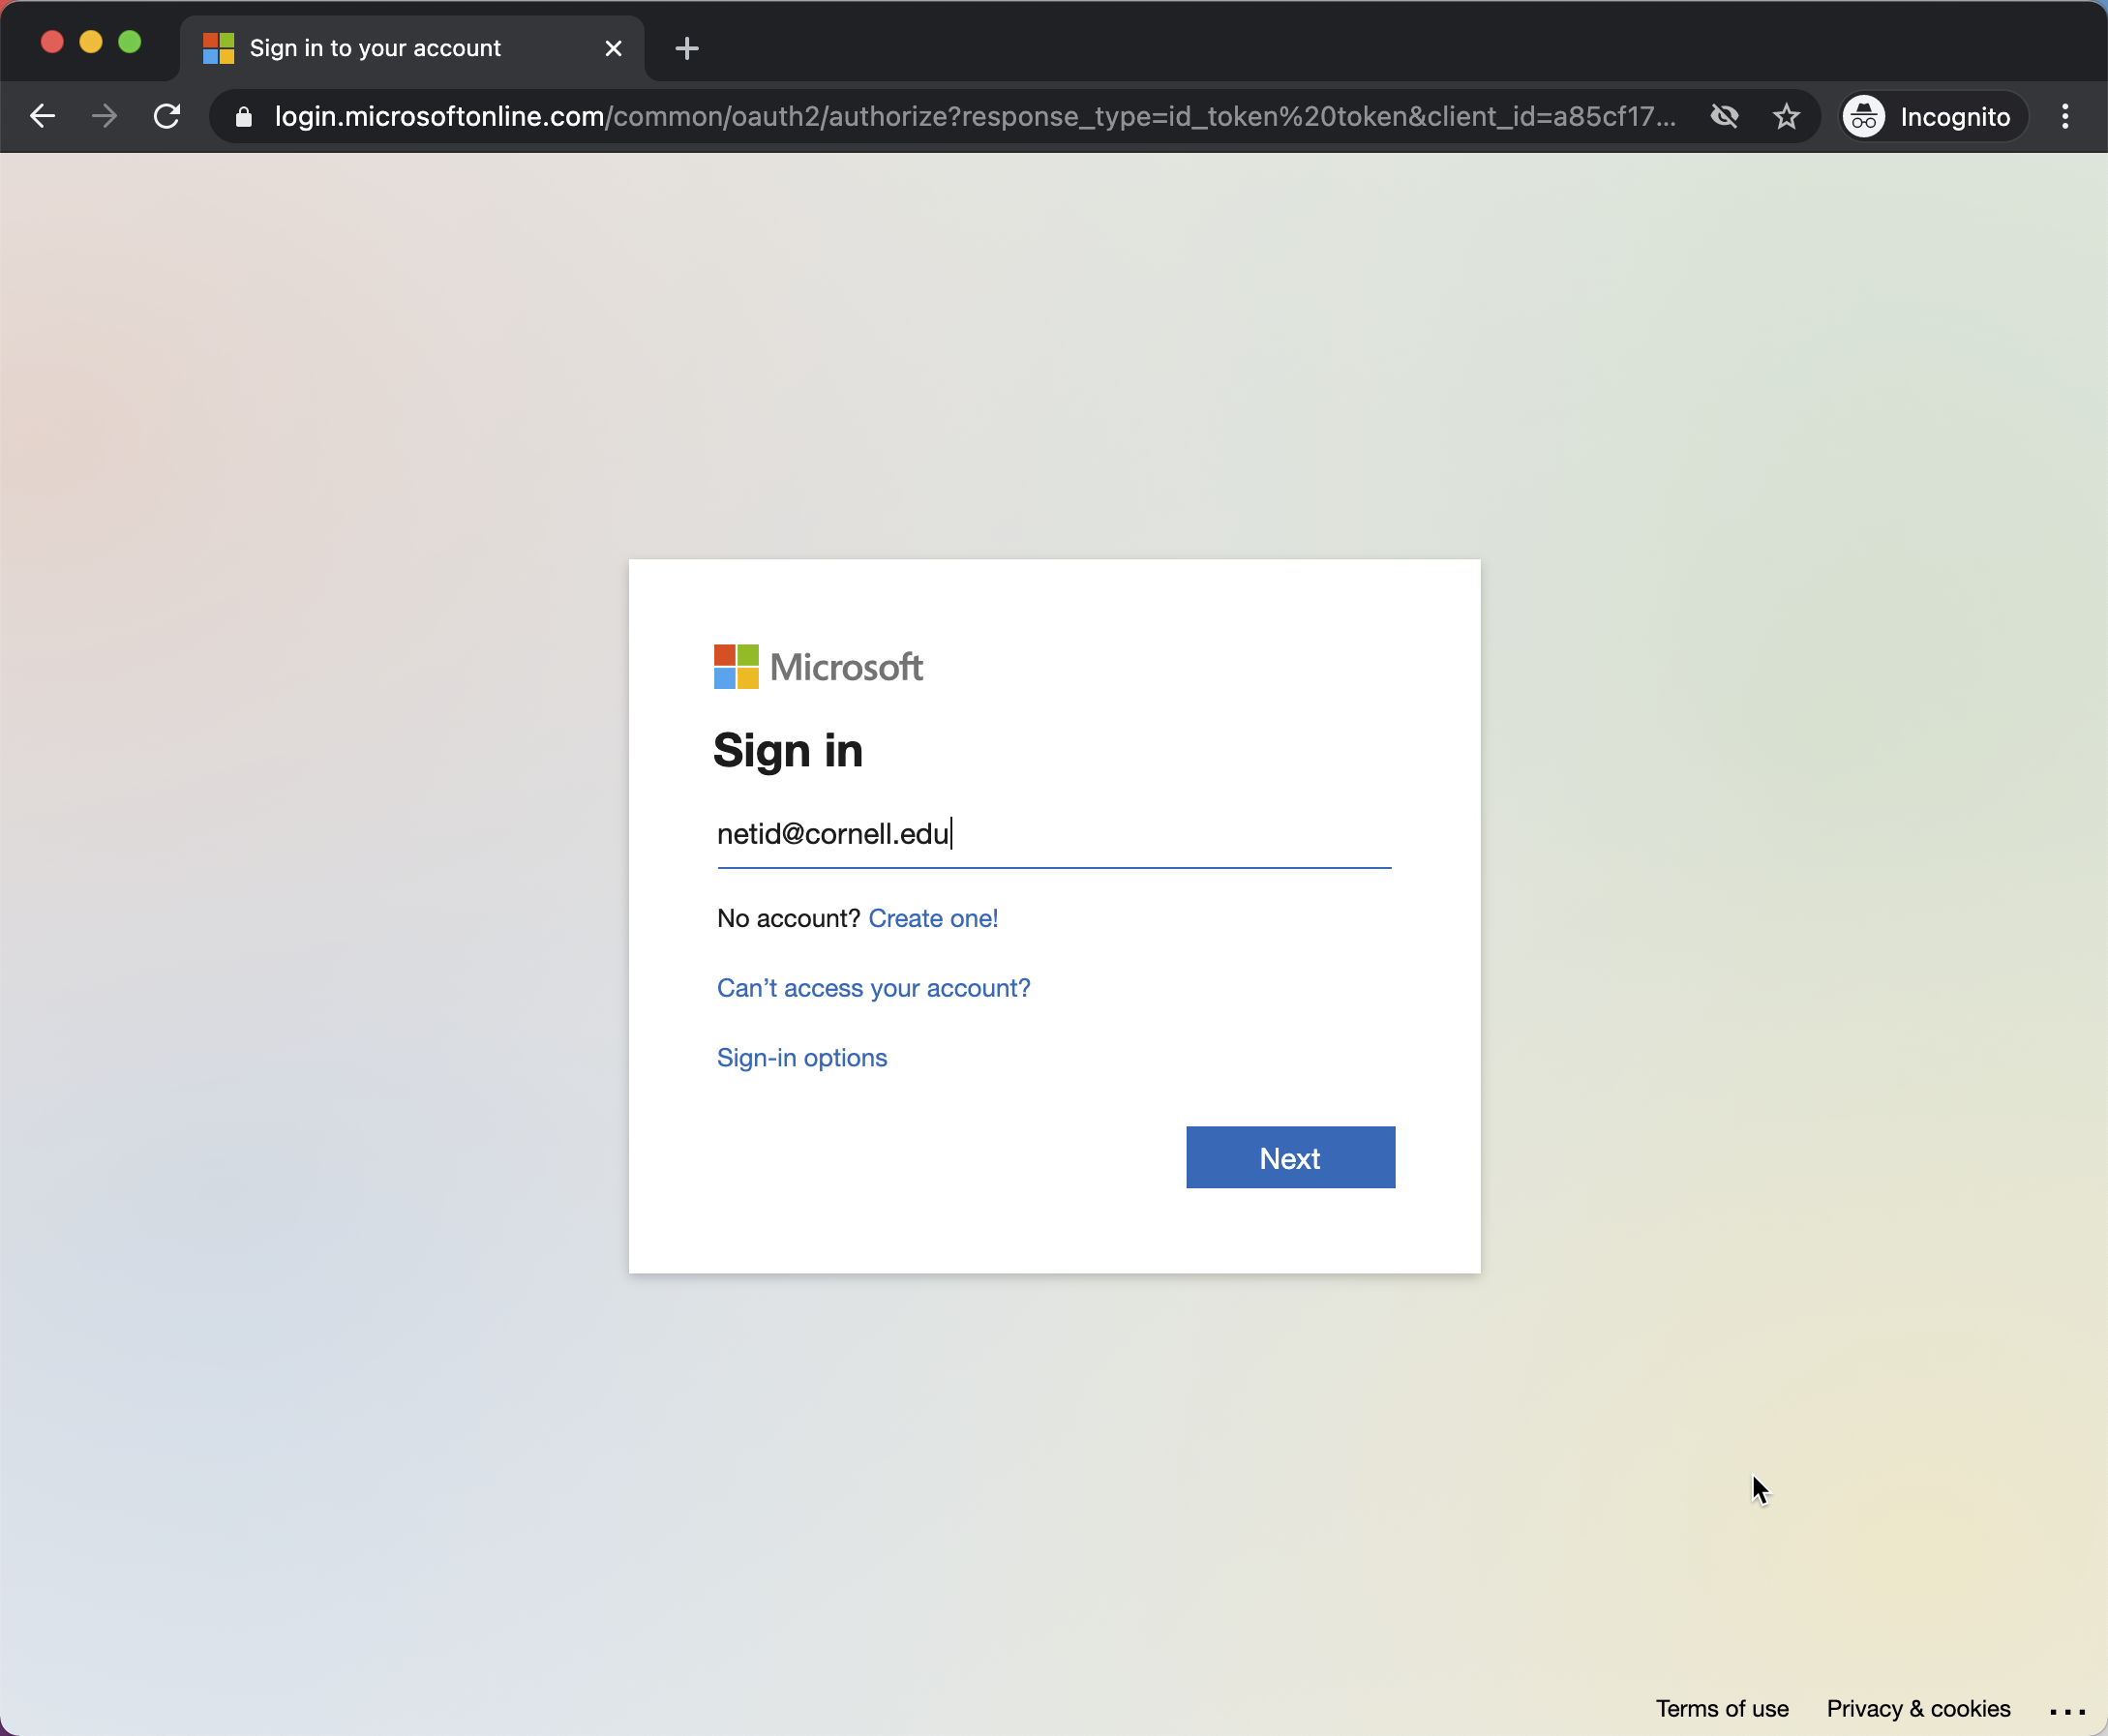
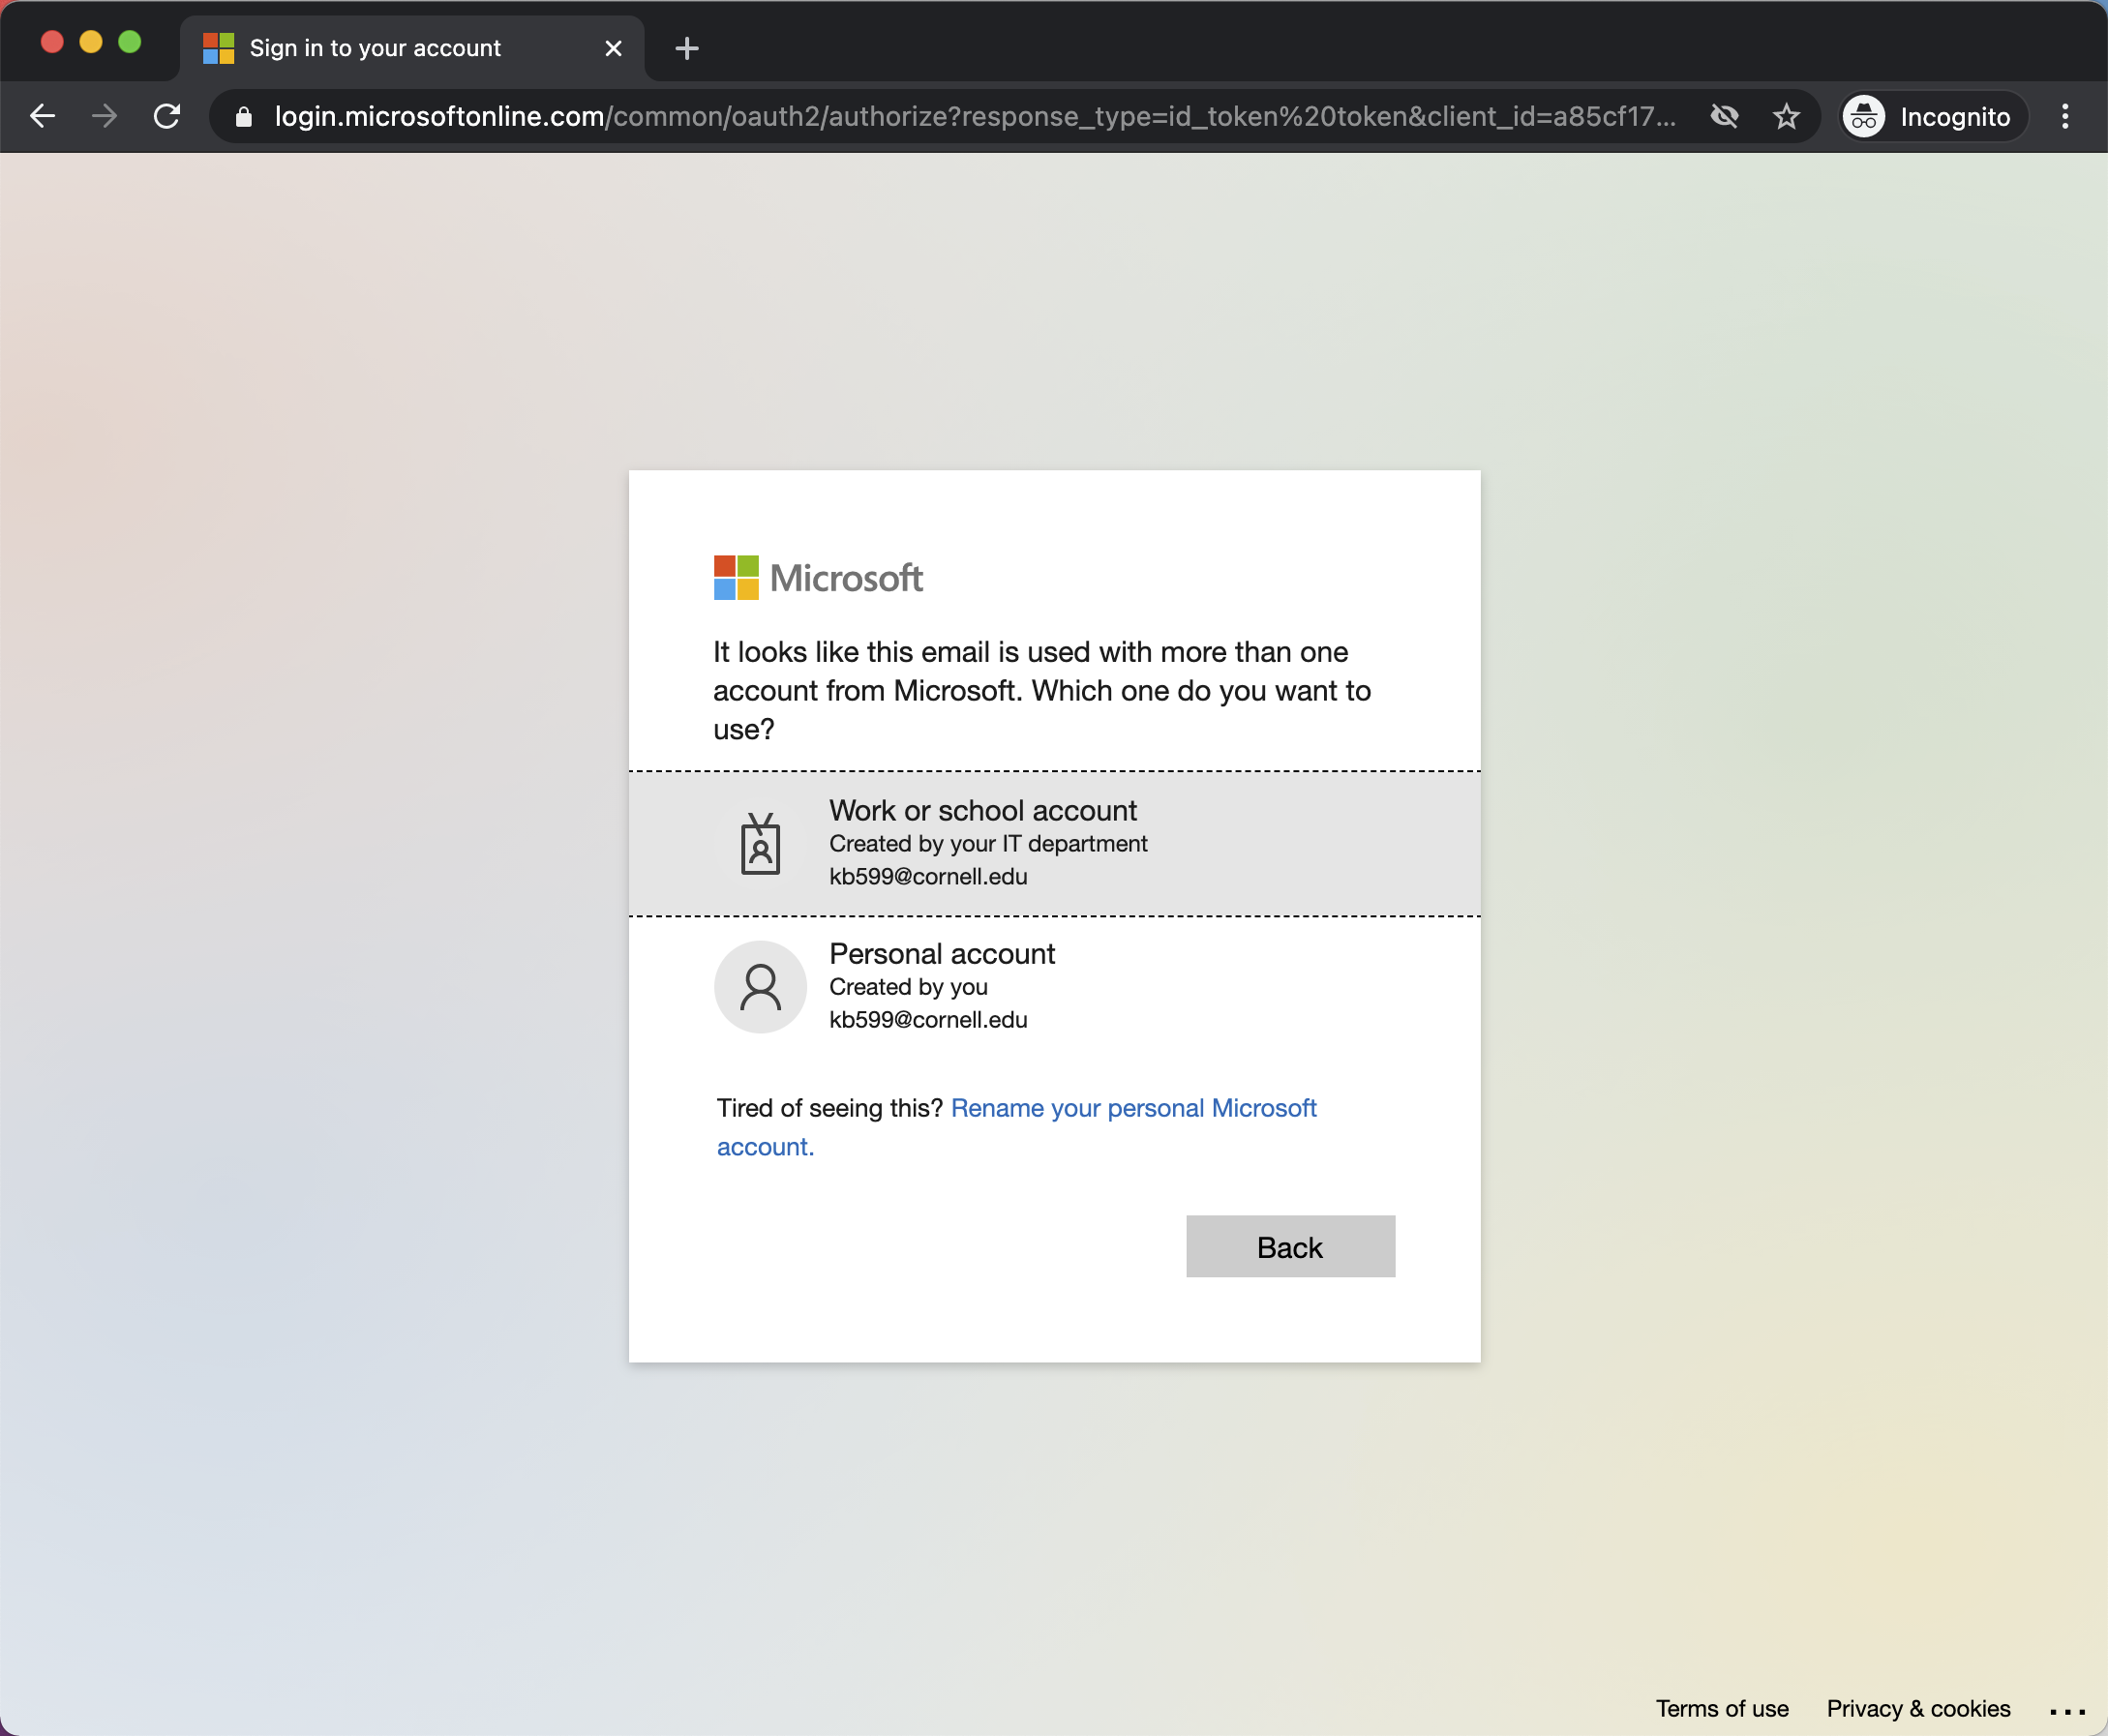
- Select 'Work or school account'
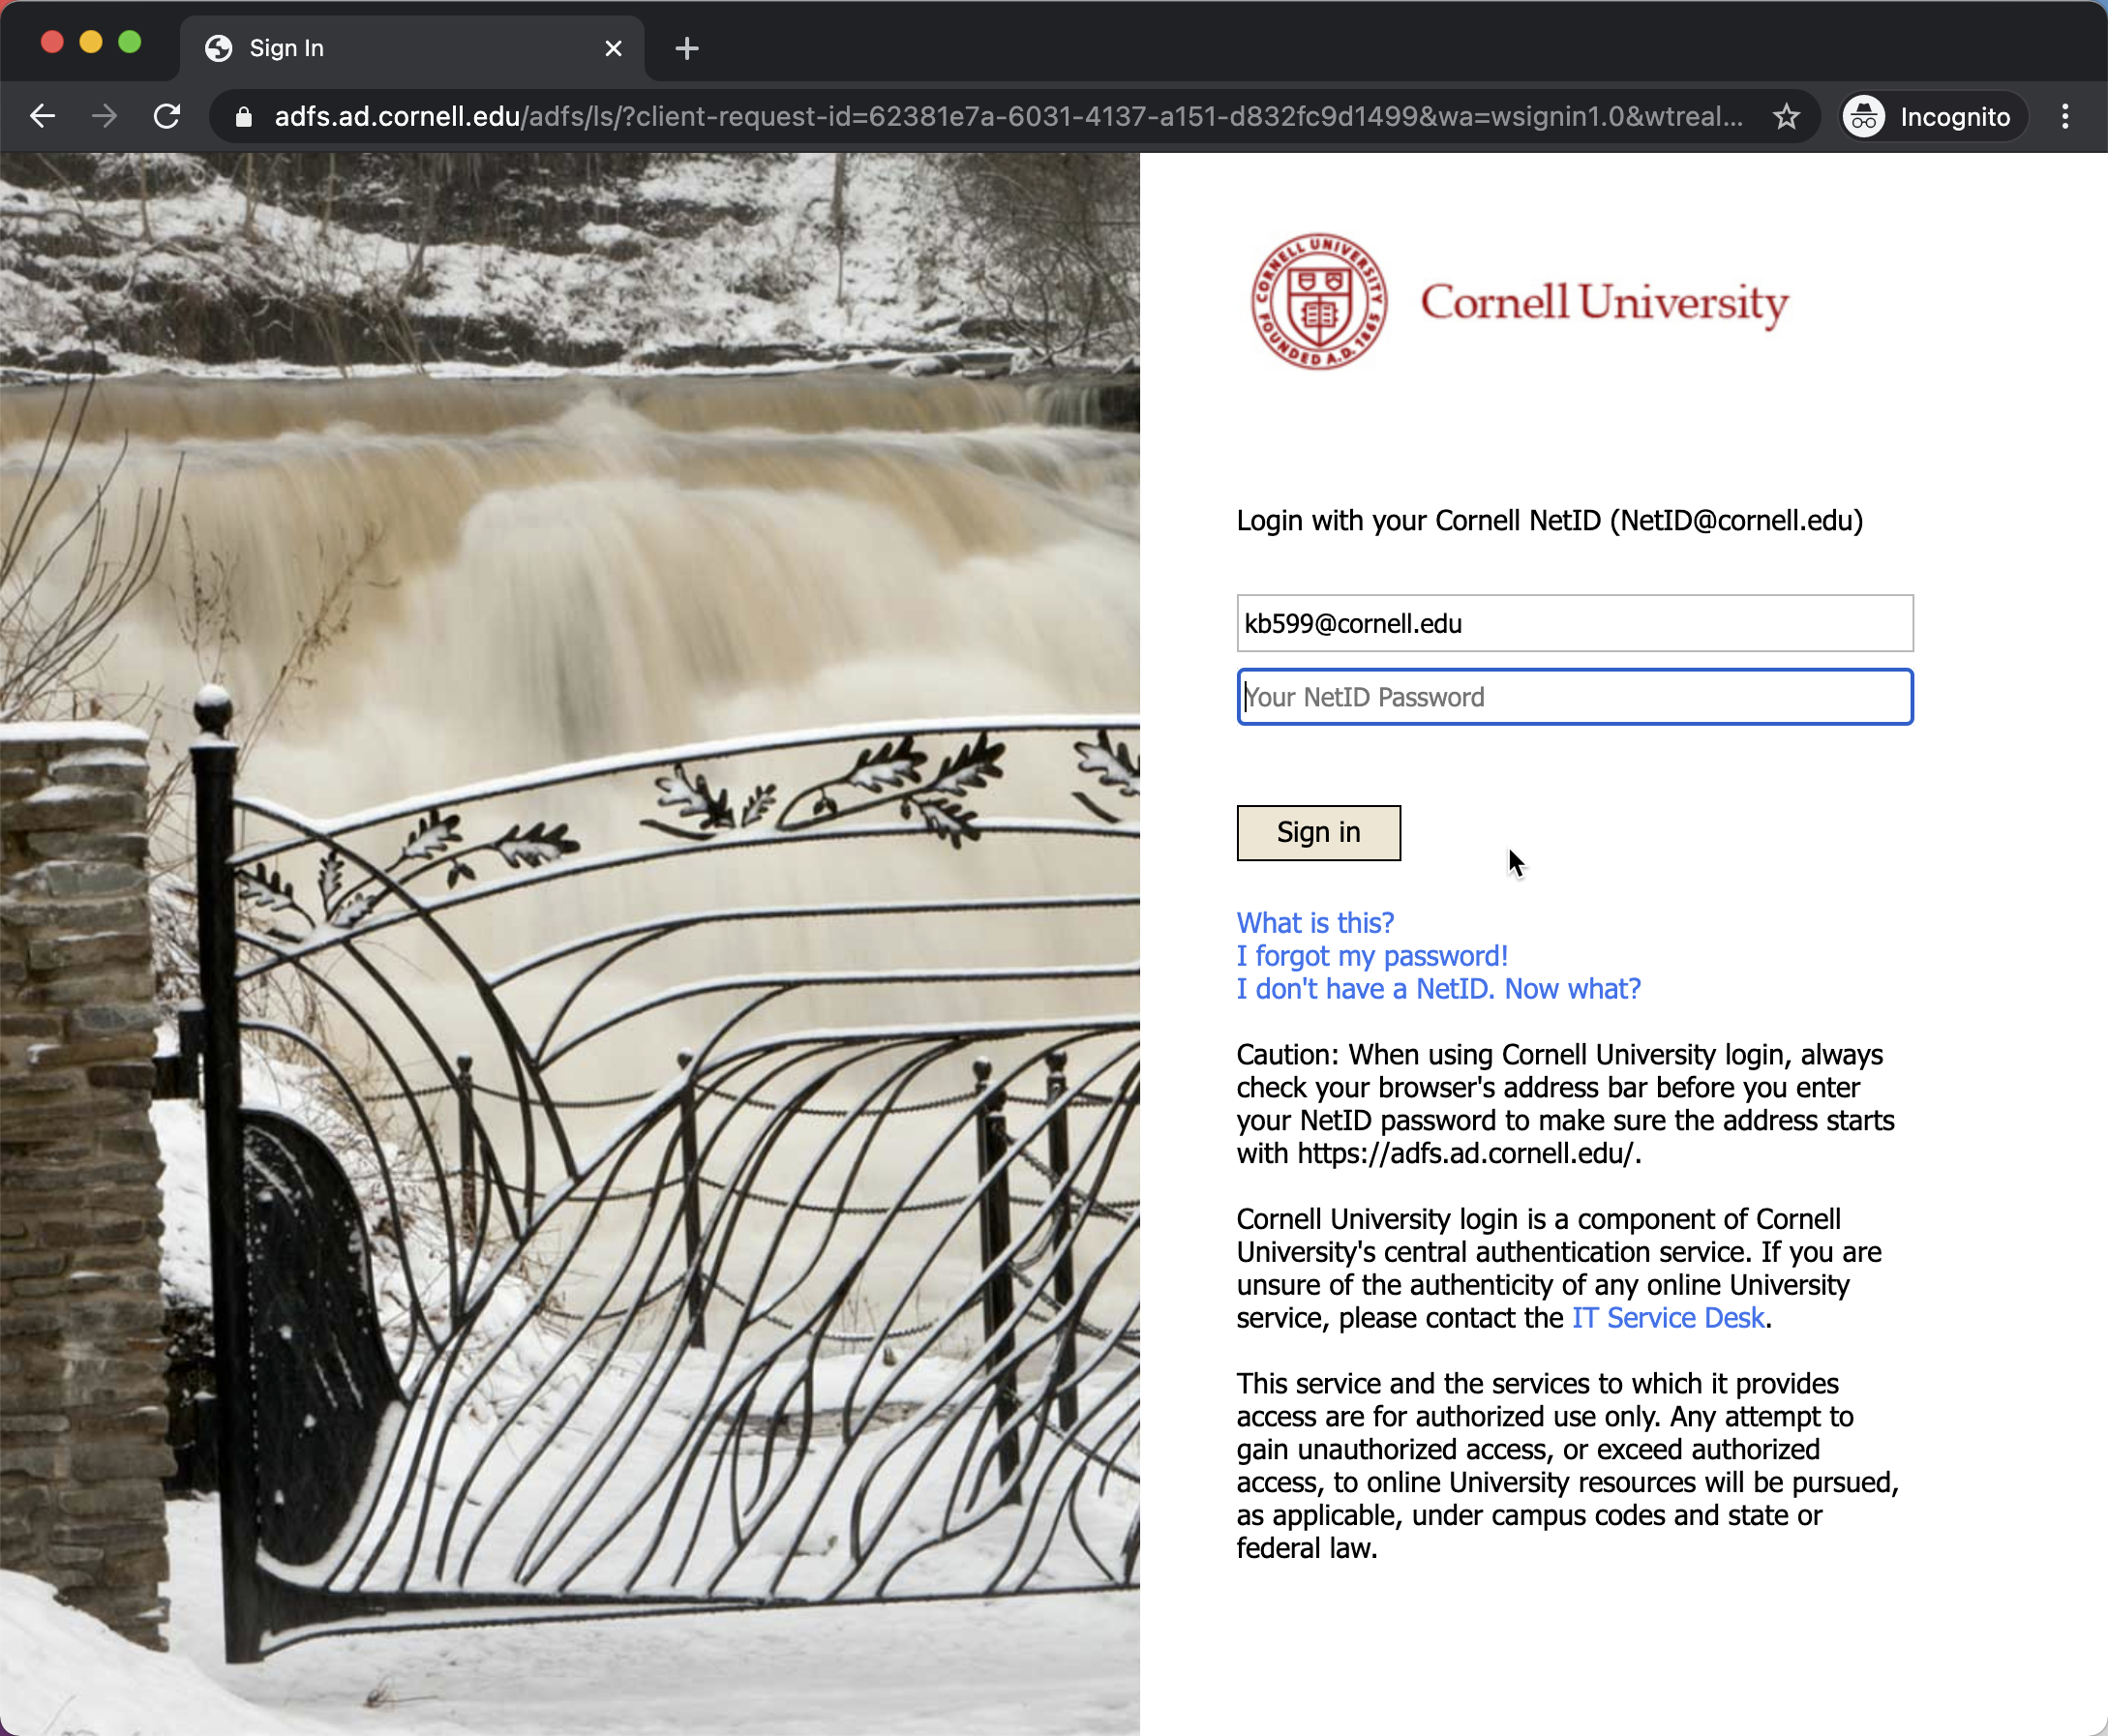
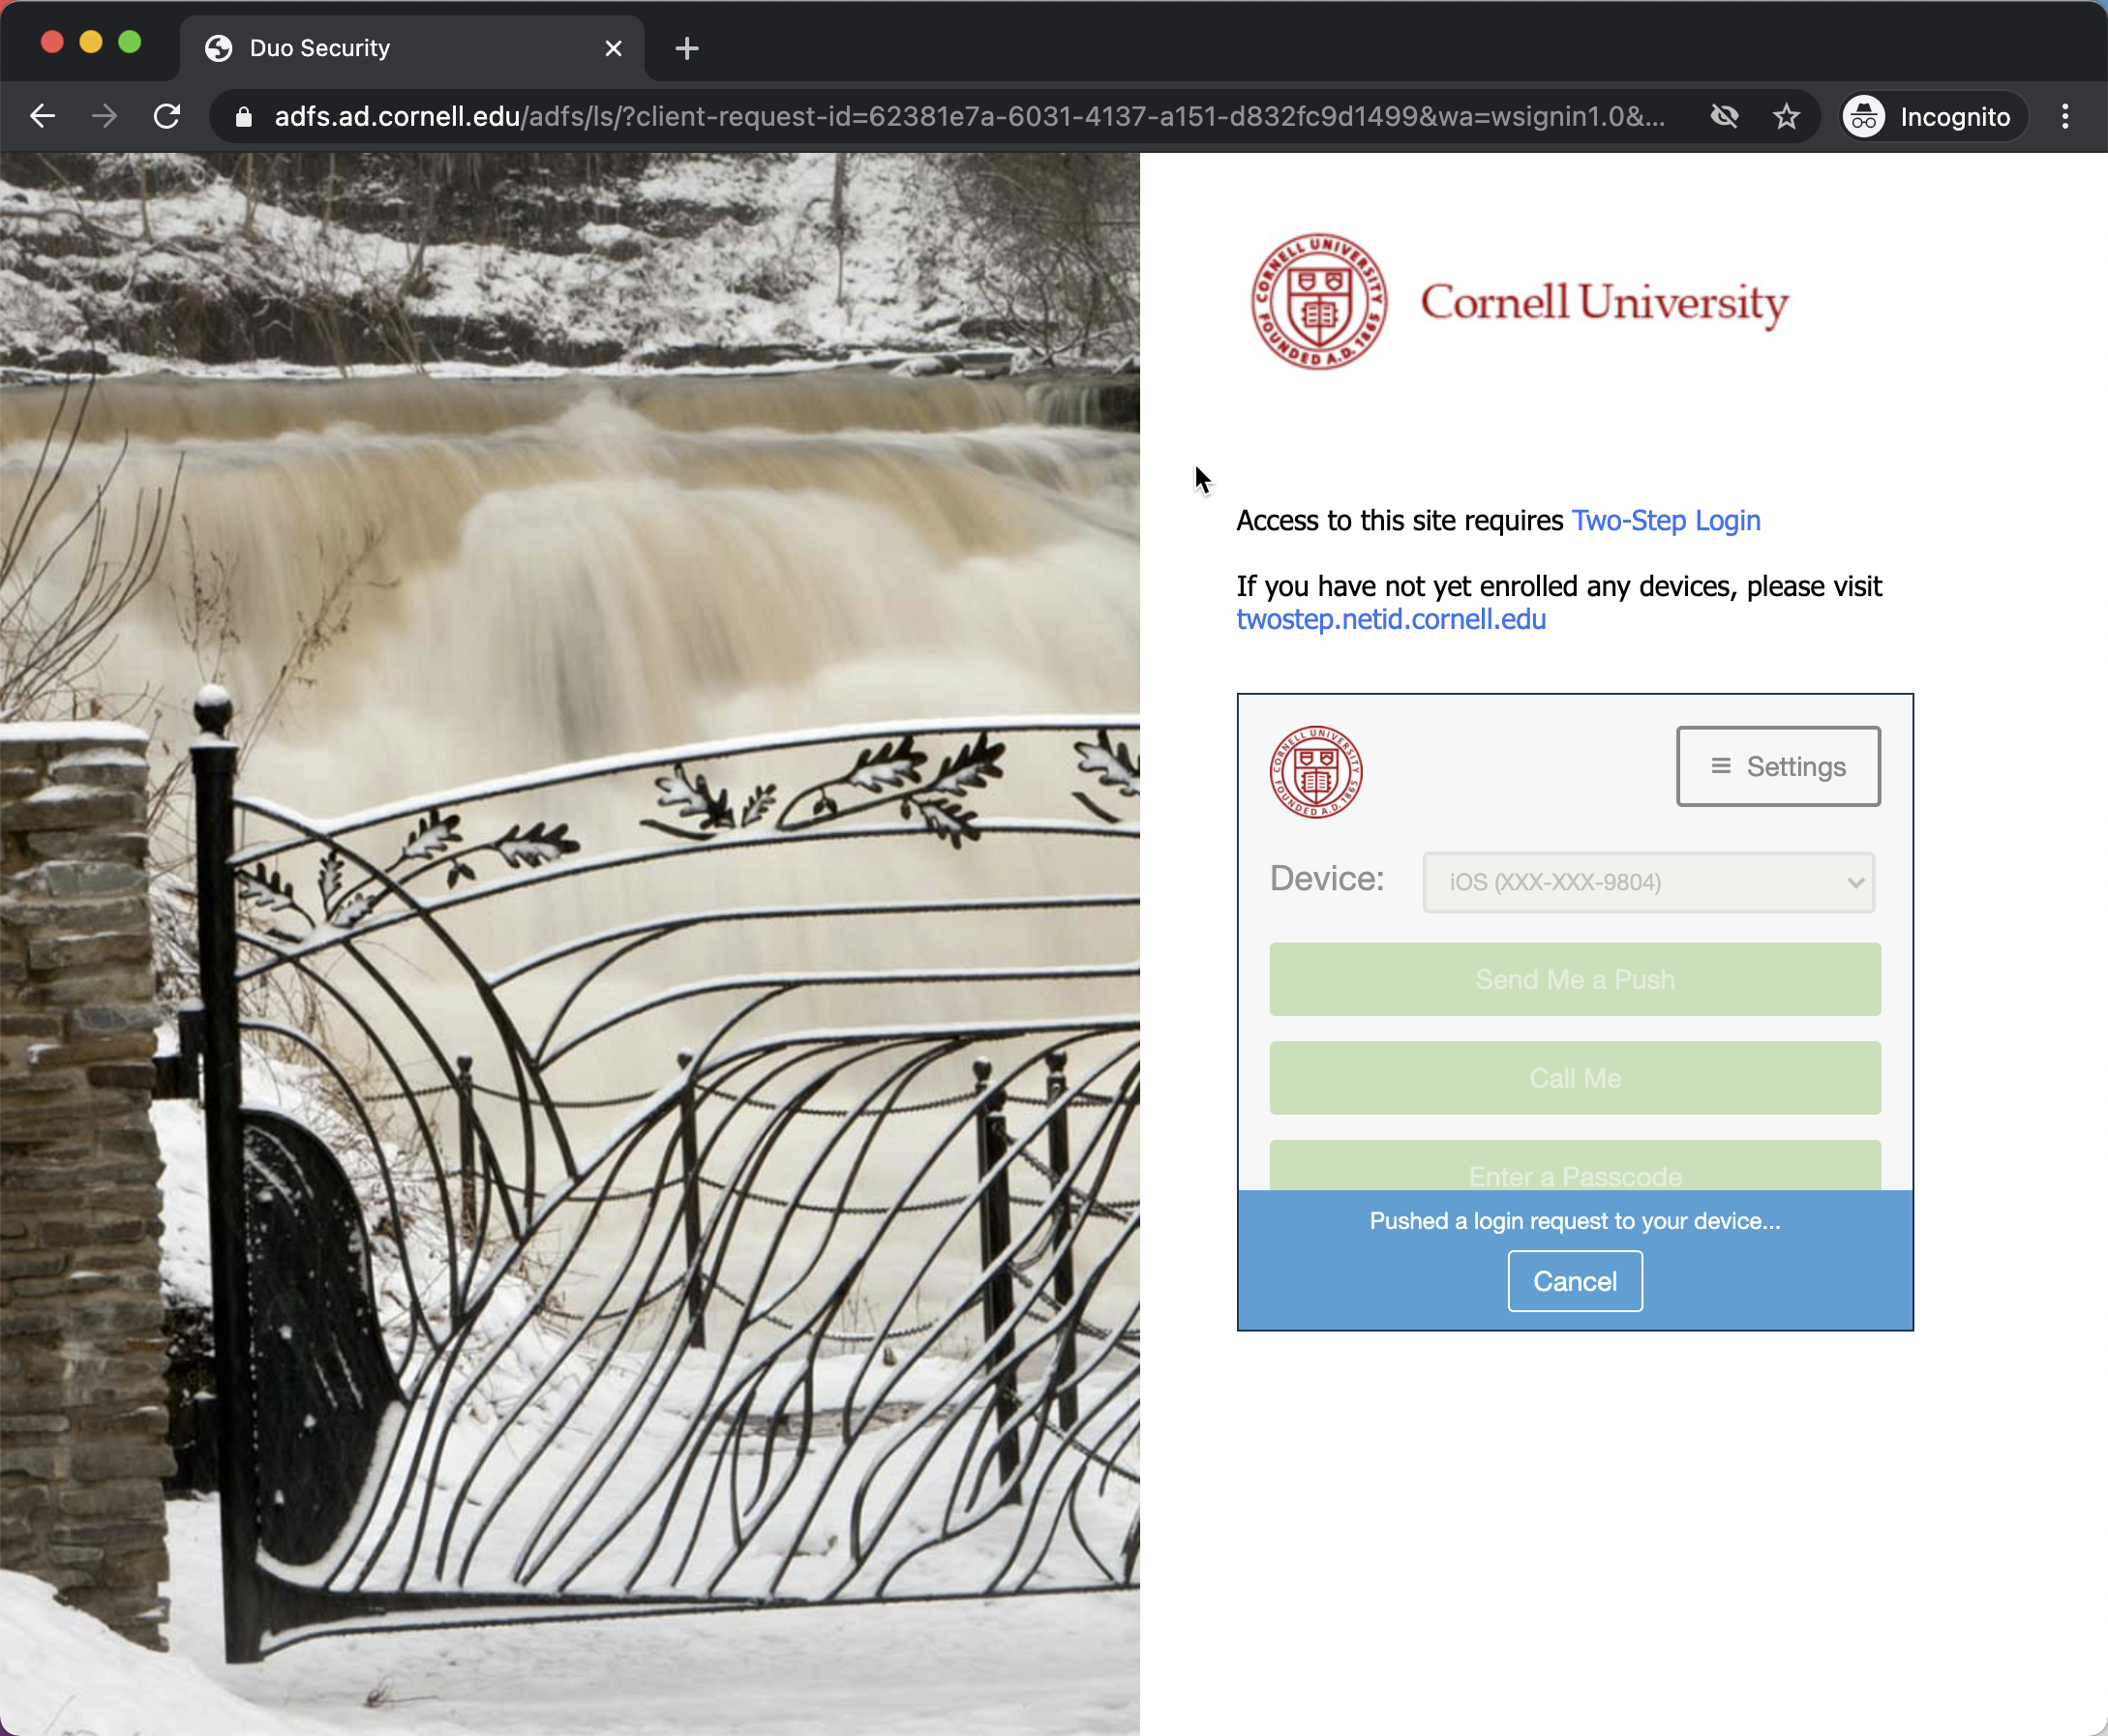
- Sign into Cornell University's page:
- Authorize DUO Two Factor Prompt (if requested:
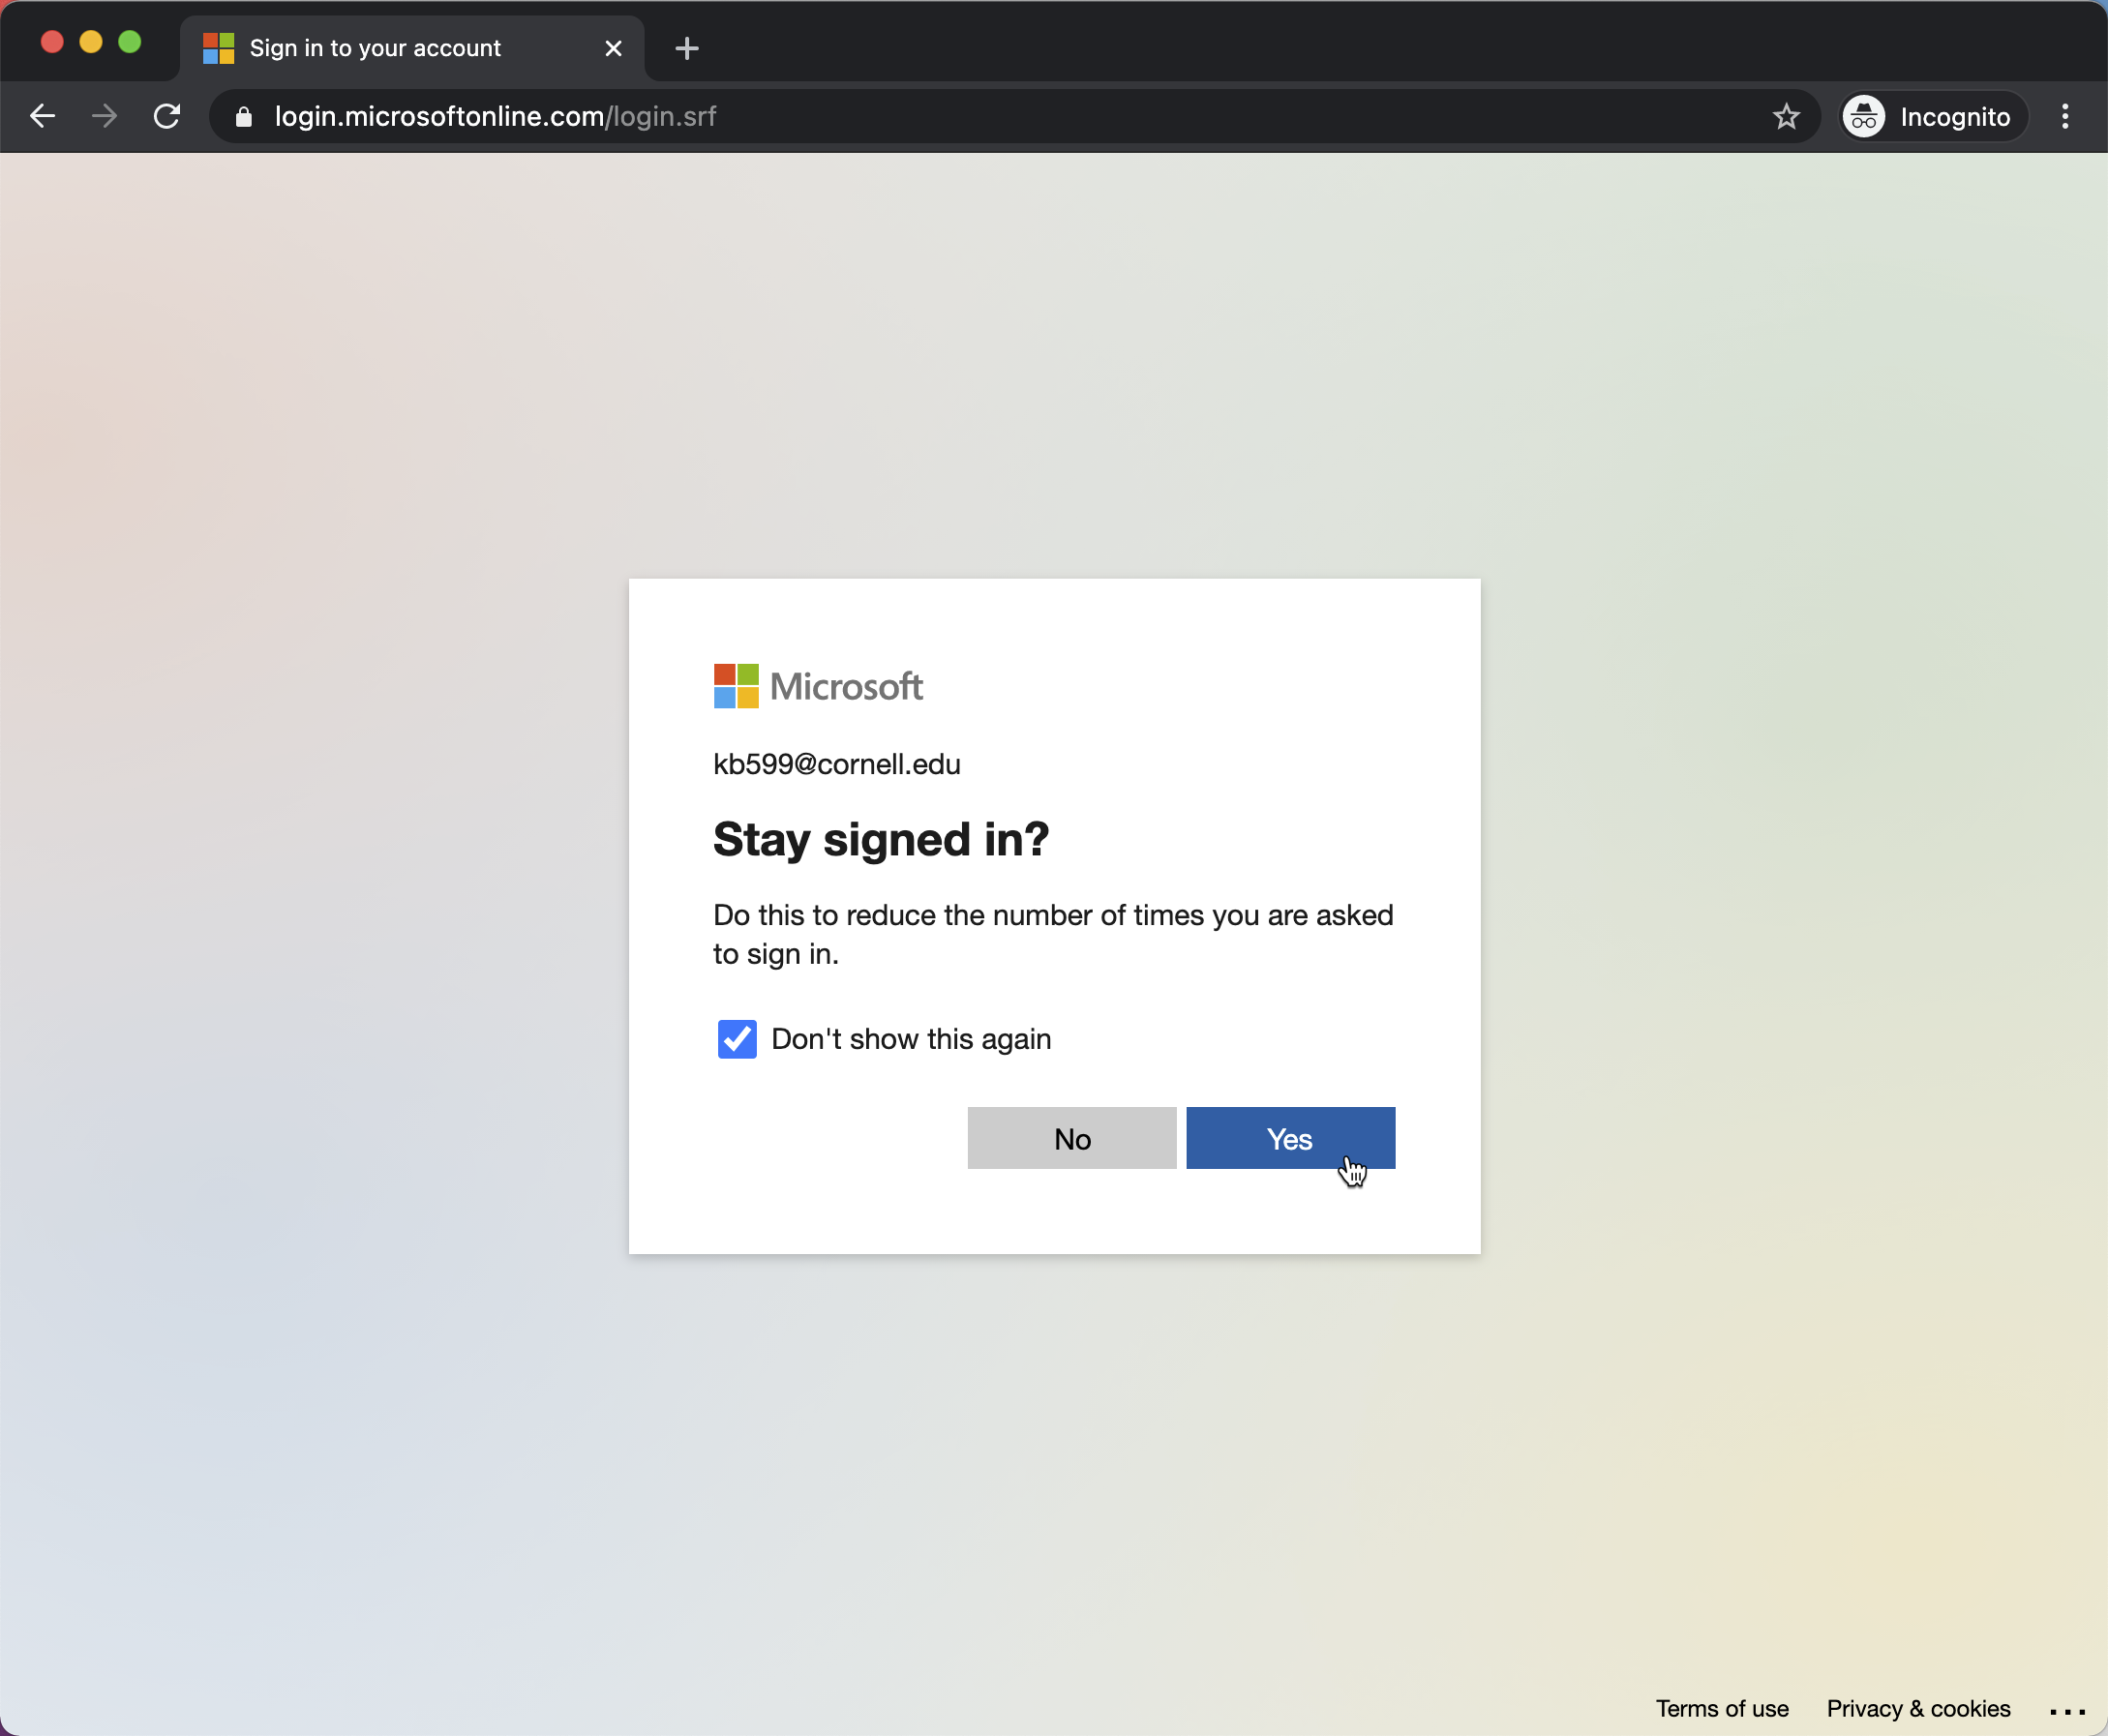
- When asked if you want to 'Stay signed in?', we recommend you say yes; however this is up to you.
- You are now at the Windows Virtual Desktop log on page:
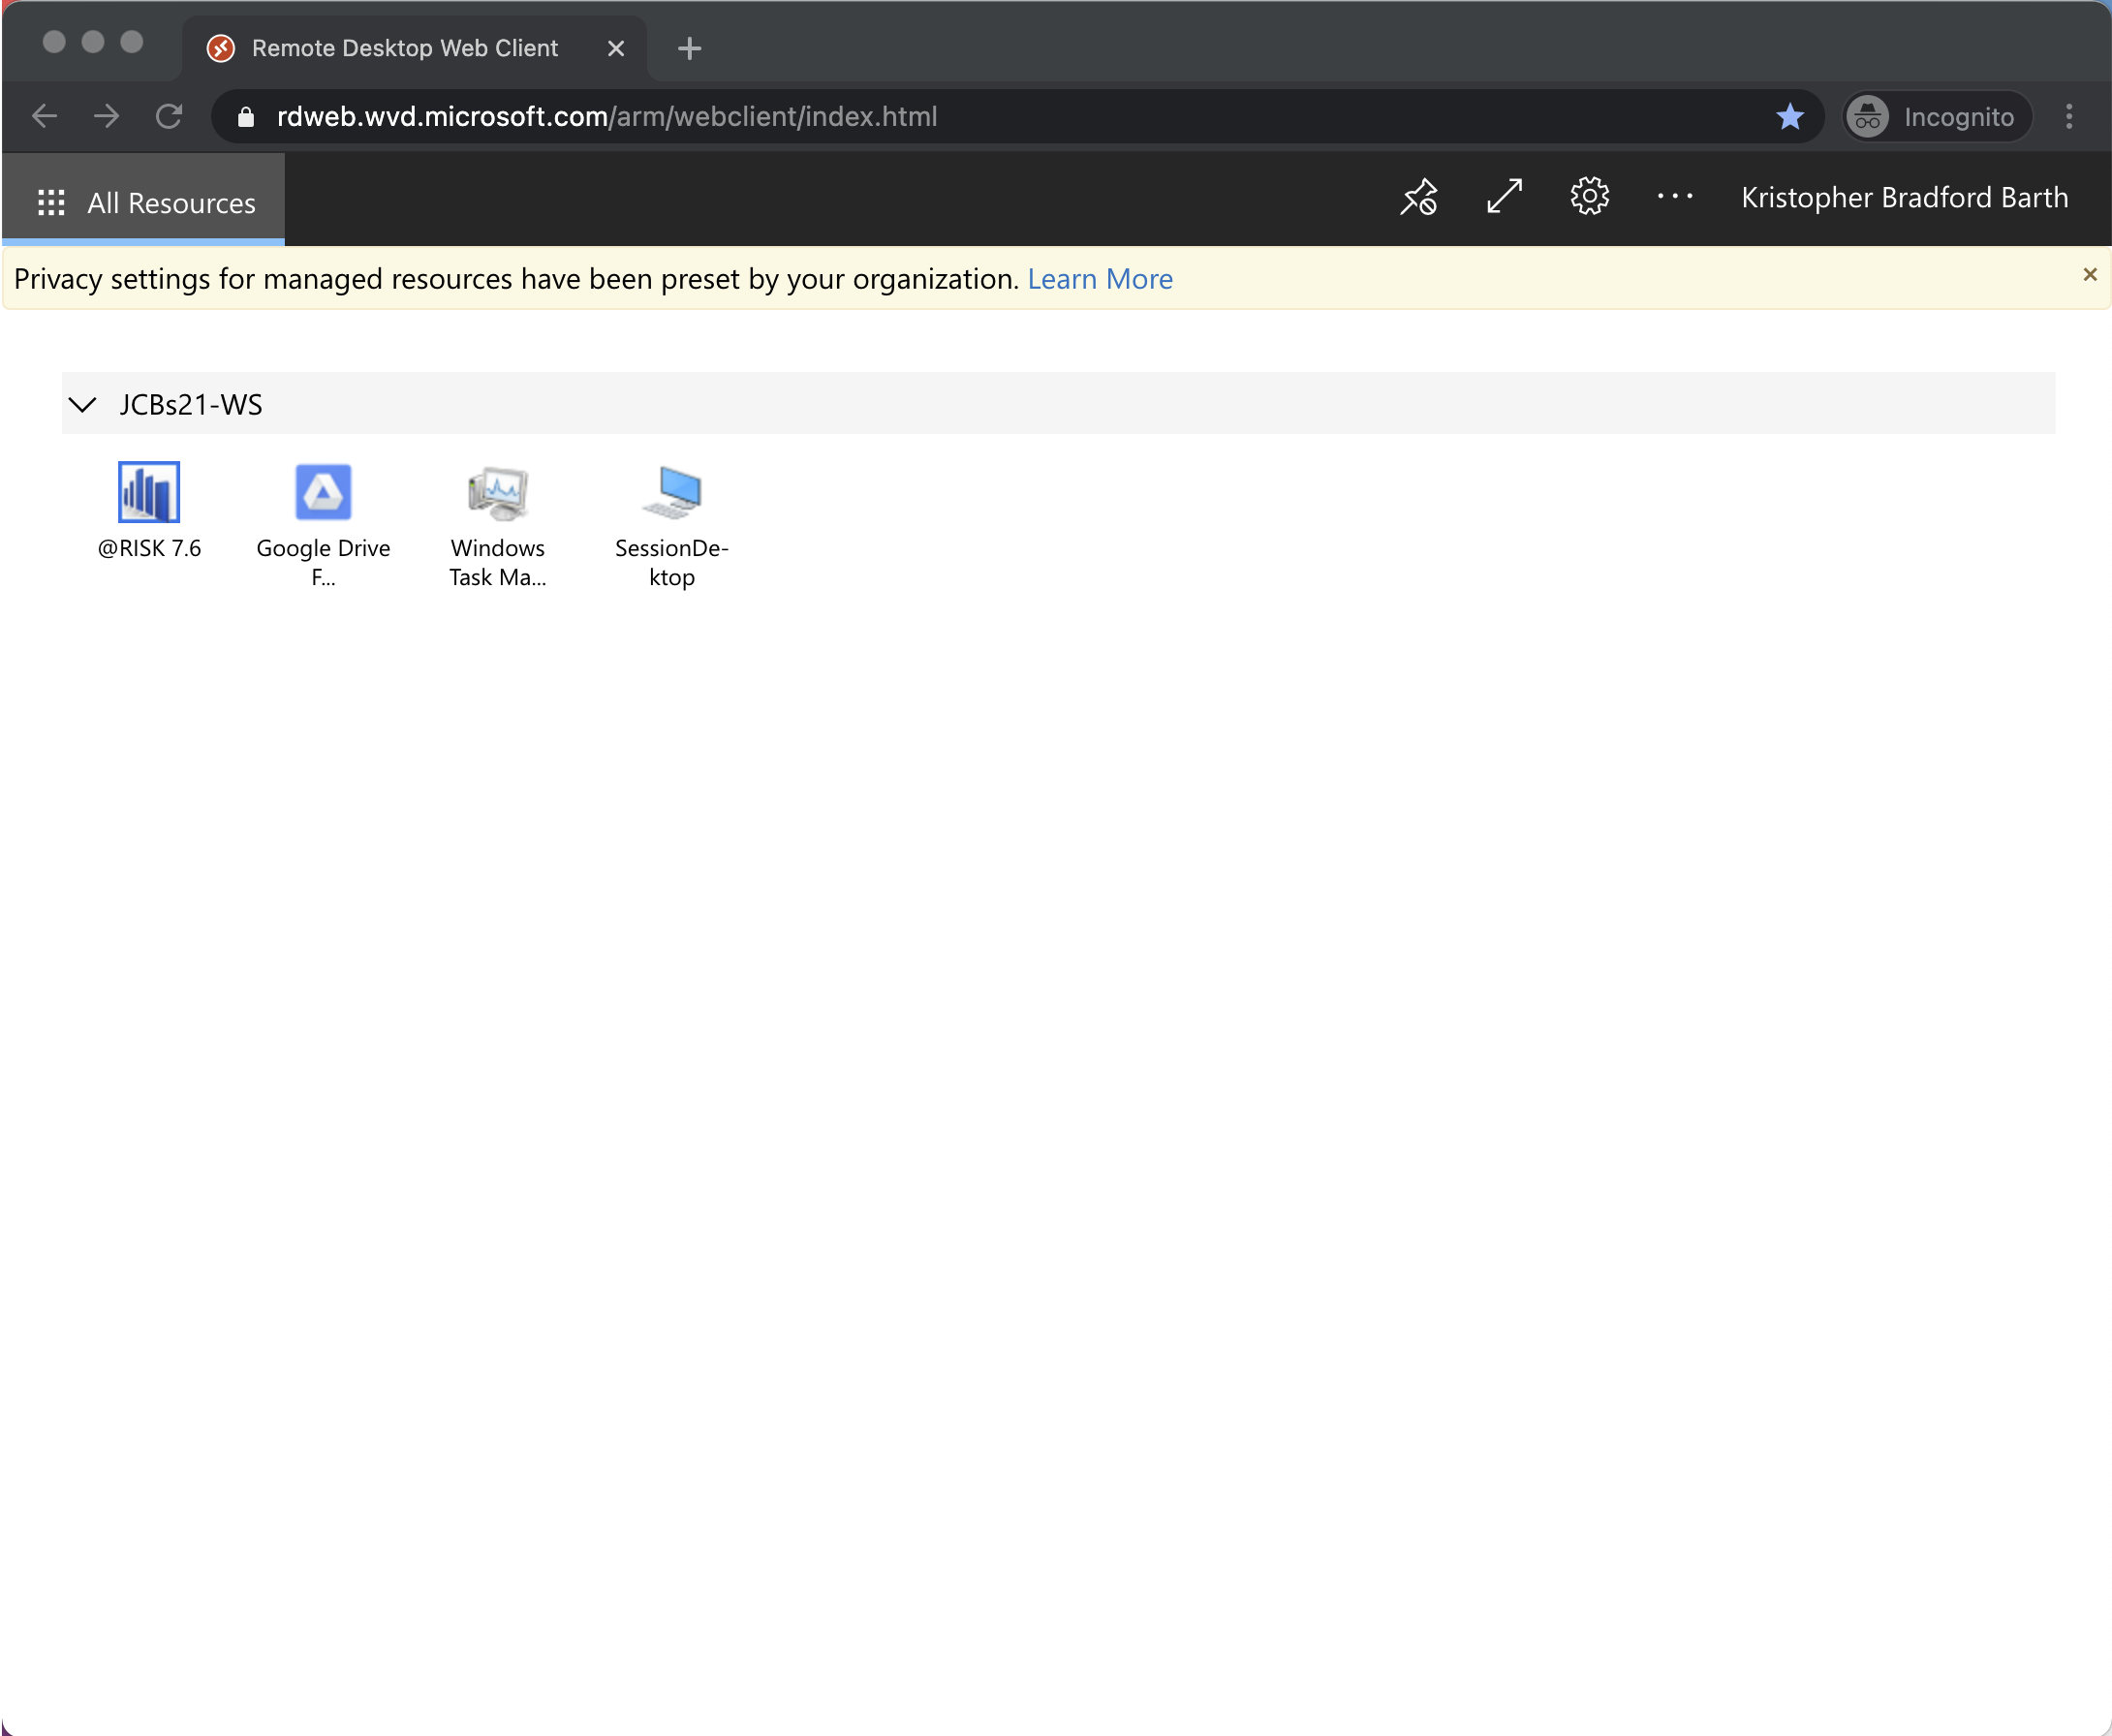
- Double Click Google Drive File Stream
- On the 'Access local resources' prompt, click Allow:
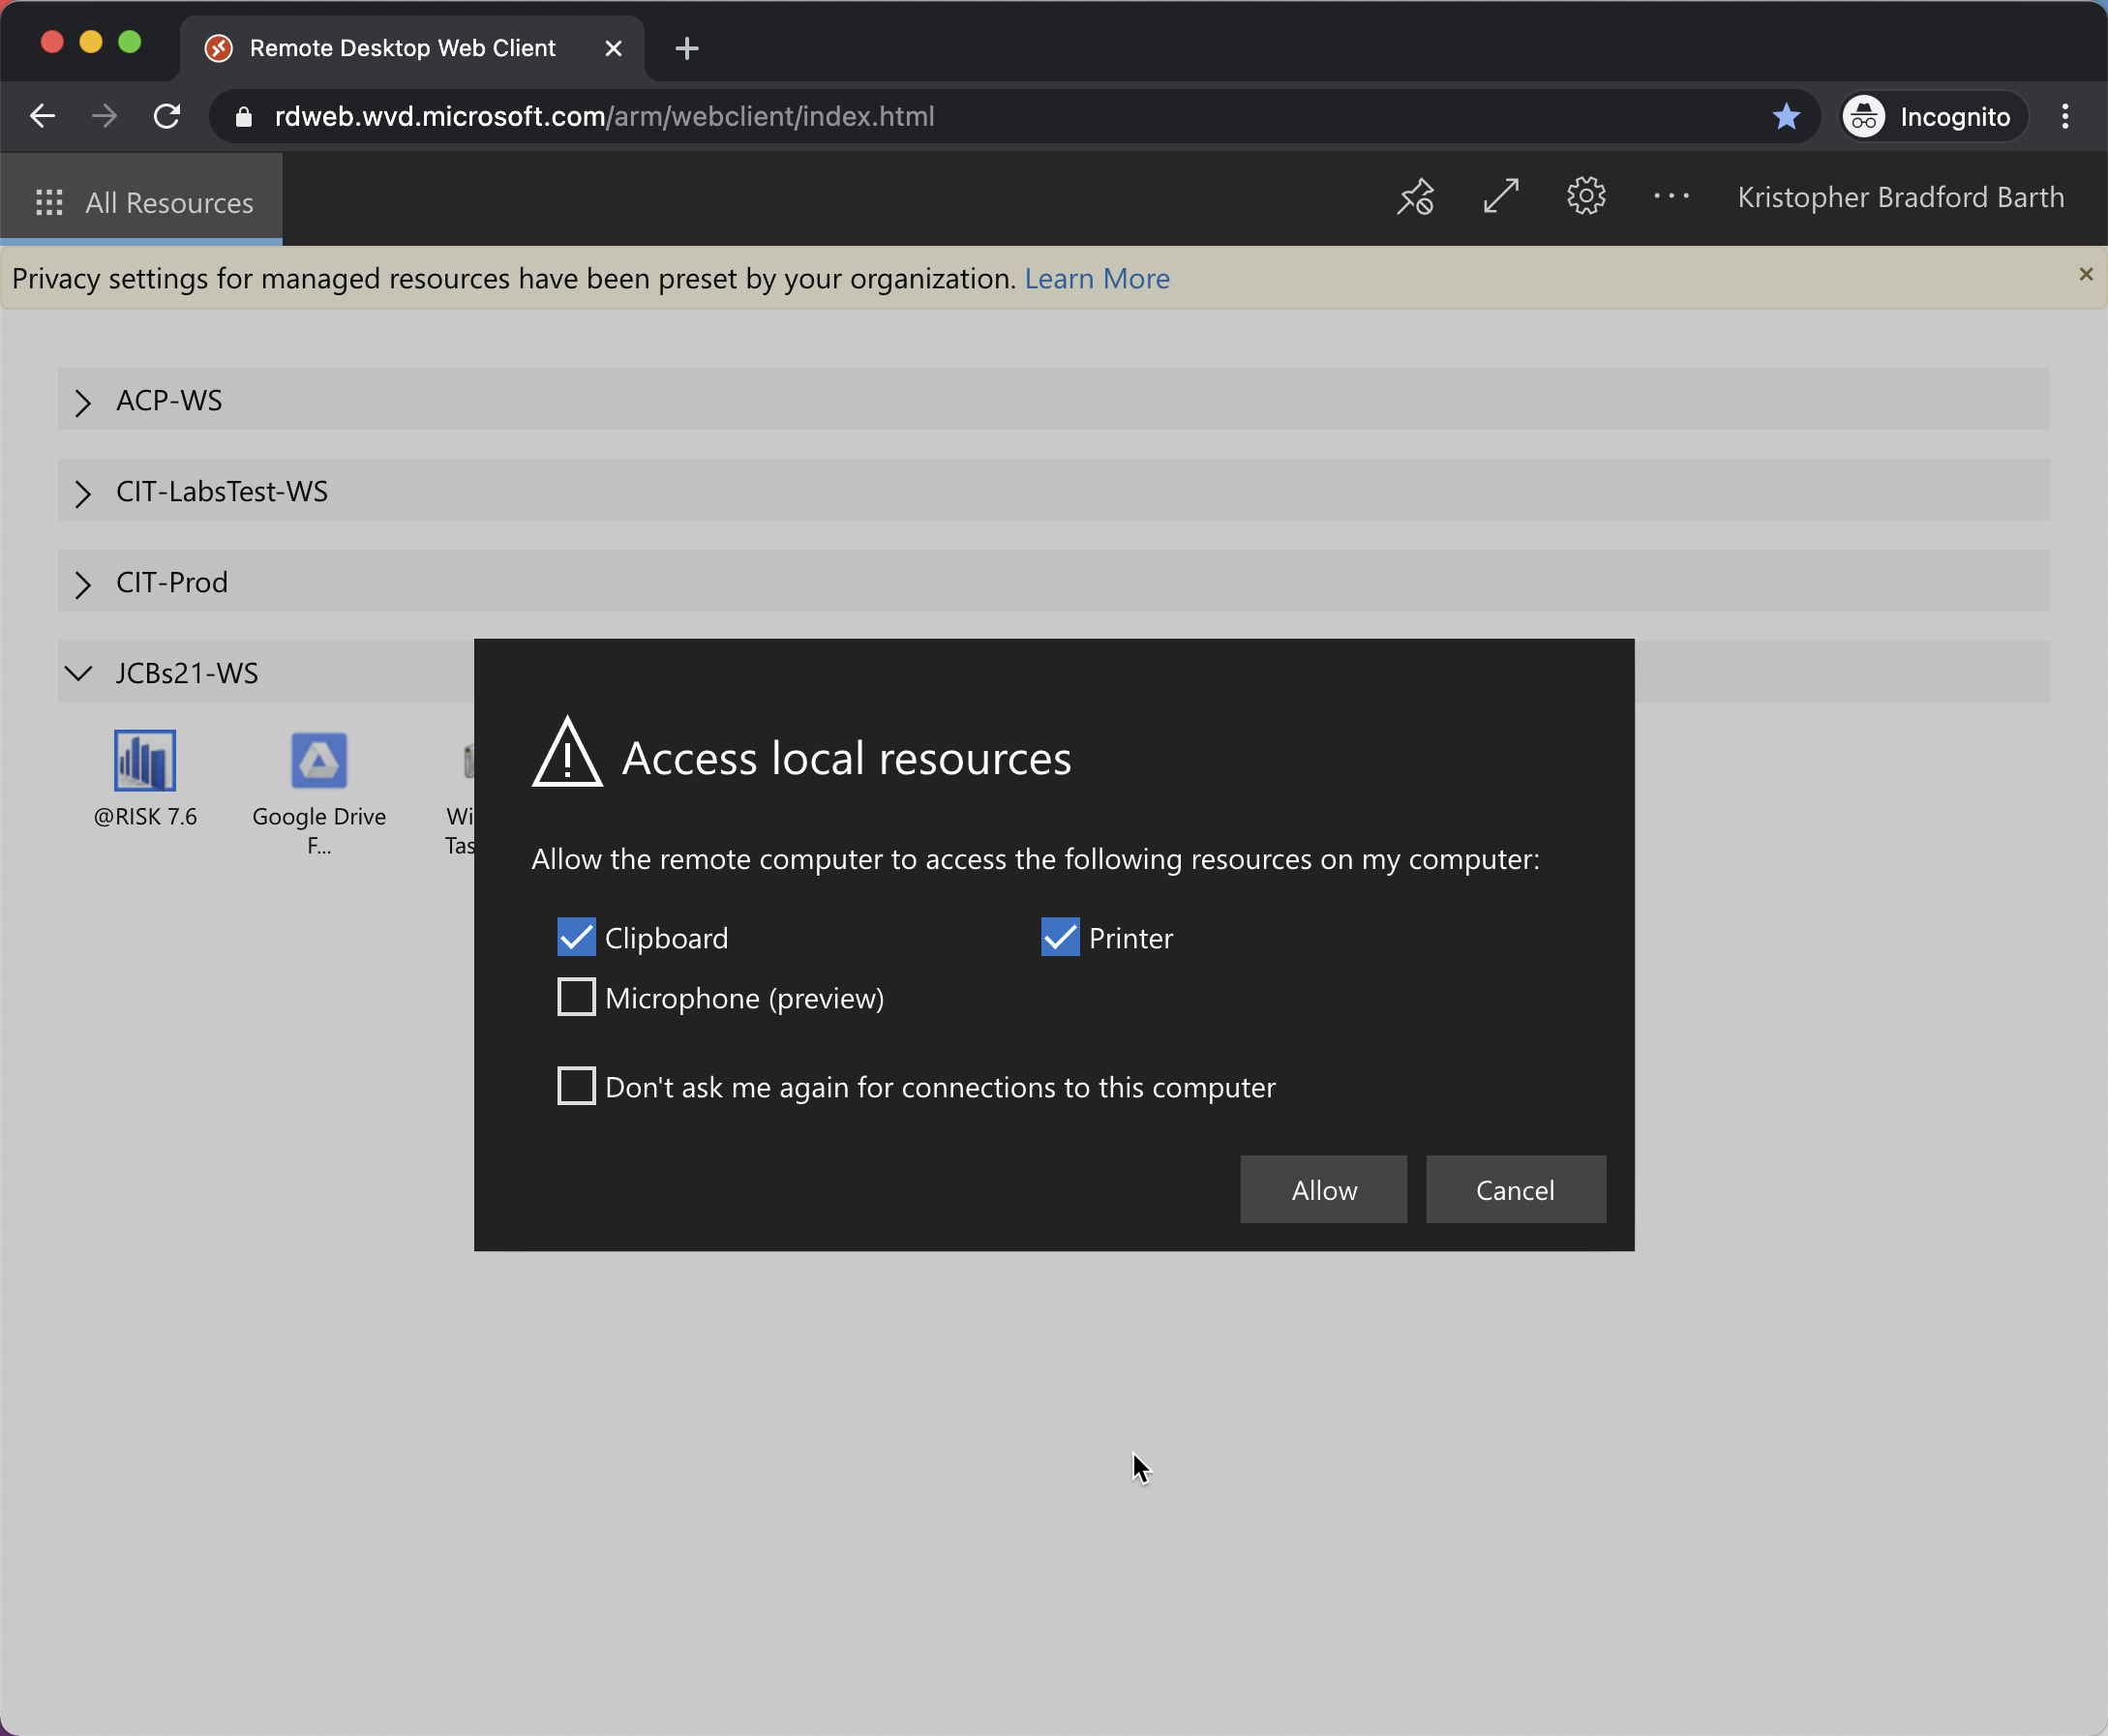
- This will start the connection to the Windows Remote App and launch the Google Drive File Stream Application.
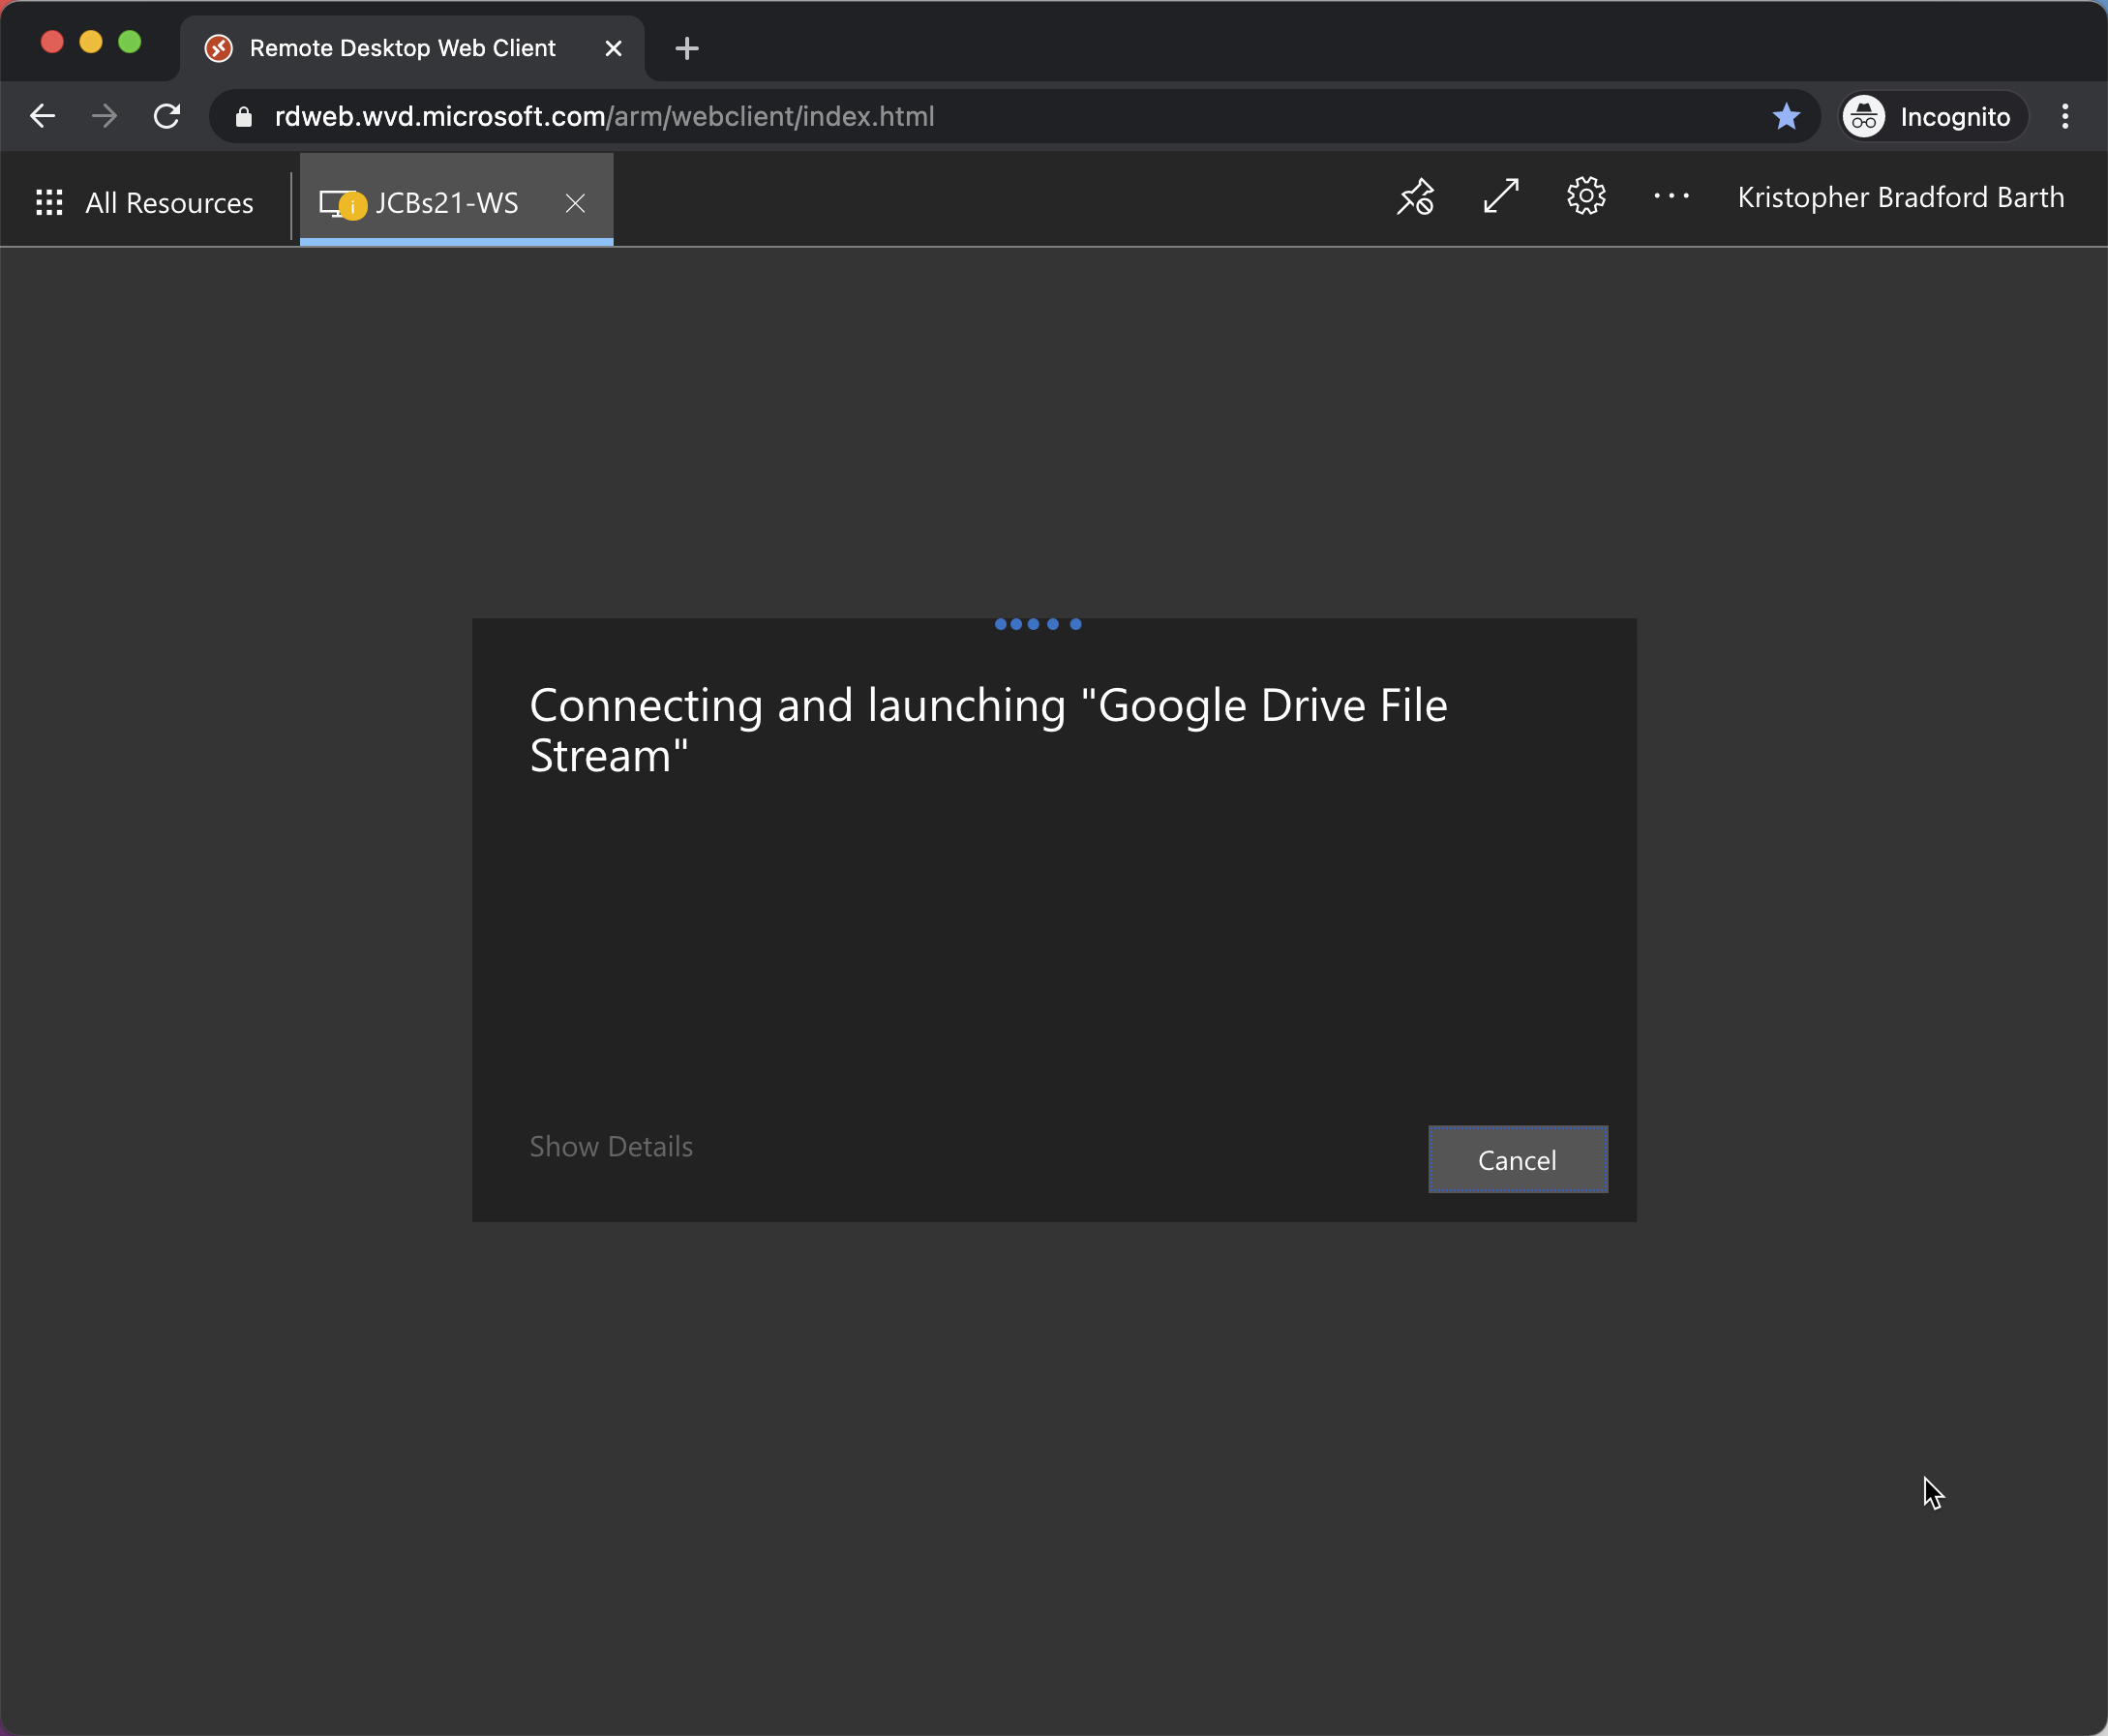
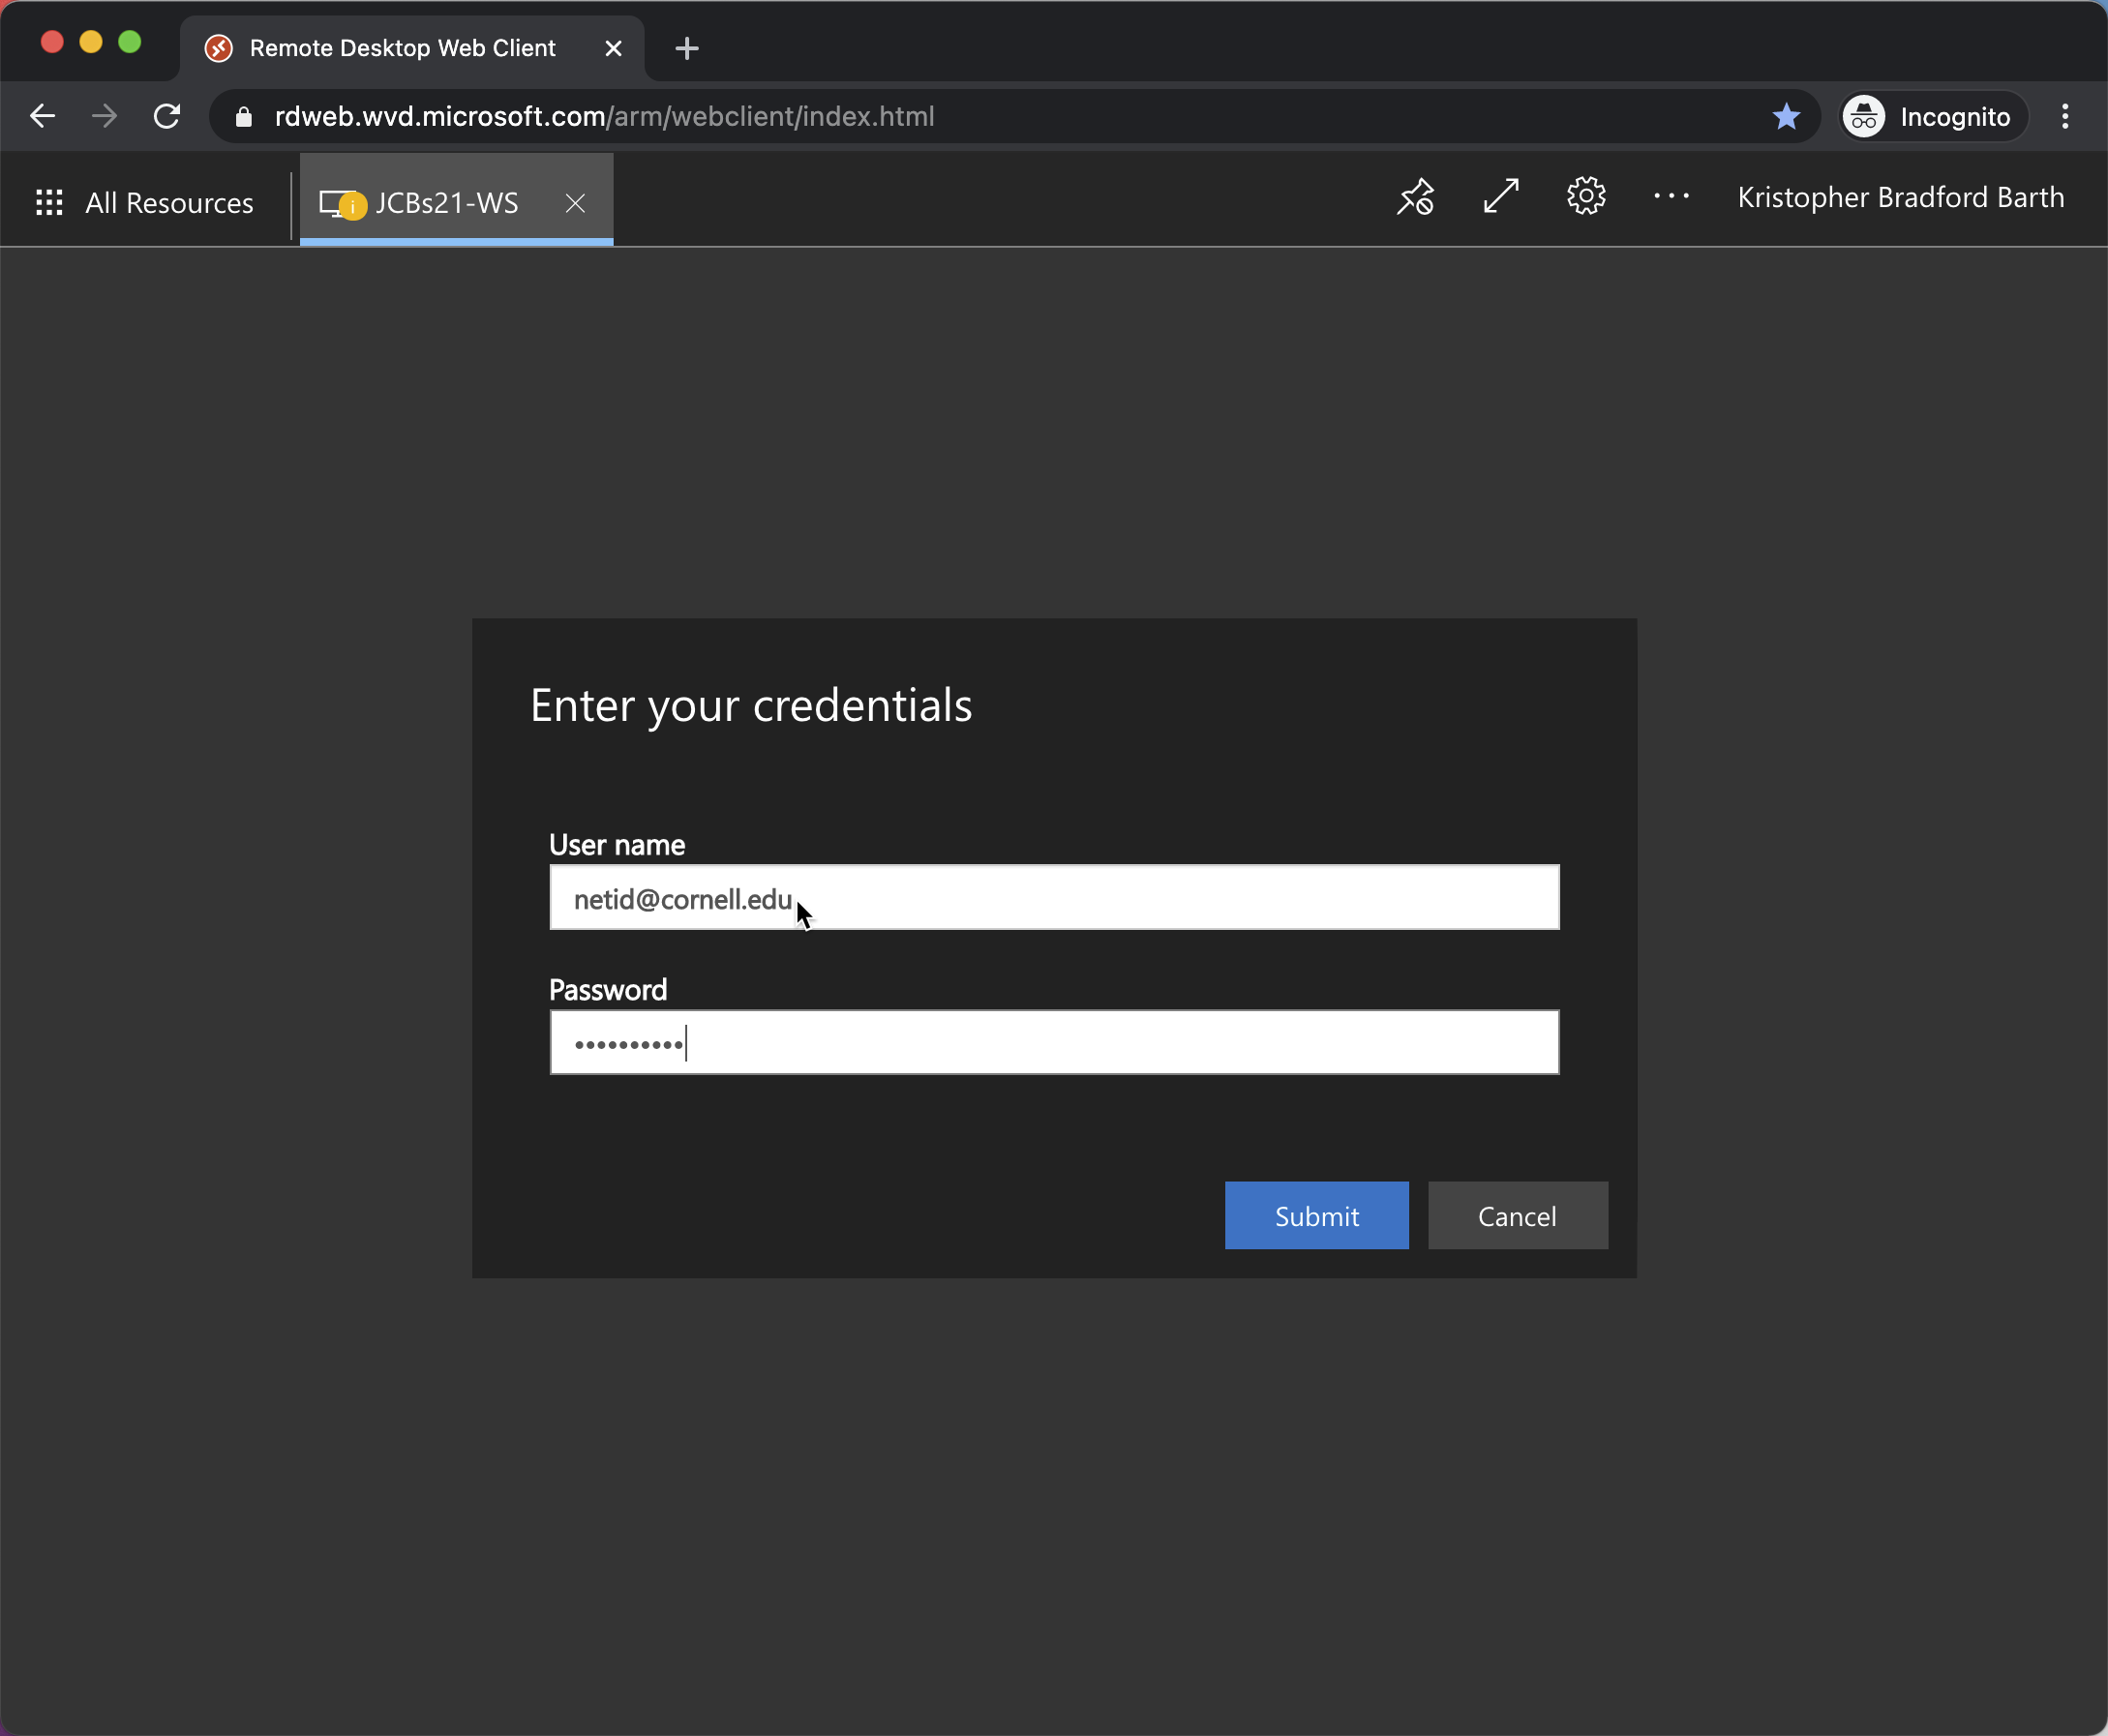
- Sign in to the Windows Virtual Desktop with your netid@cornell.edu and password:
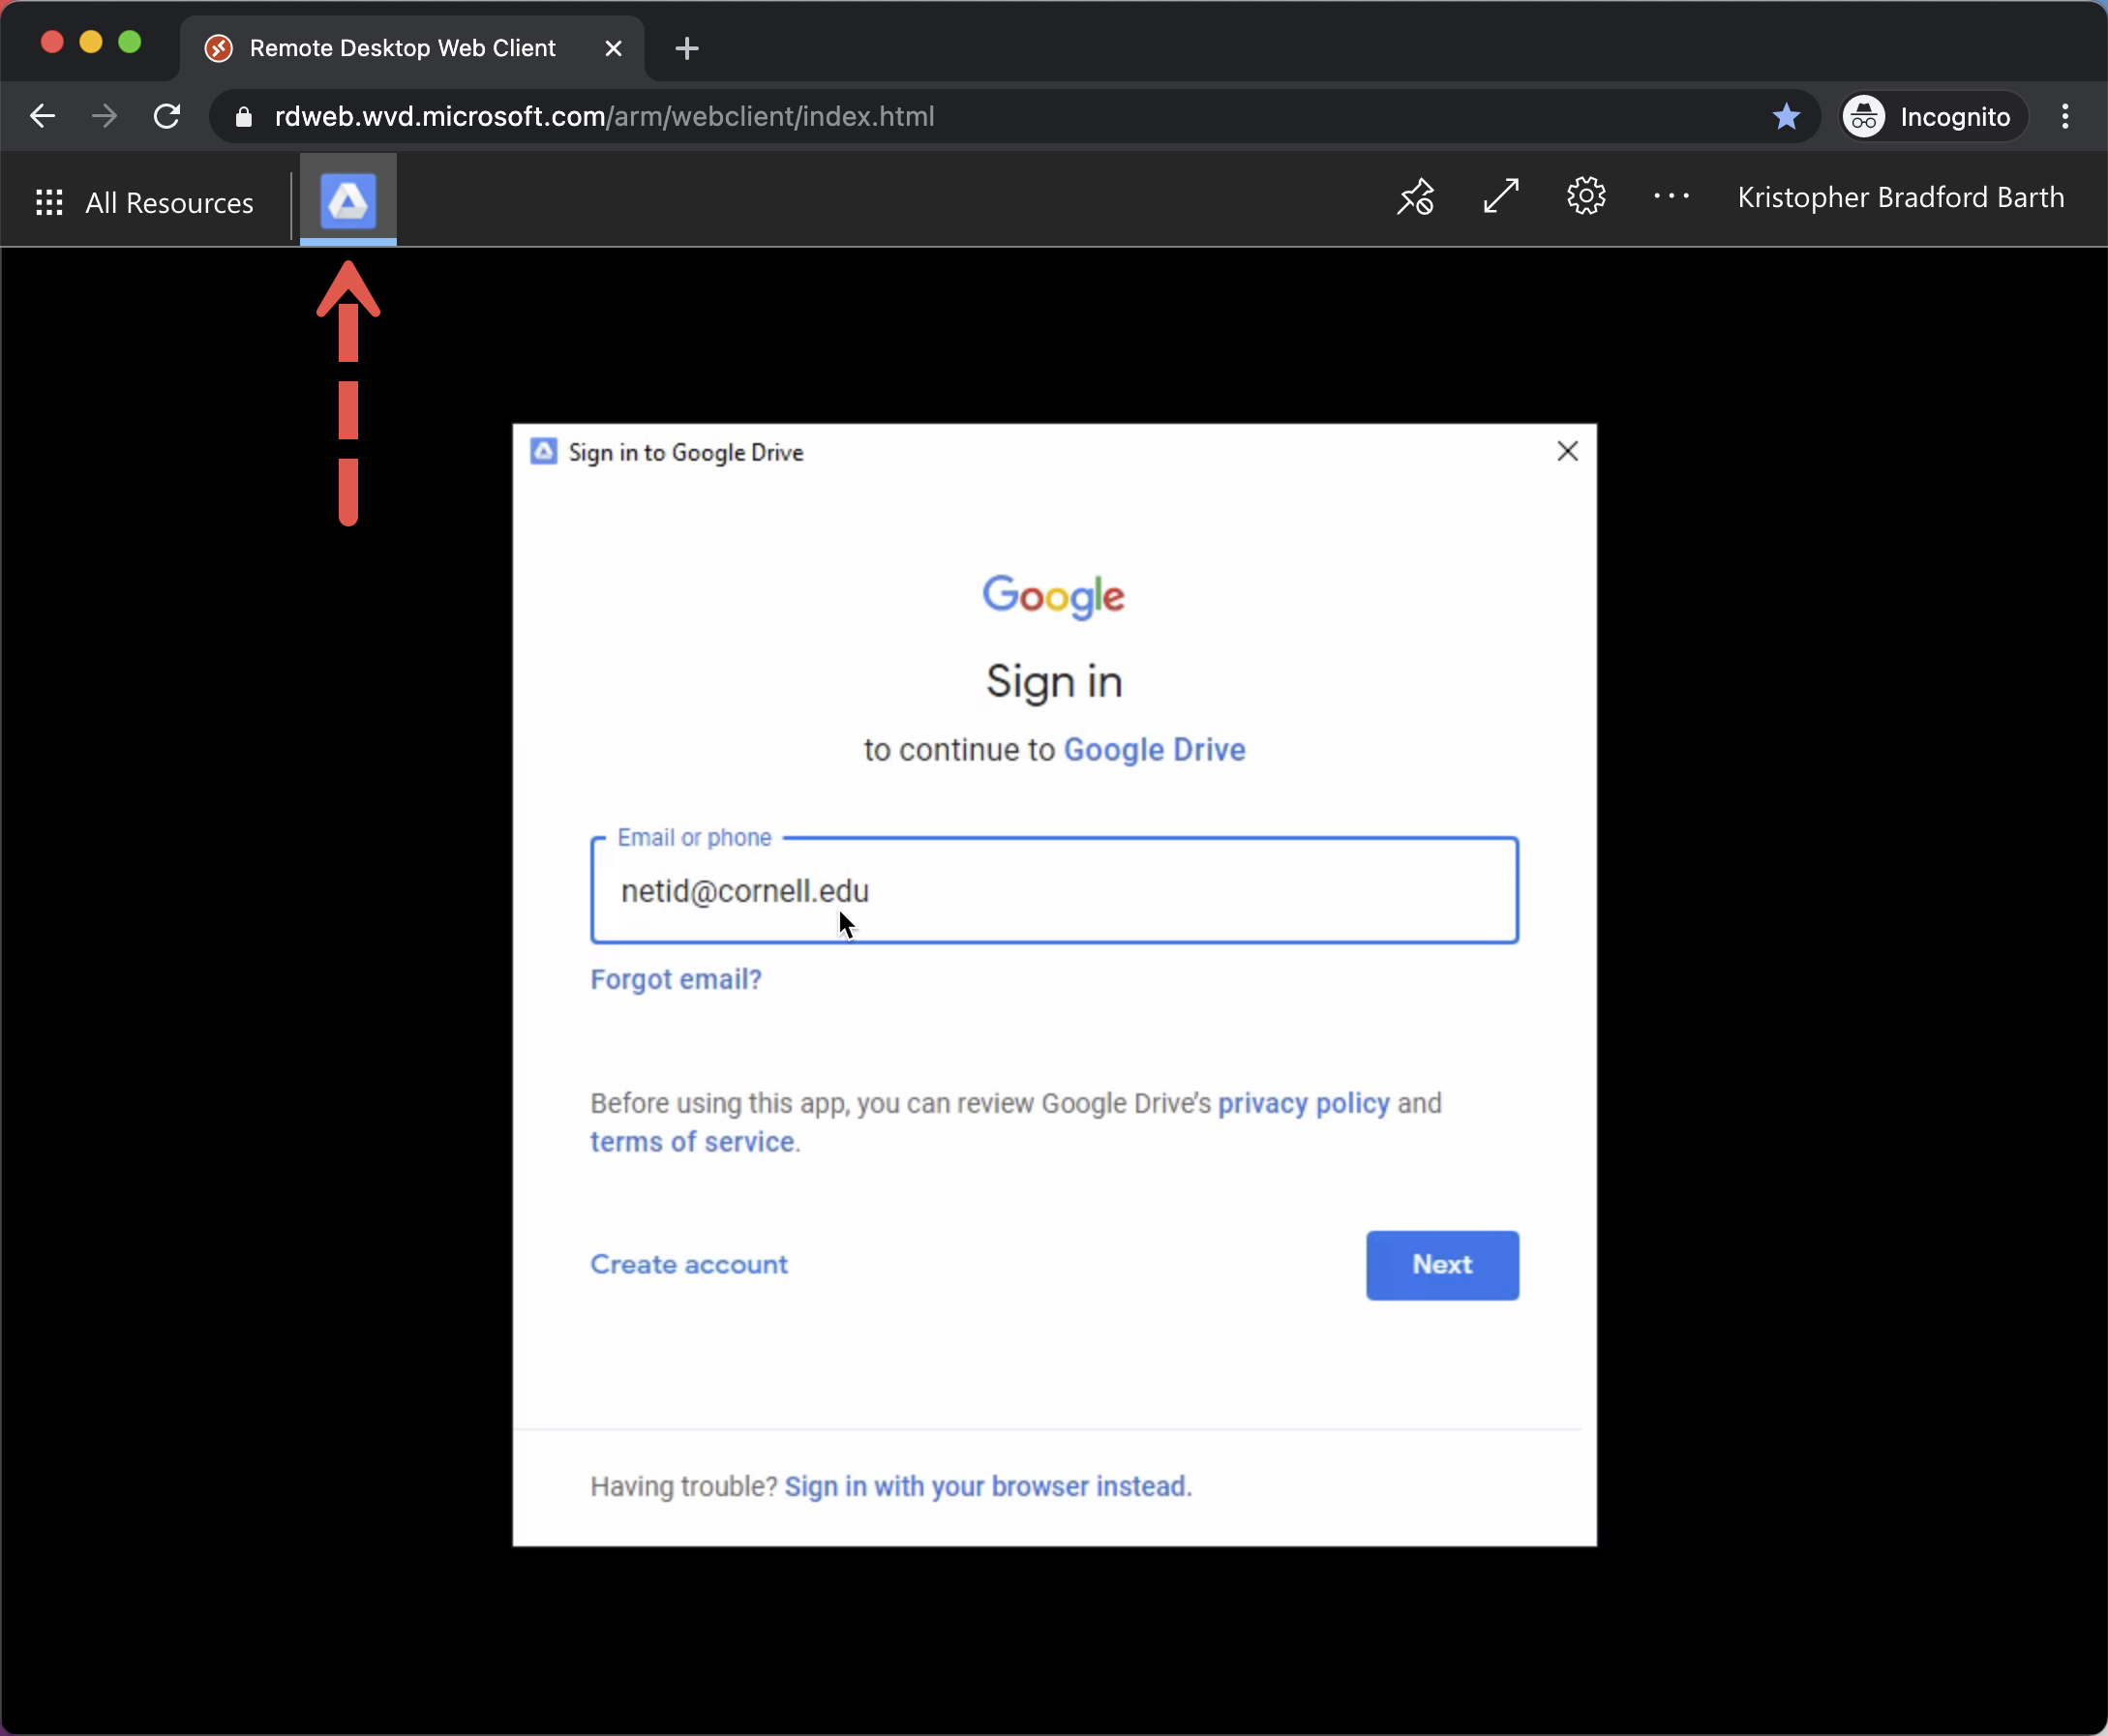
- When prompted by Google Drive File Stream, sign in with your netid@cornell.edu. Note: The Google Drive File Stream Application Icon is now displayed next to the 'All Resources' button under the URL.
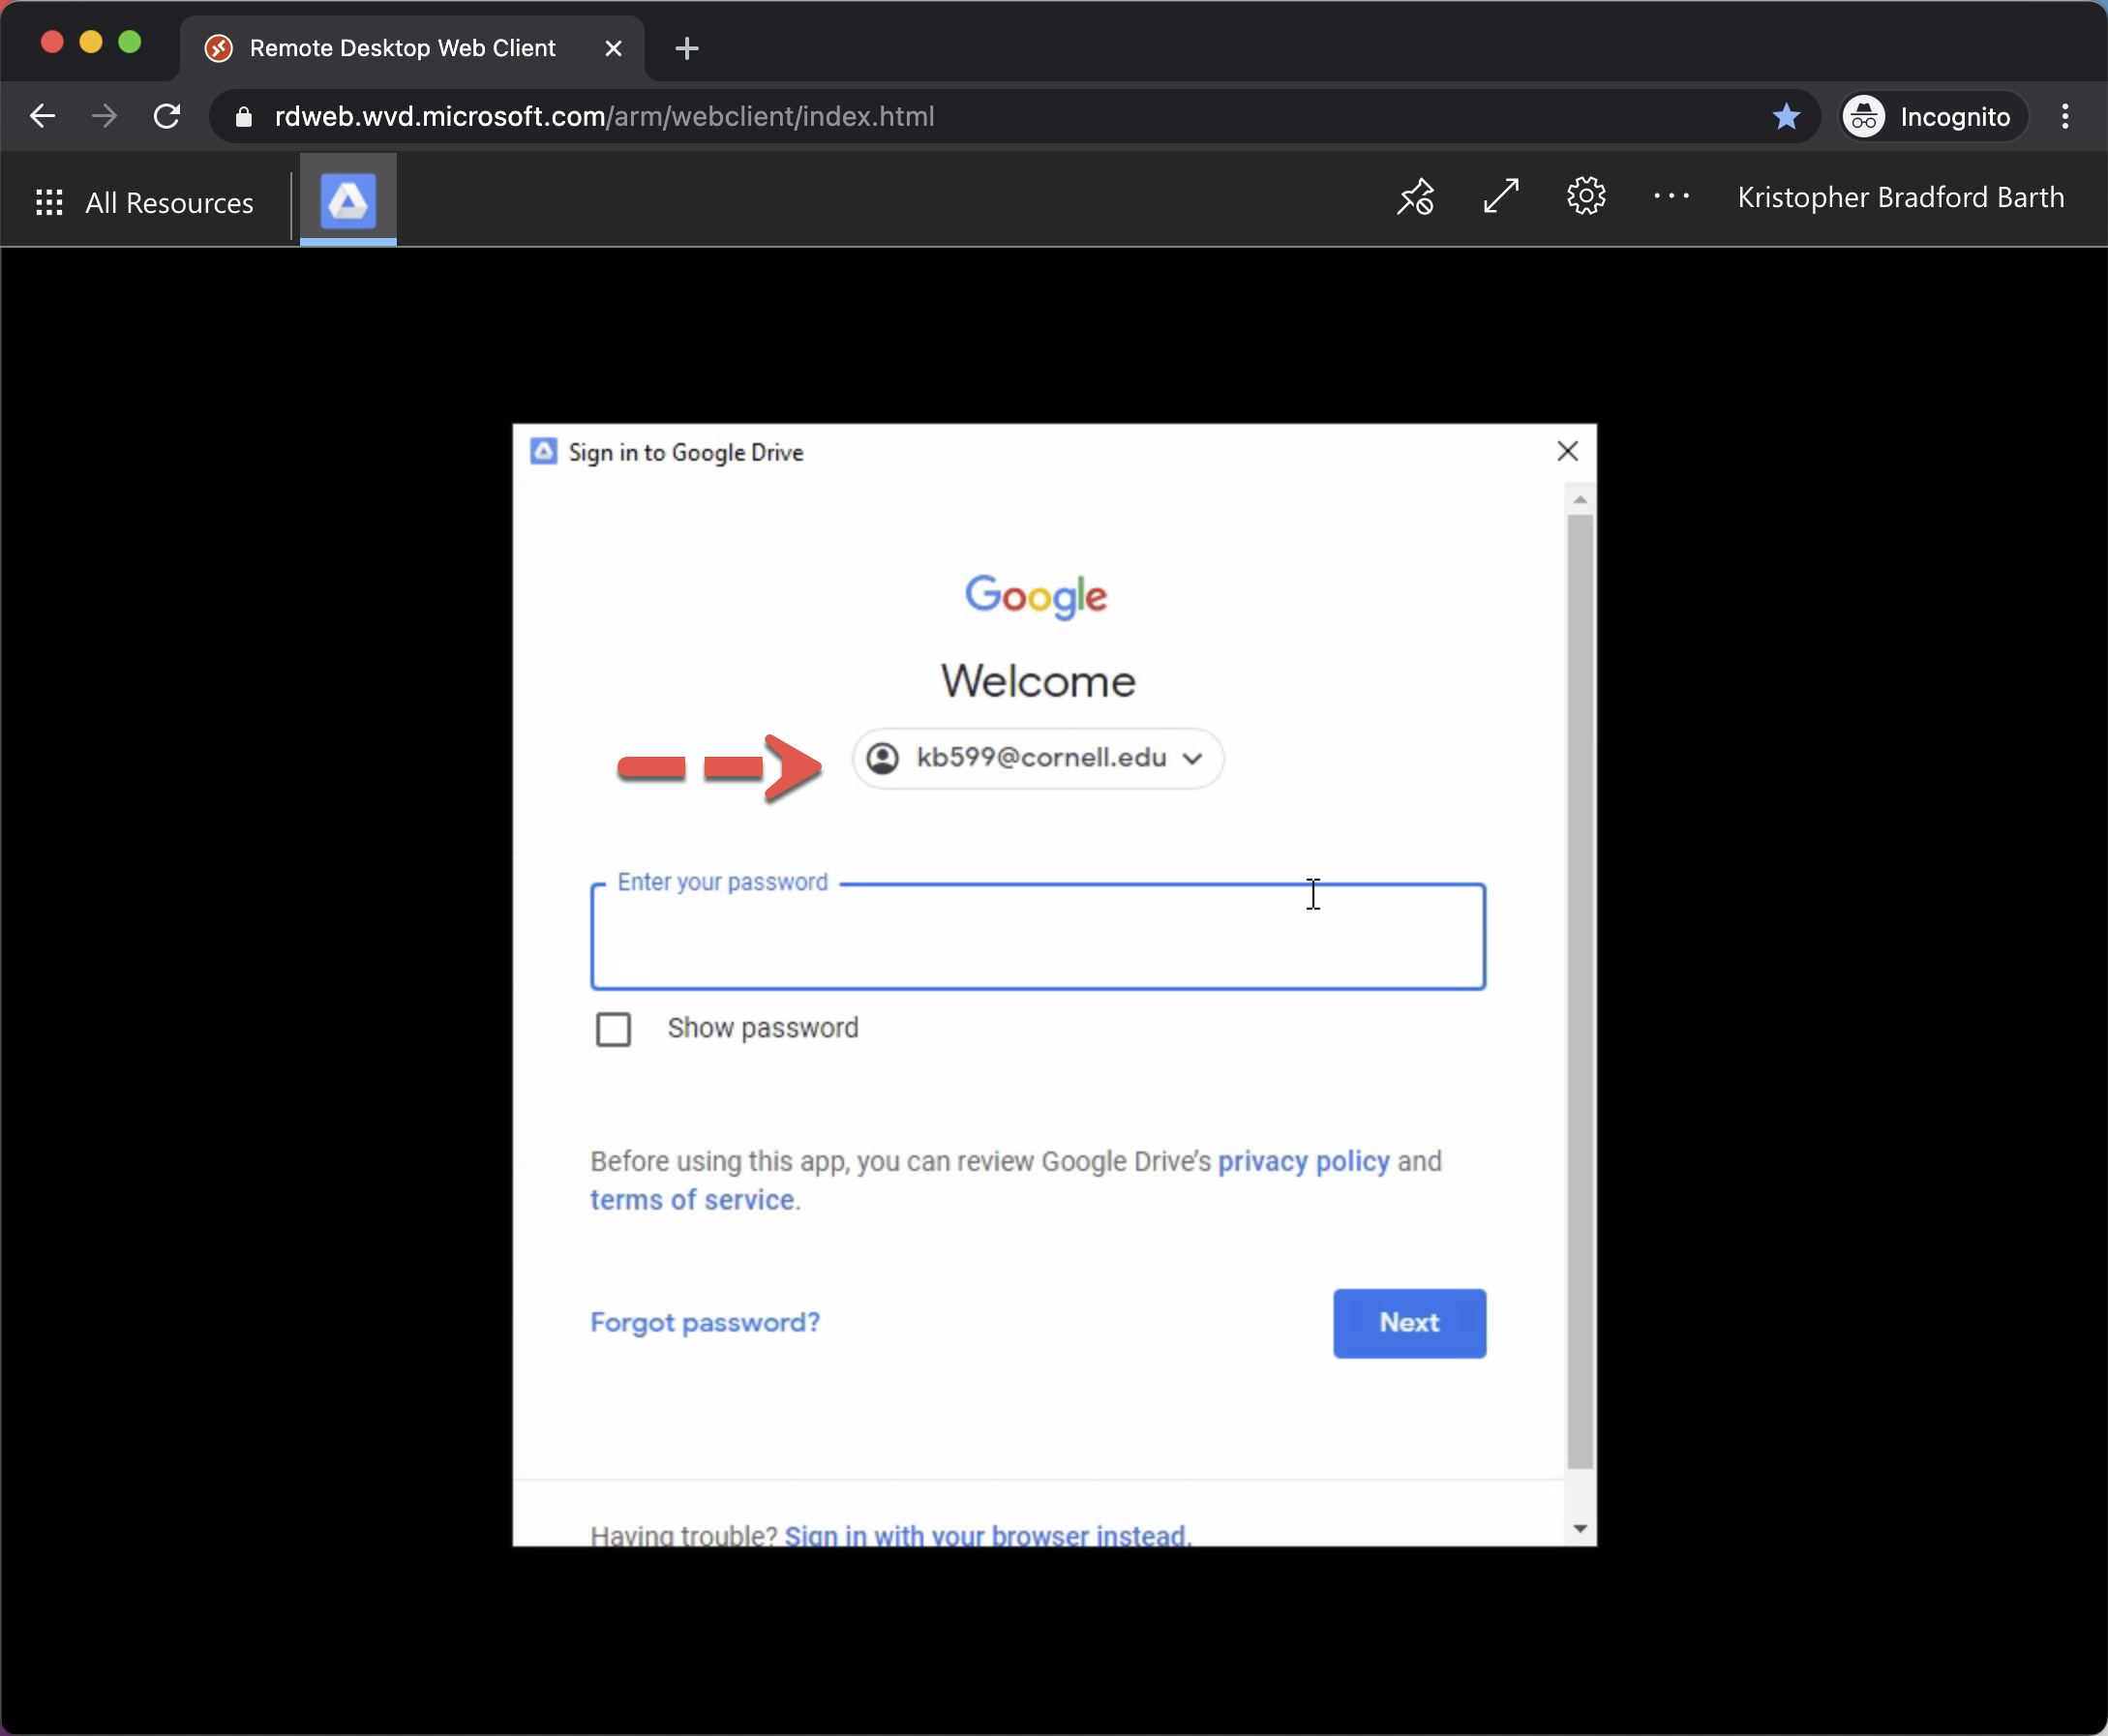
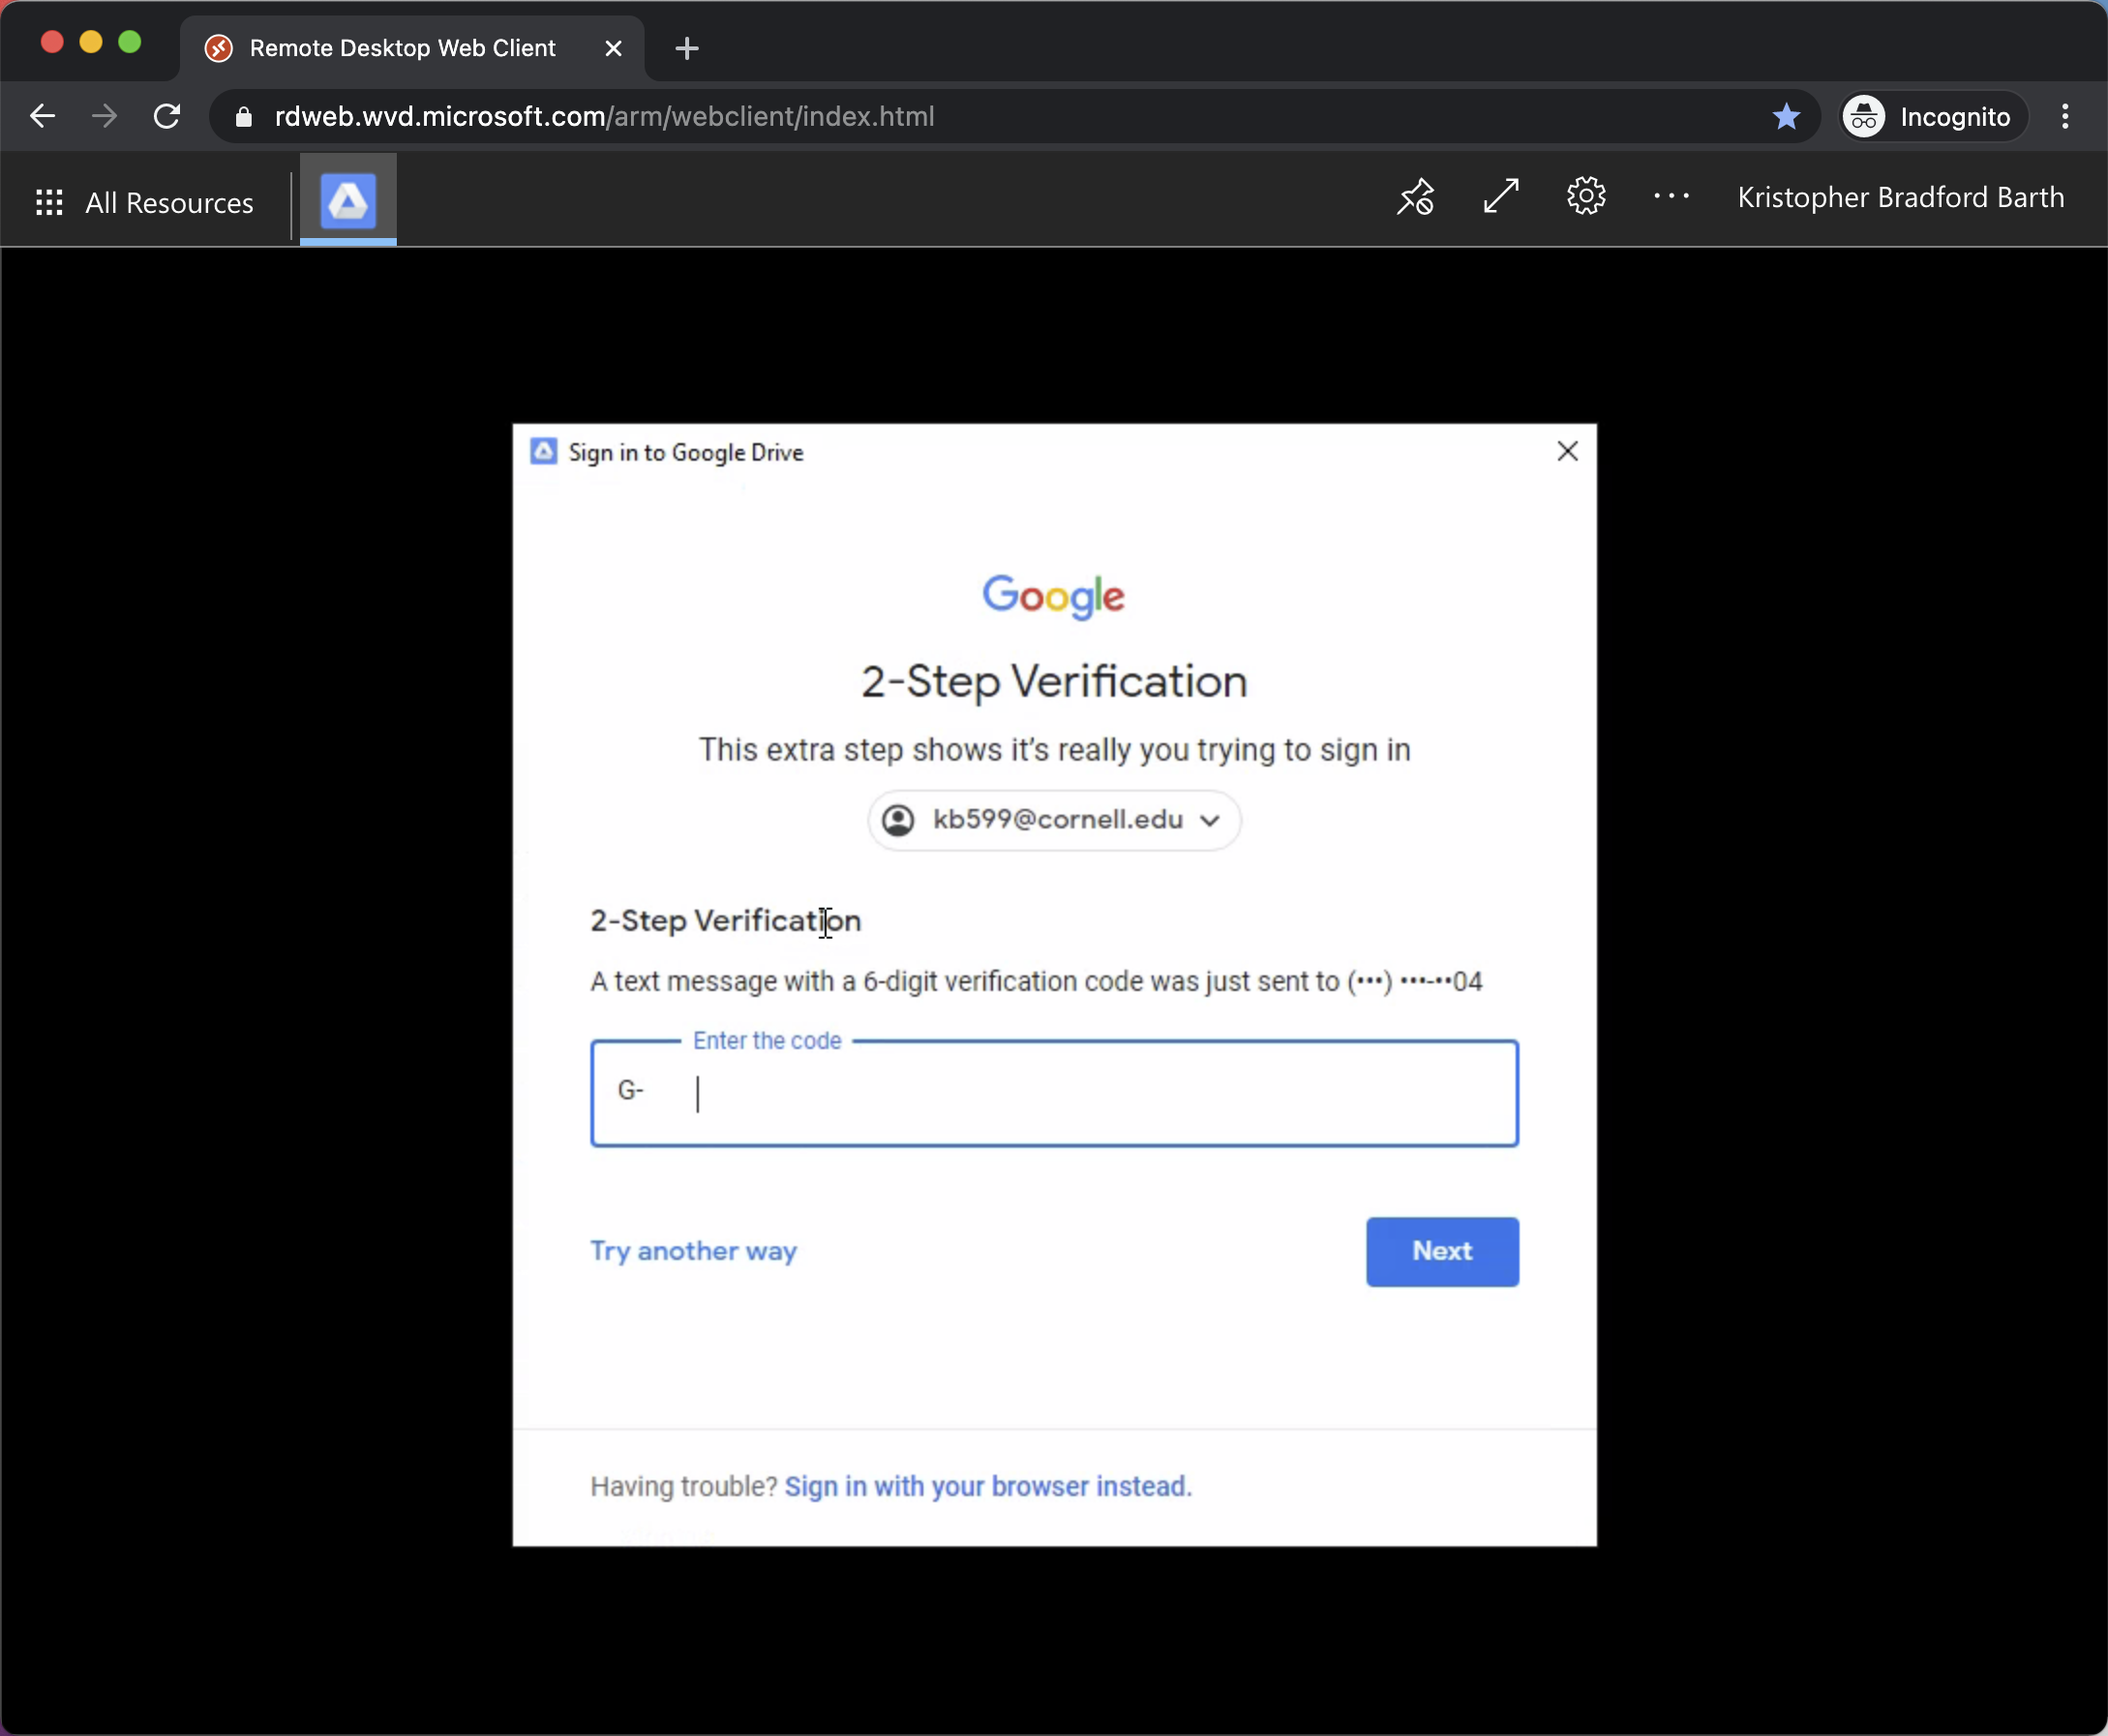
- If you have two-step for Google setup, please complete the 2-Step Verification:
- The Google Drive File Stream Application is now open:
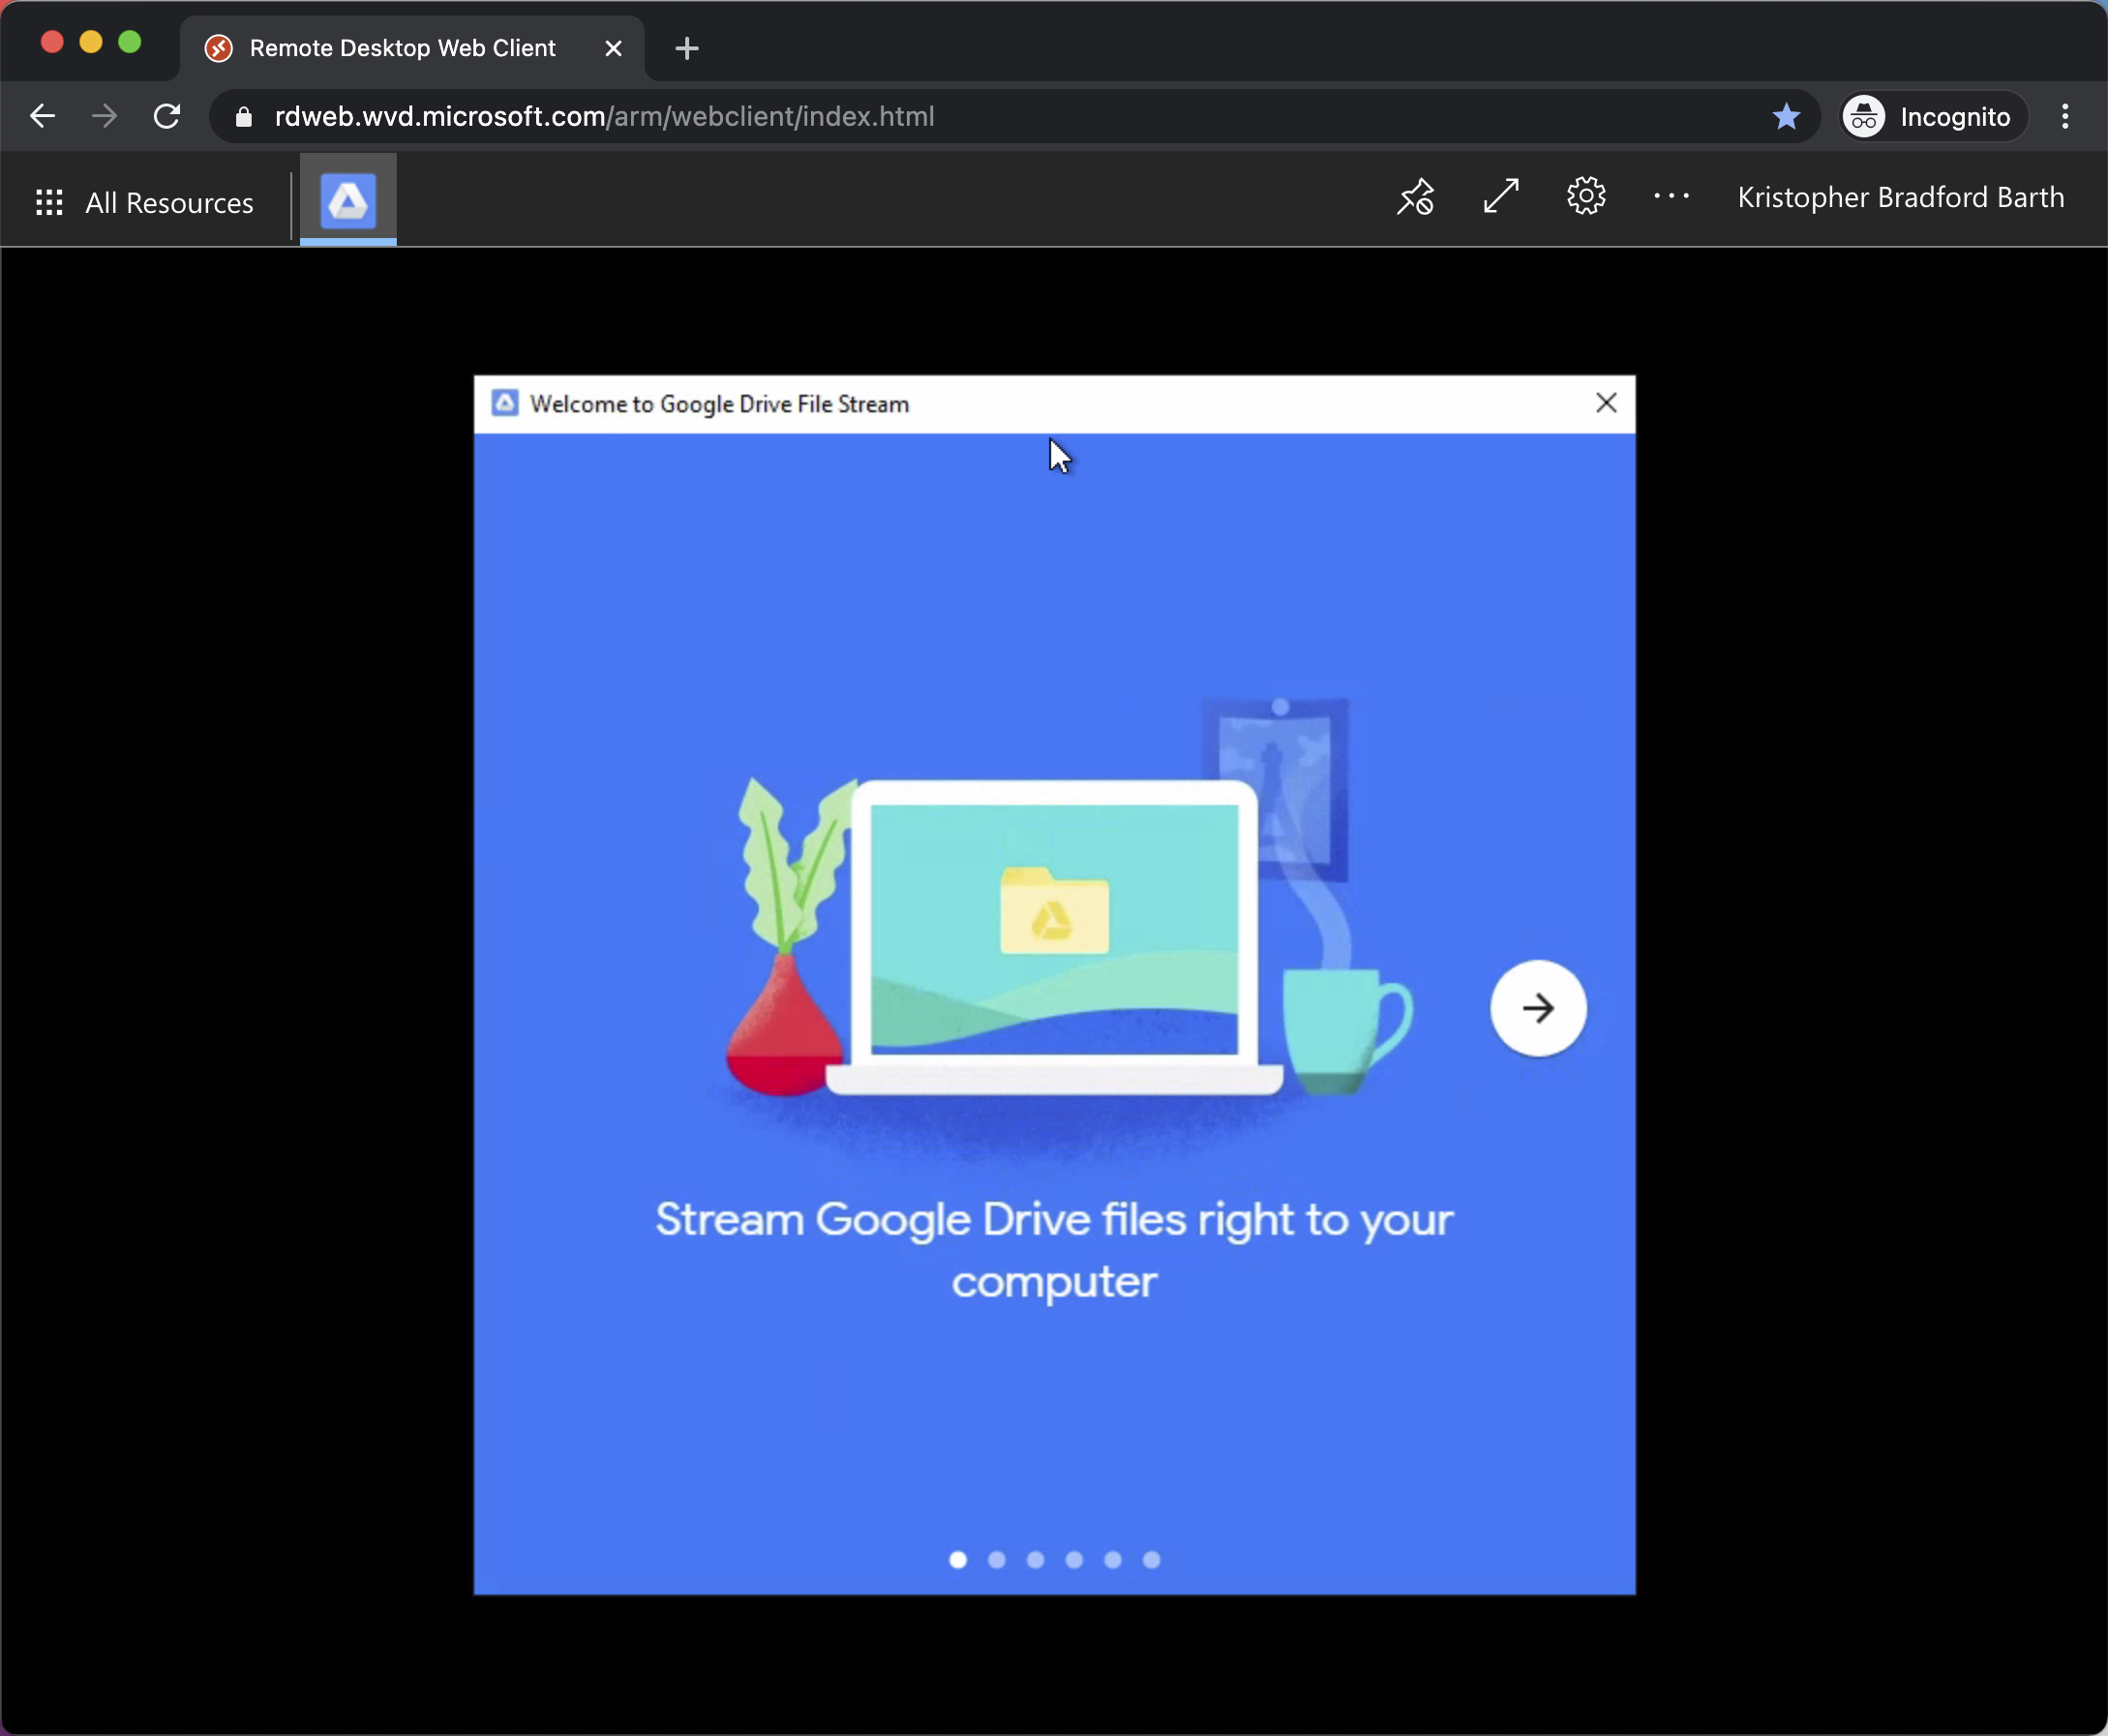
- Click the X in the top right or the right arrow to close the window.
- File Explorer will open and show you that your Google Drive is now connected and mapped to G:\
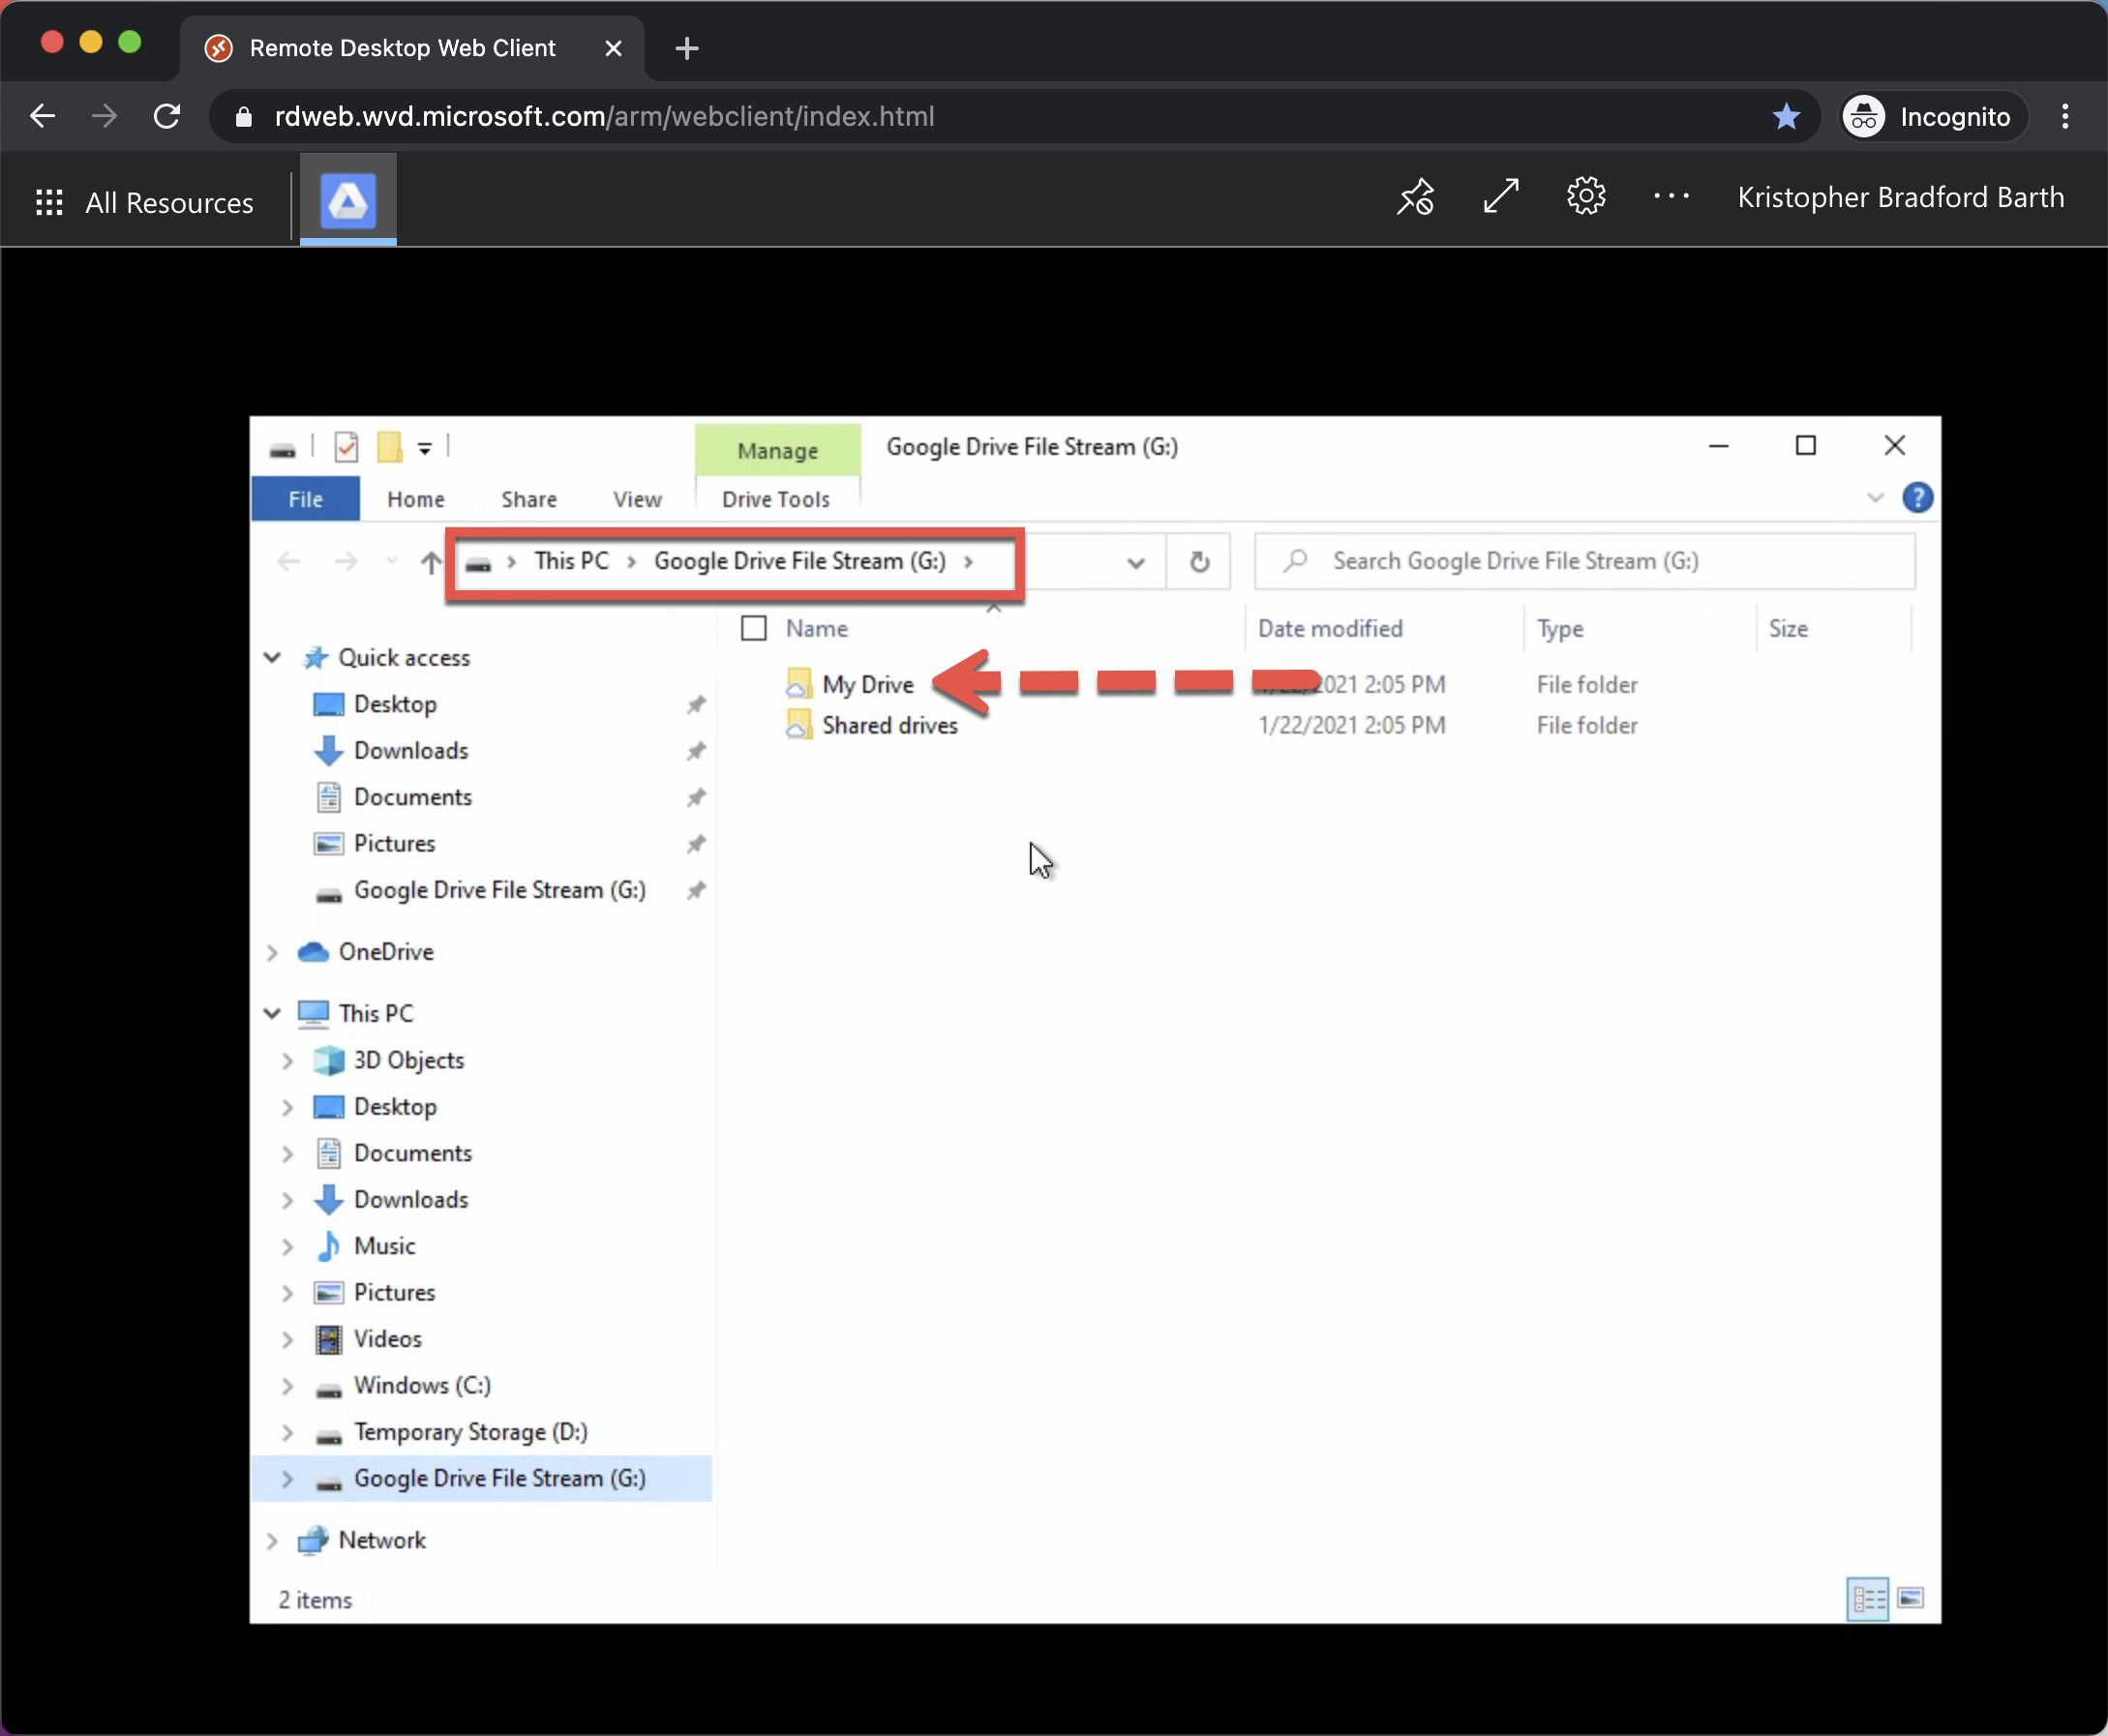
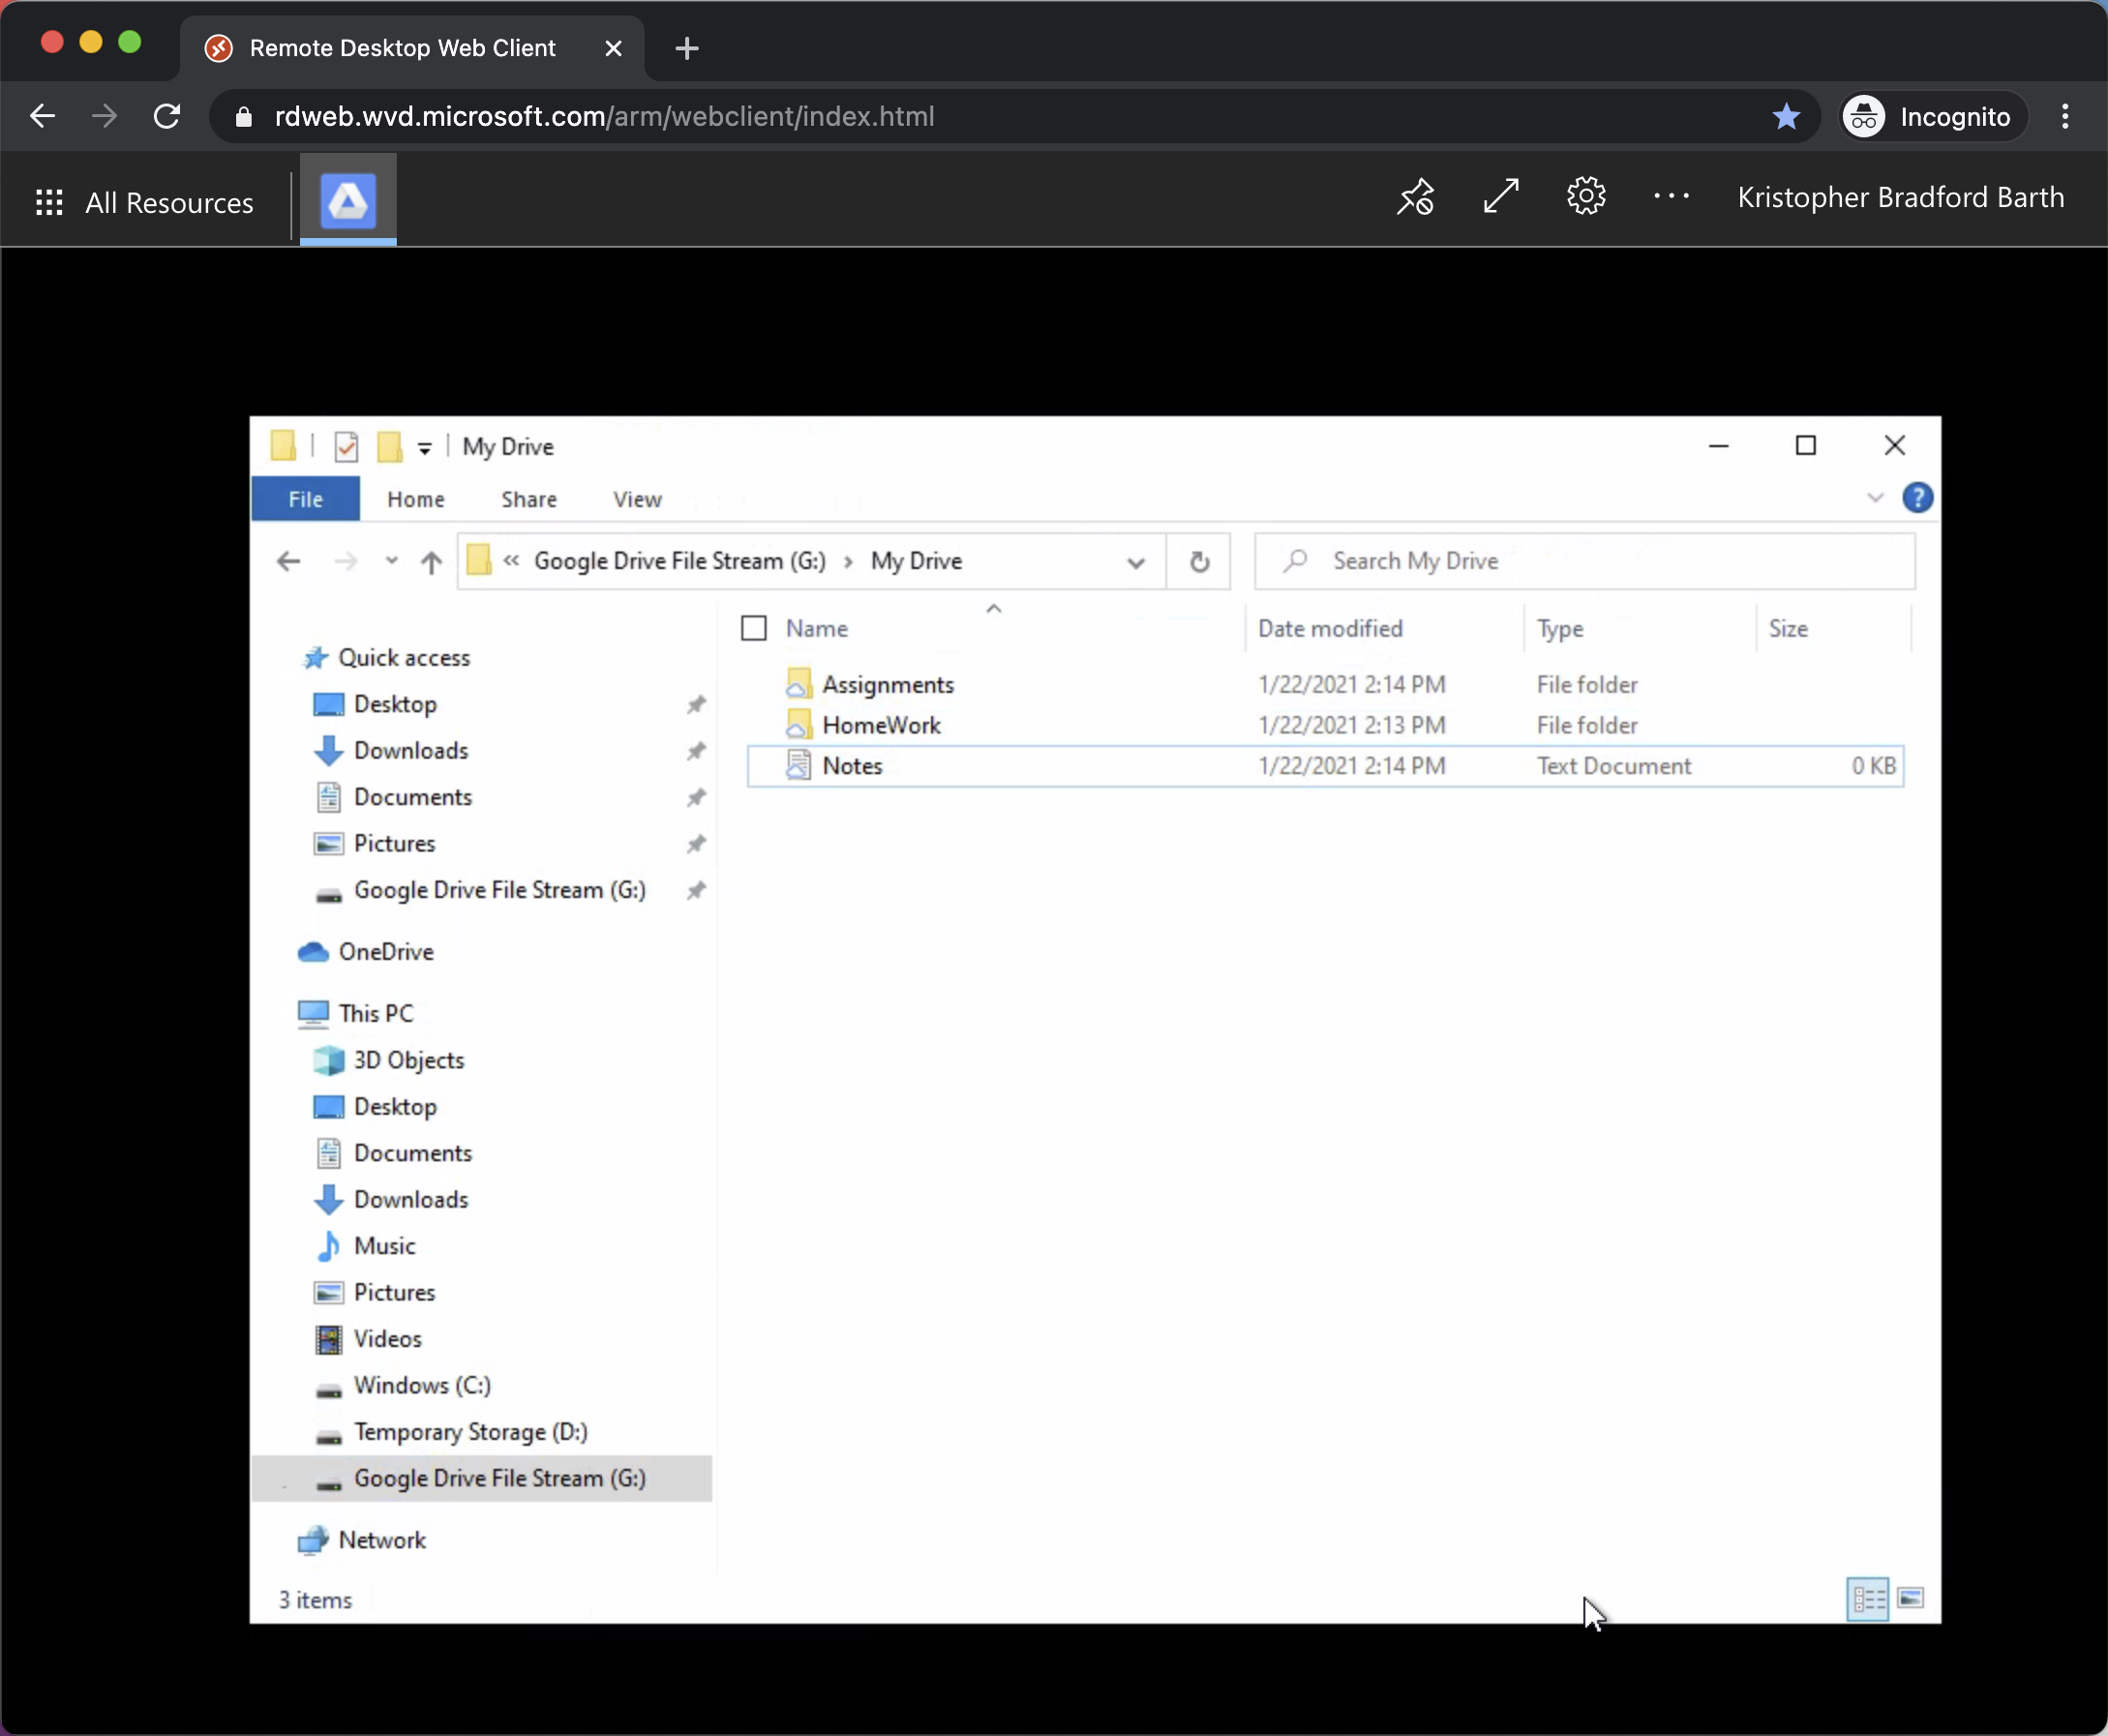
- EXTREMELY IMPORTANT: All files should ALWAYS be saved to your Google Drive (G:\My Drive\). Files not saved to your Google Drive will be lost and unrecoverable when you Sign out/Log off.
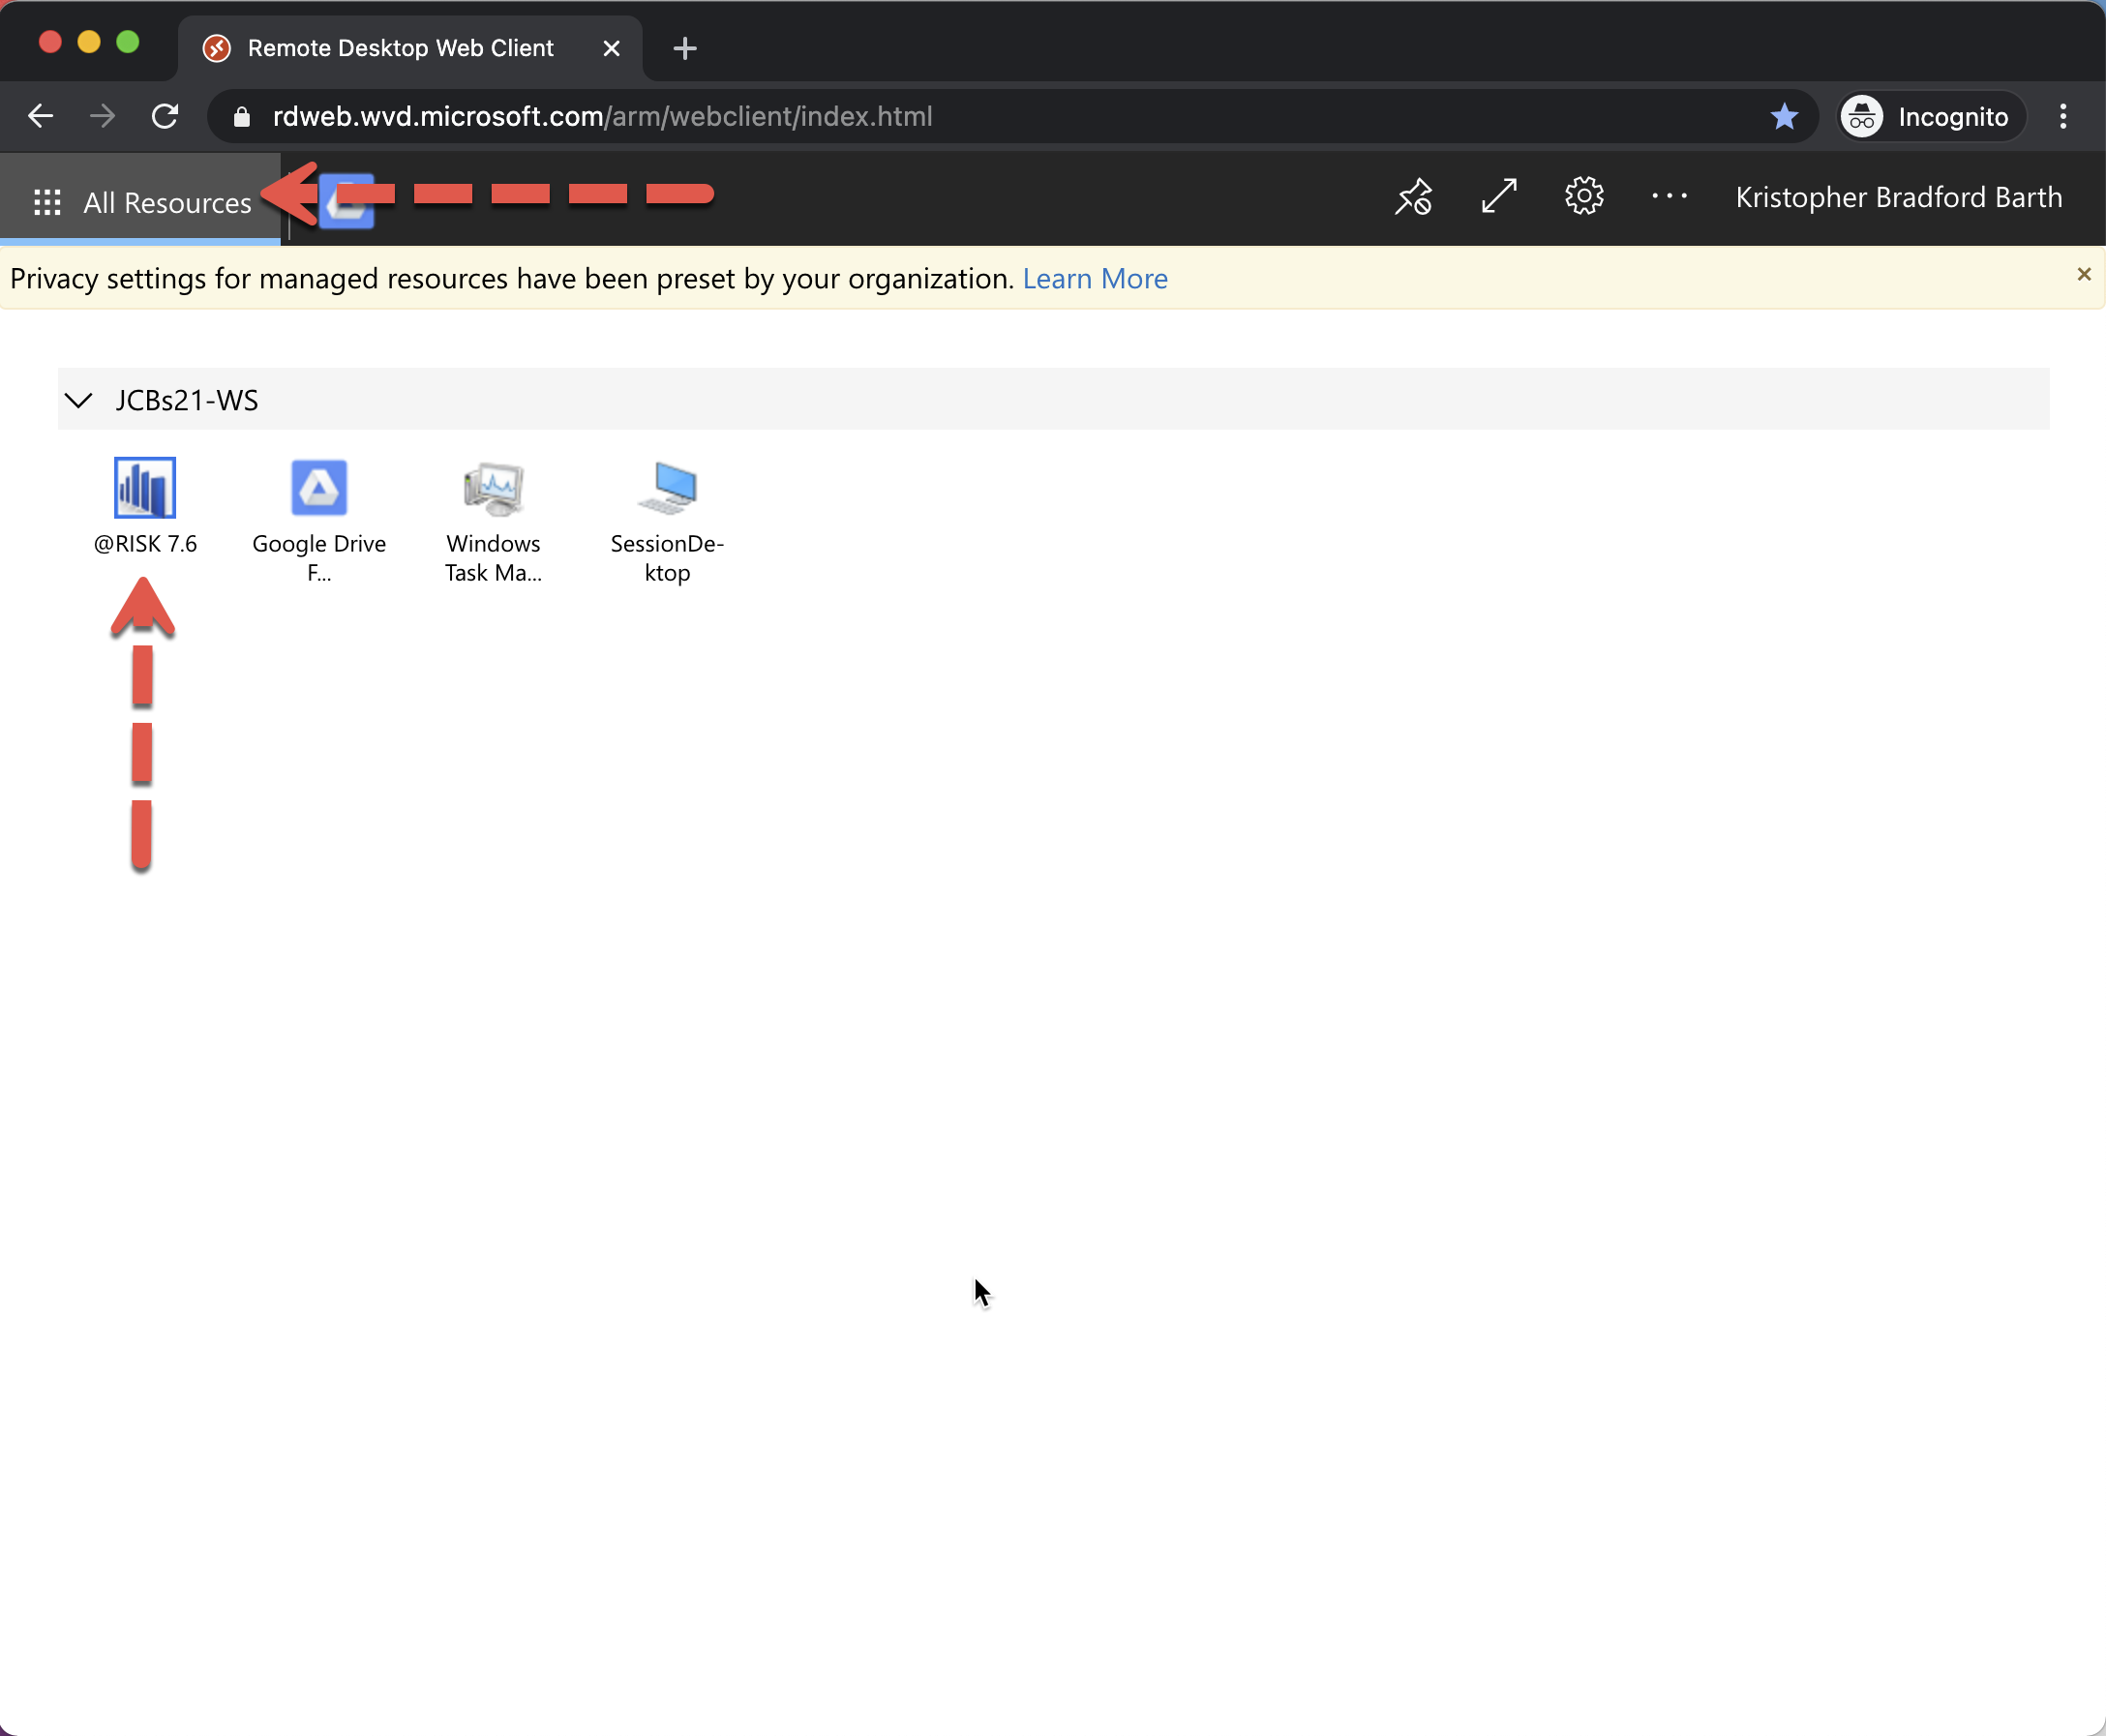
- Click the All Resources button at the top left of the window and click the '@RISK 7.6' Application:
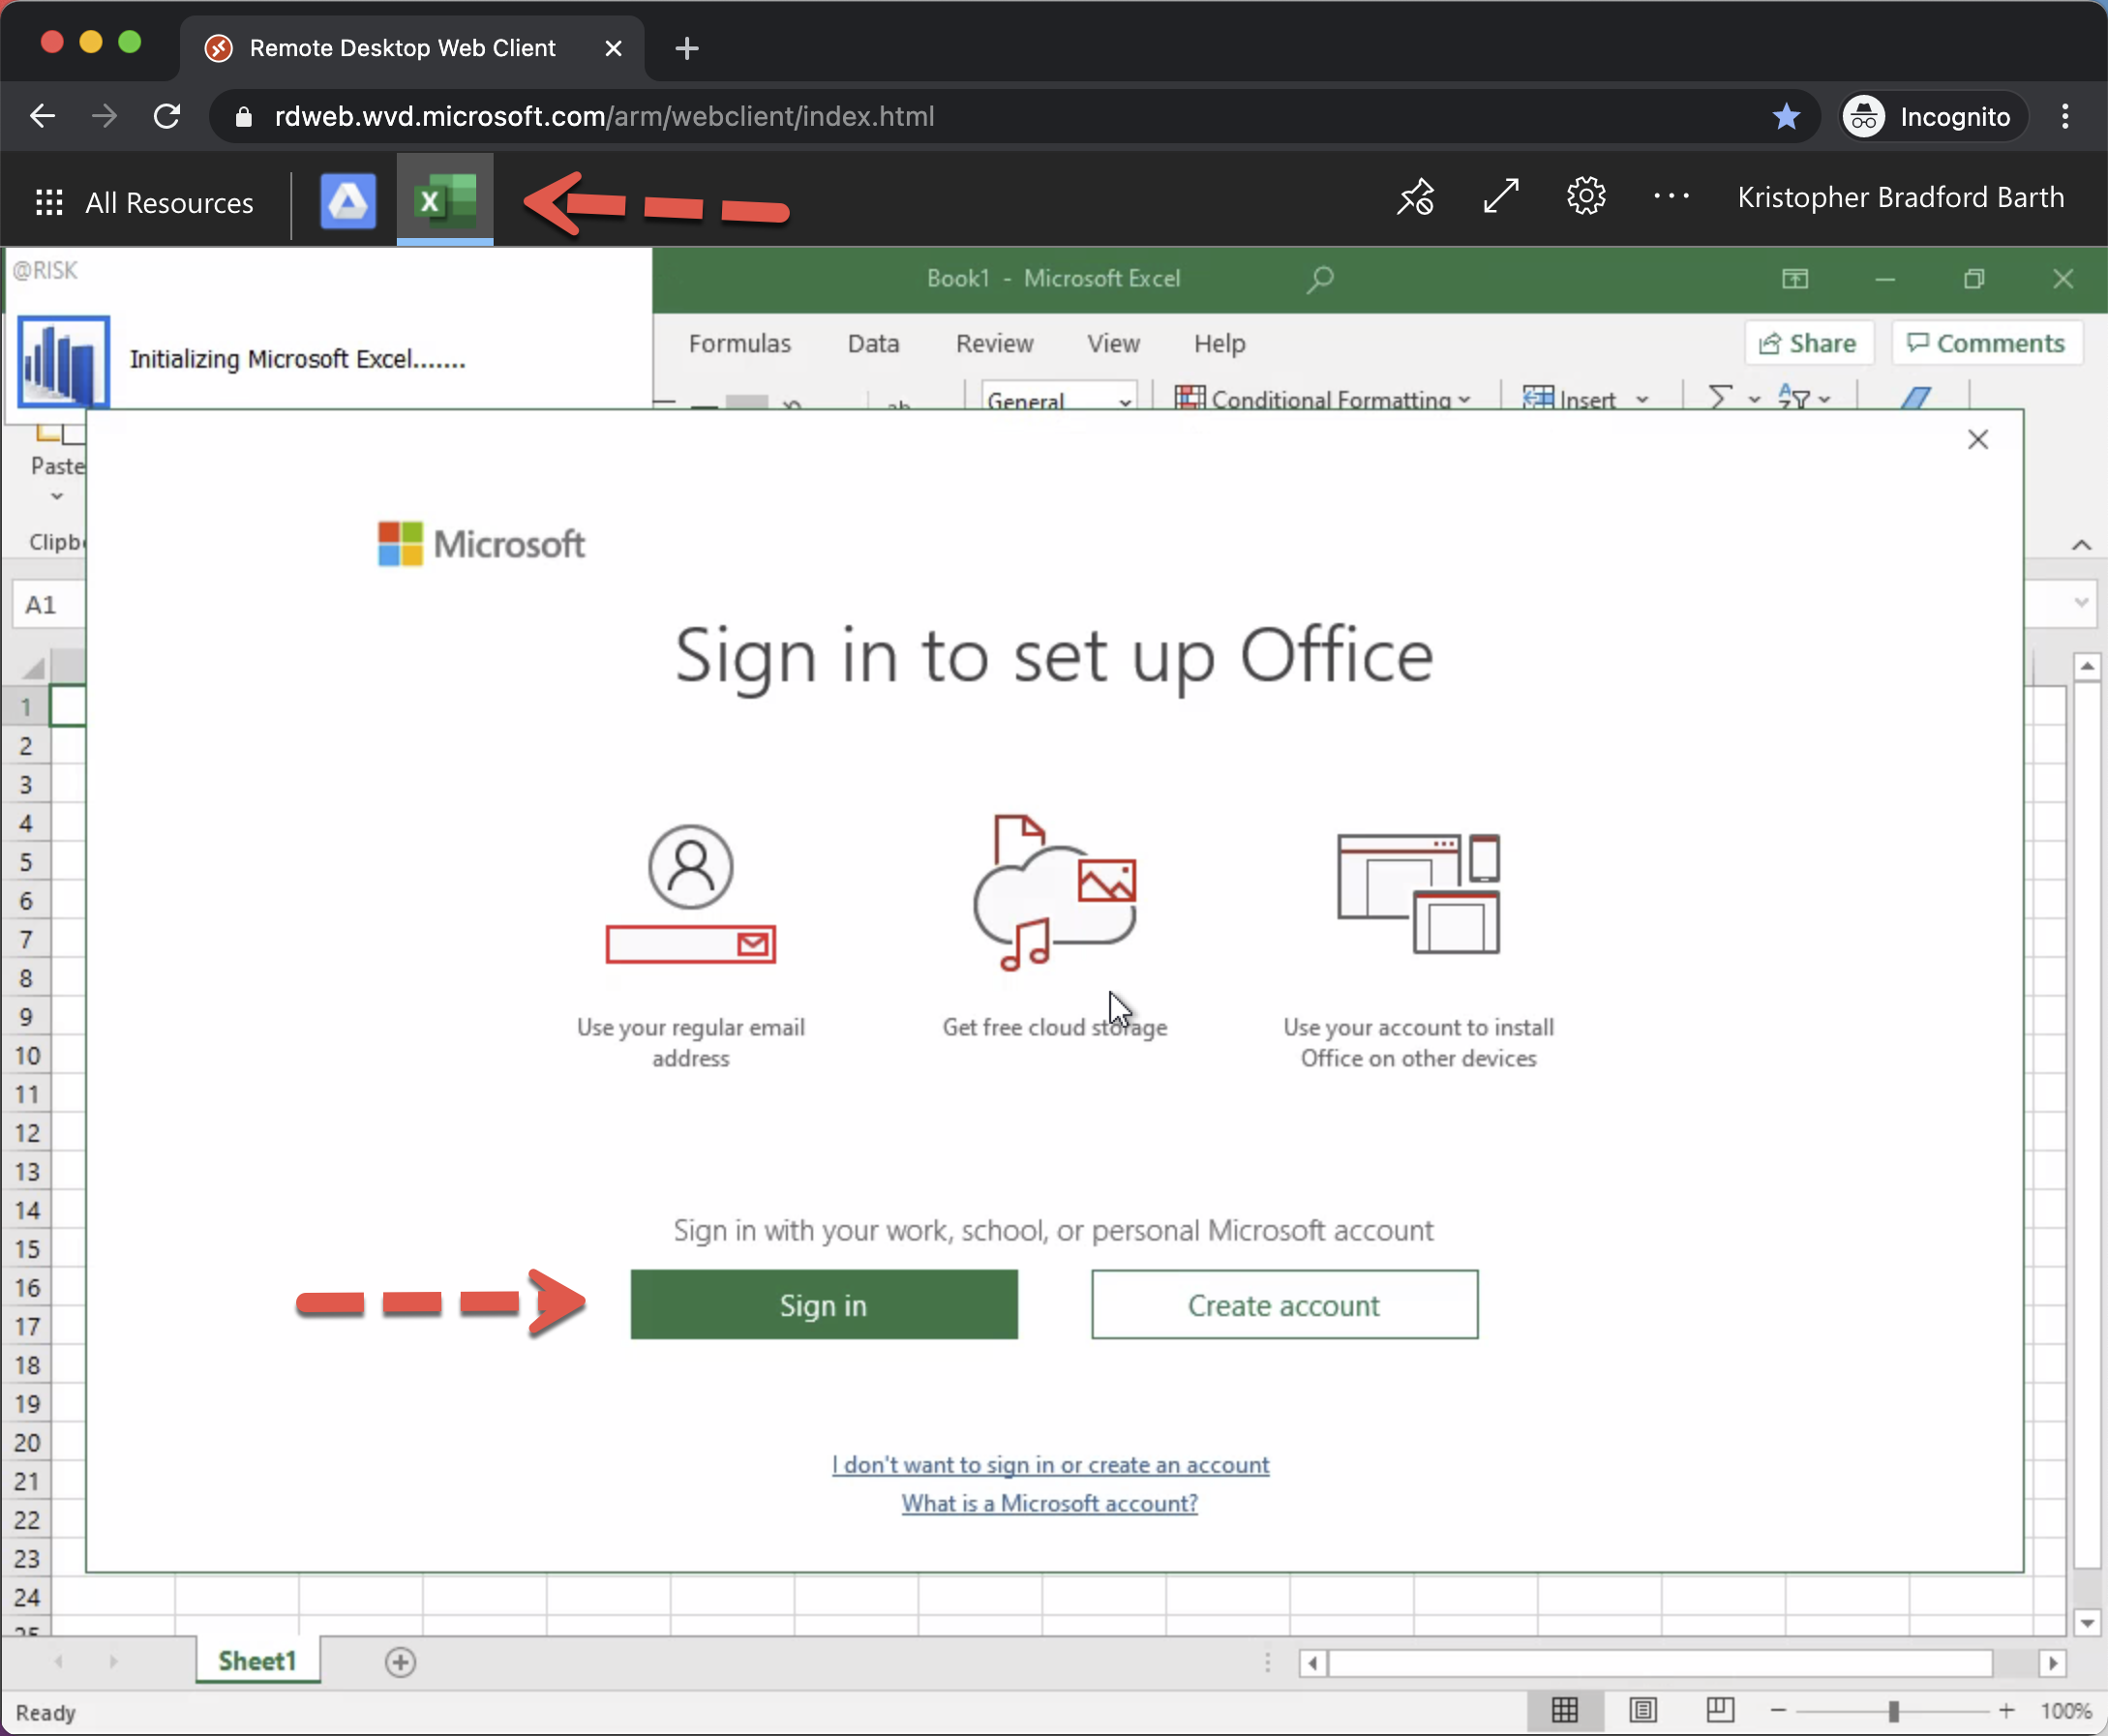
- You will see Excel open and please click 'Sign In'
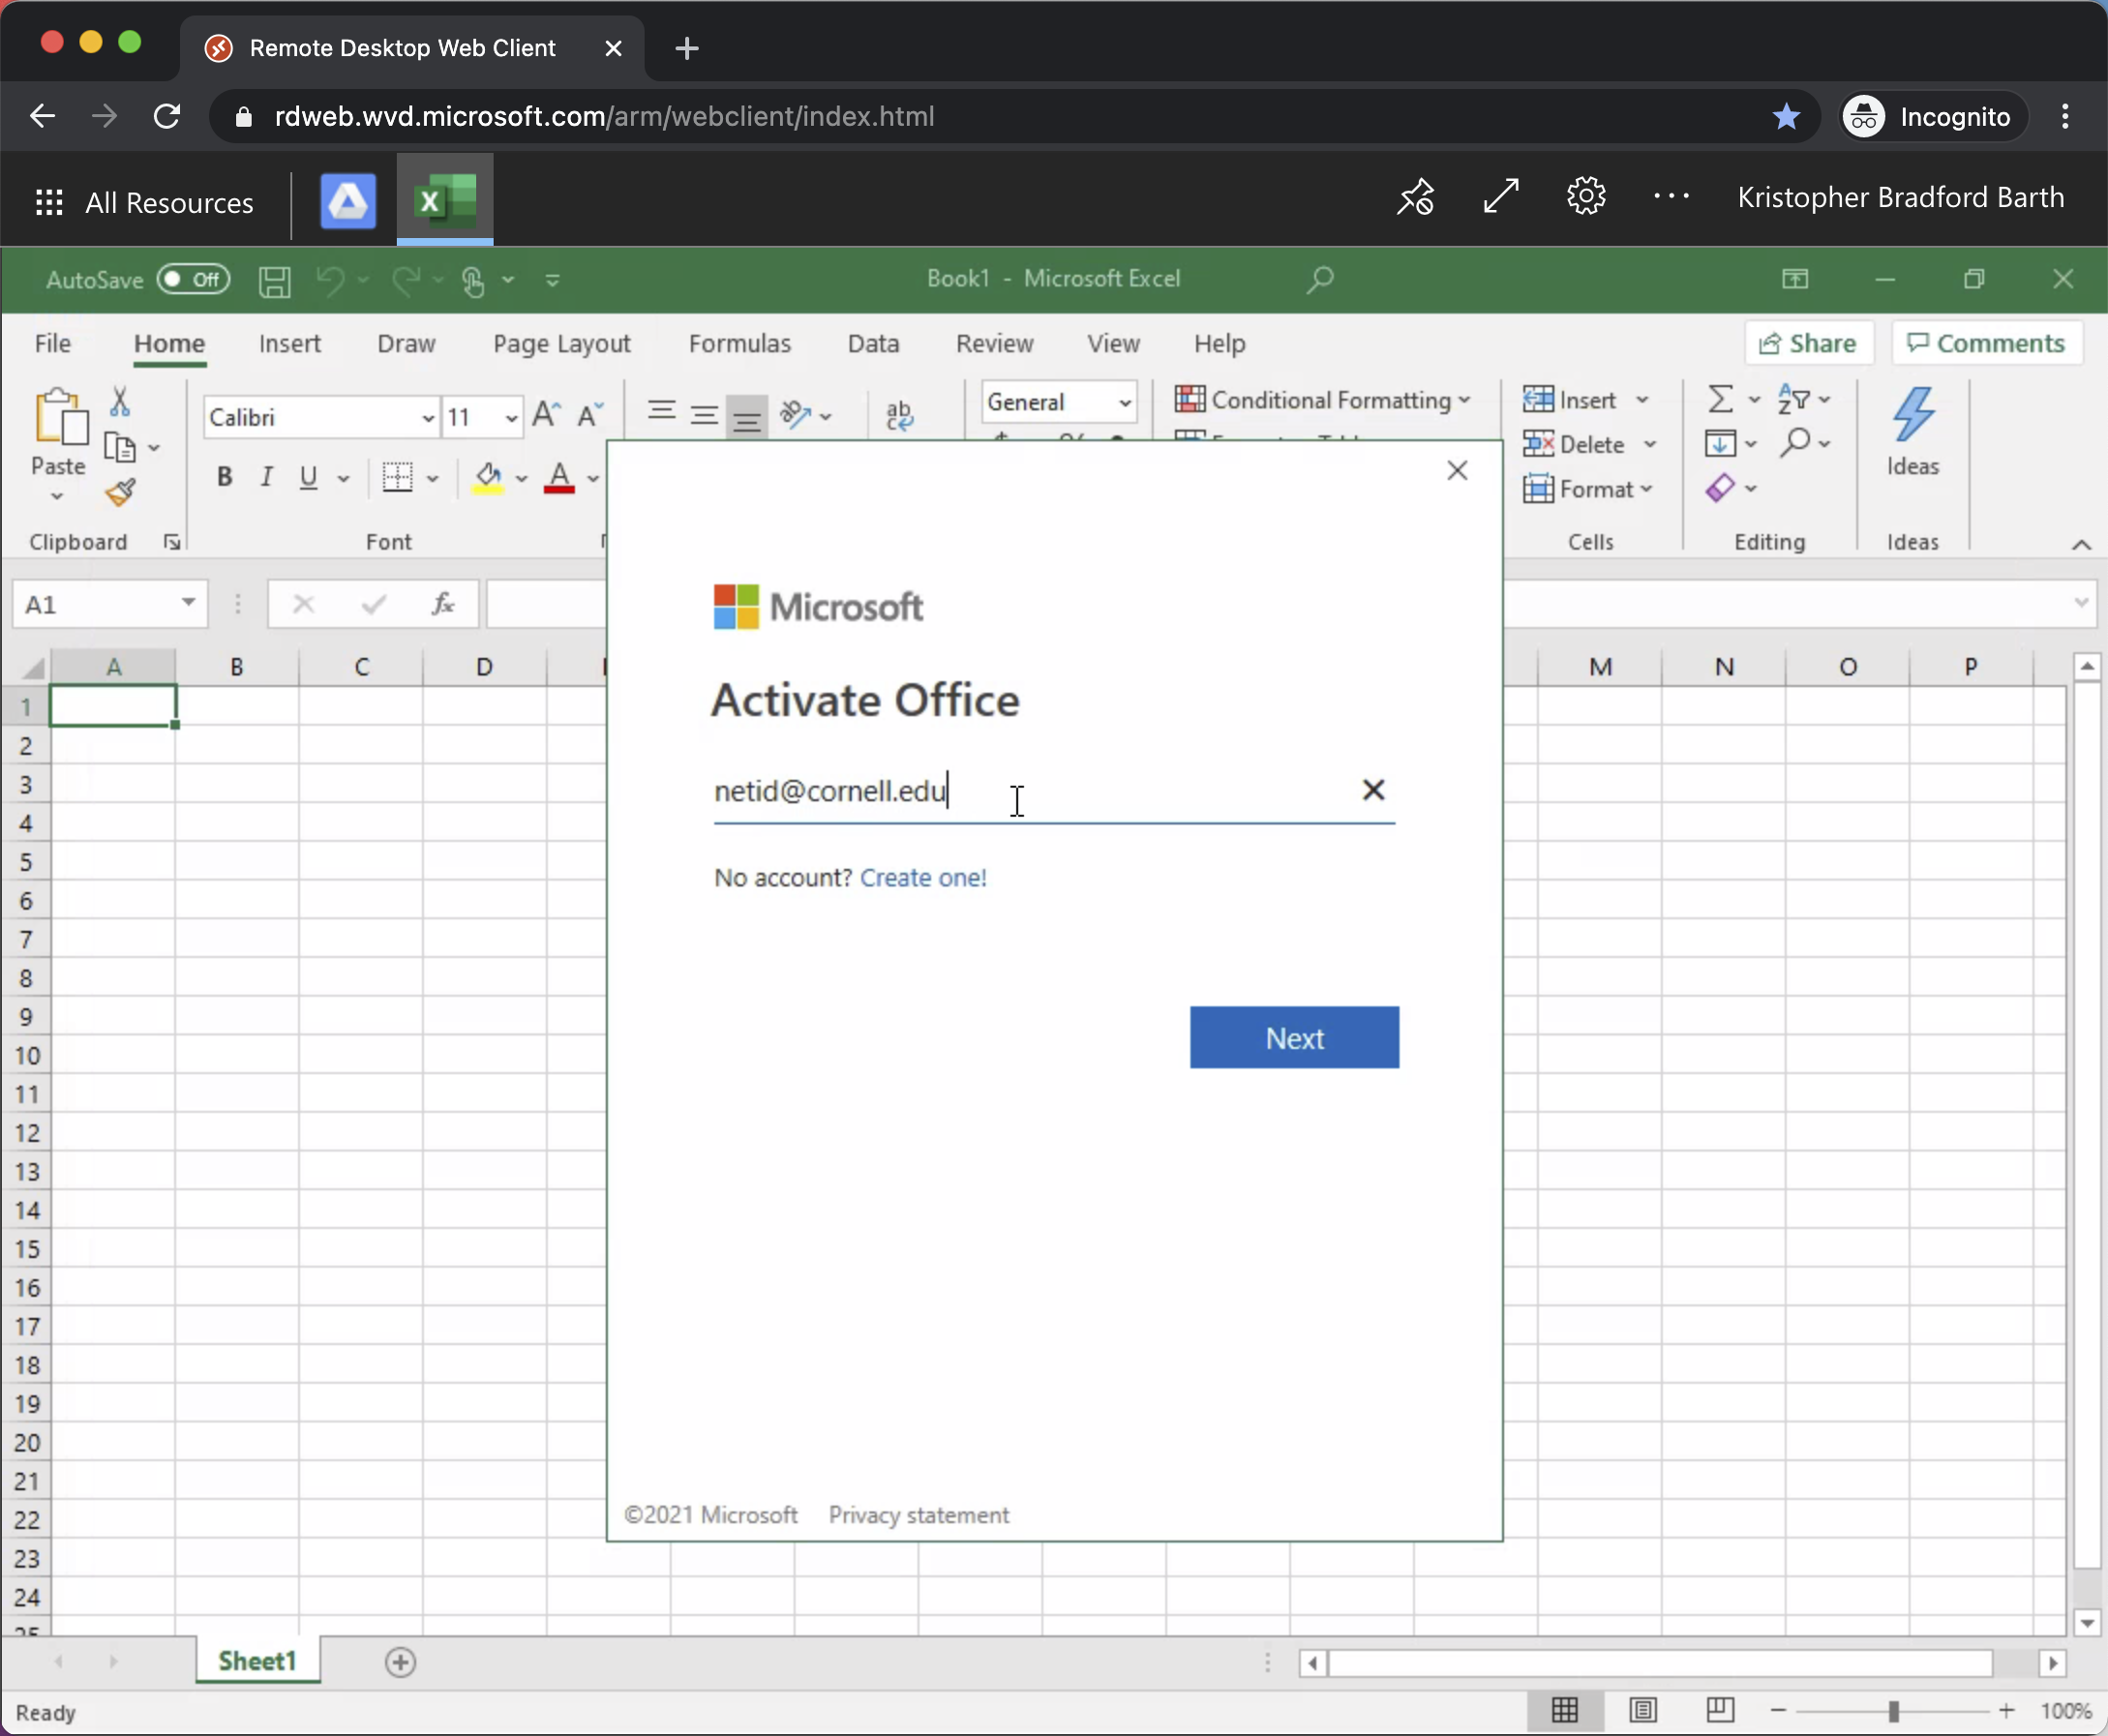
- You will be prompted to Activate Office, please use your netid@cornell.edu to complete this one time activation step.
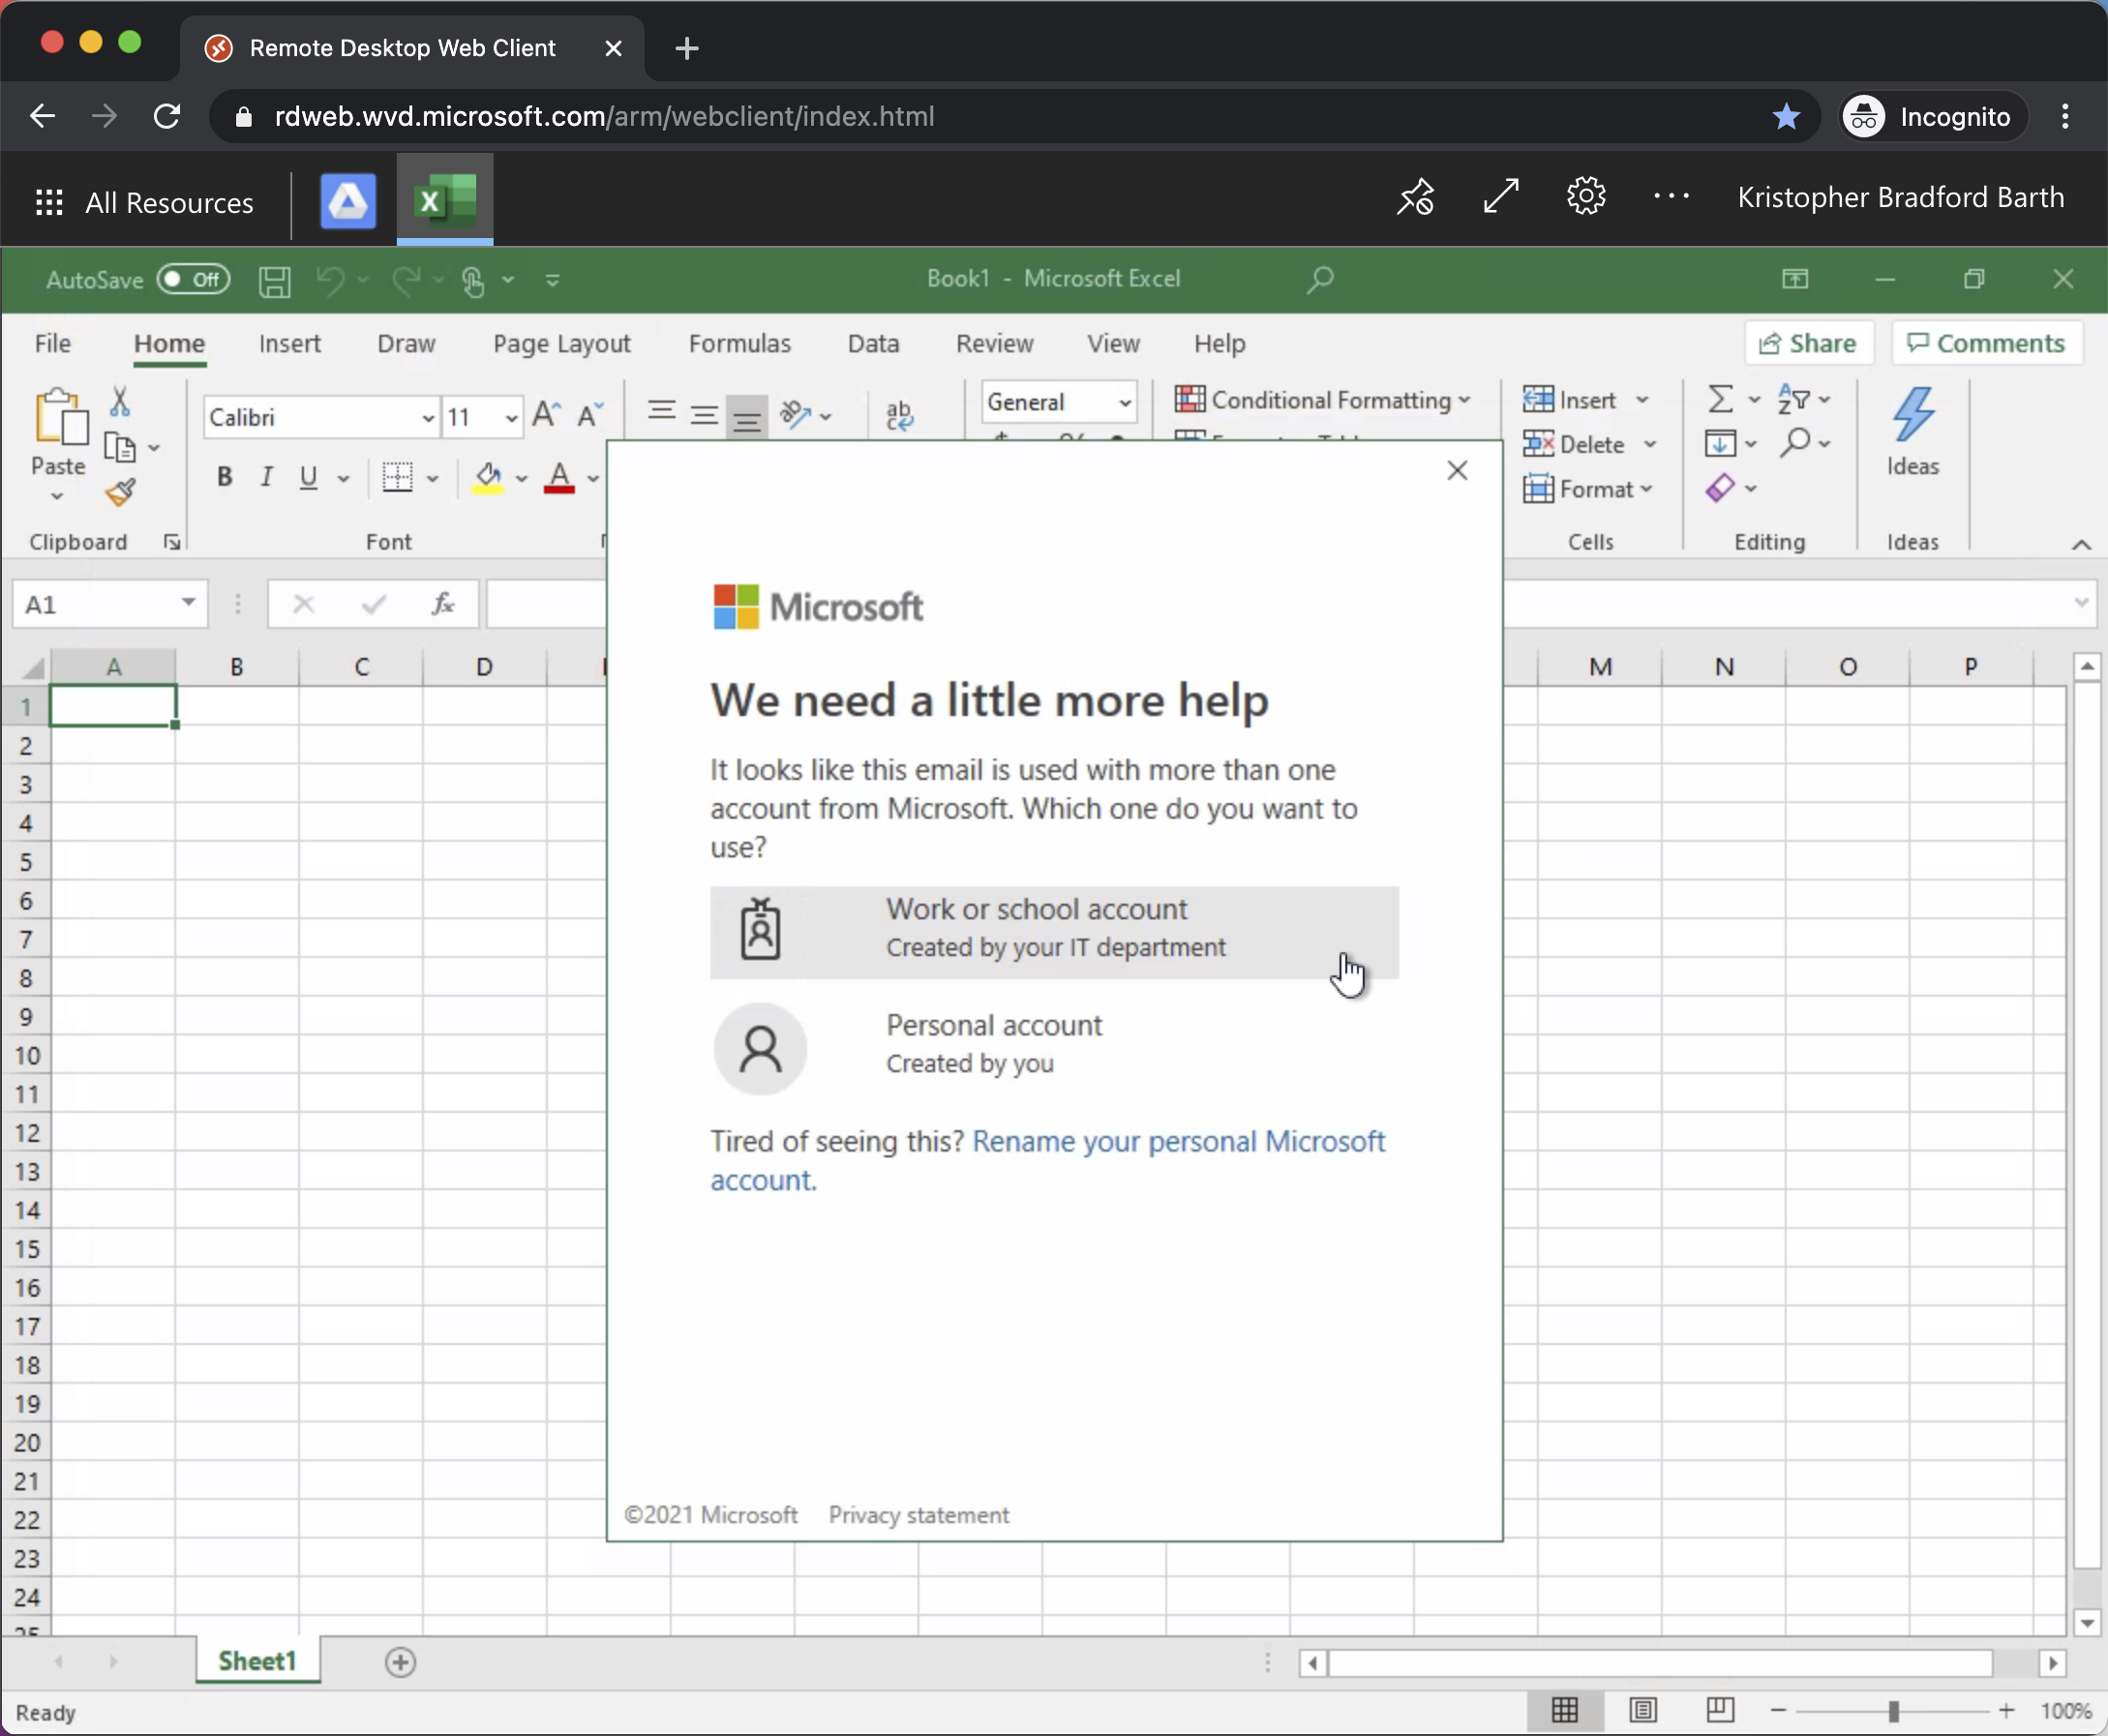
- Select 'Work or School account' when prompted:
- Sign in to Cornell University with your netid:
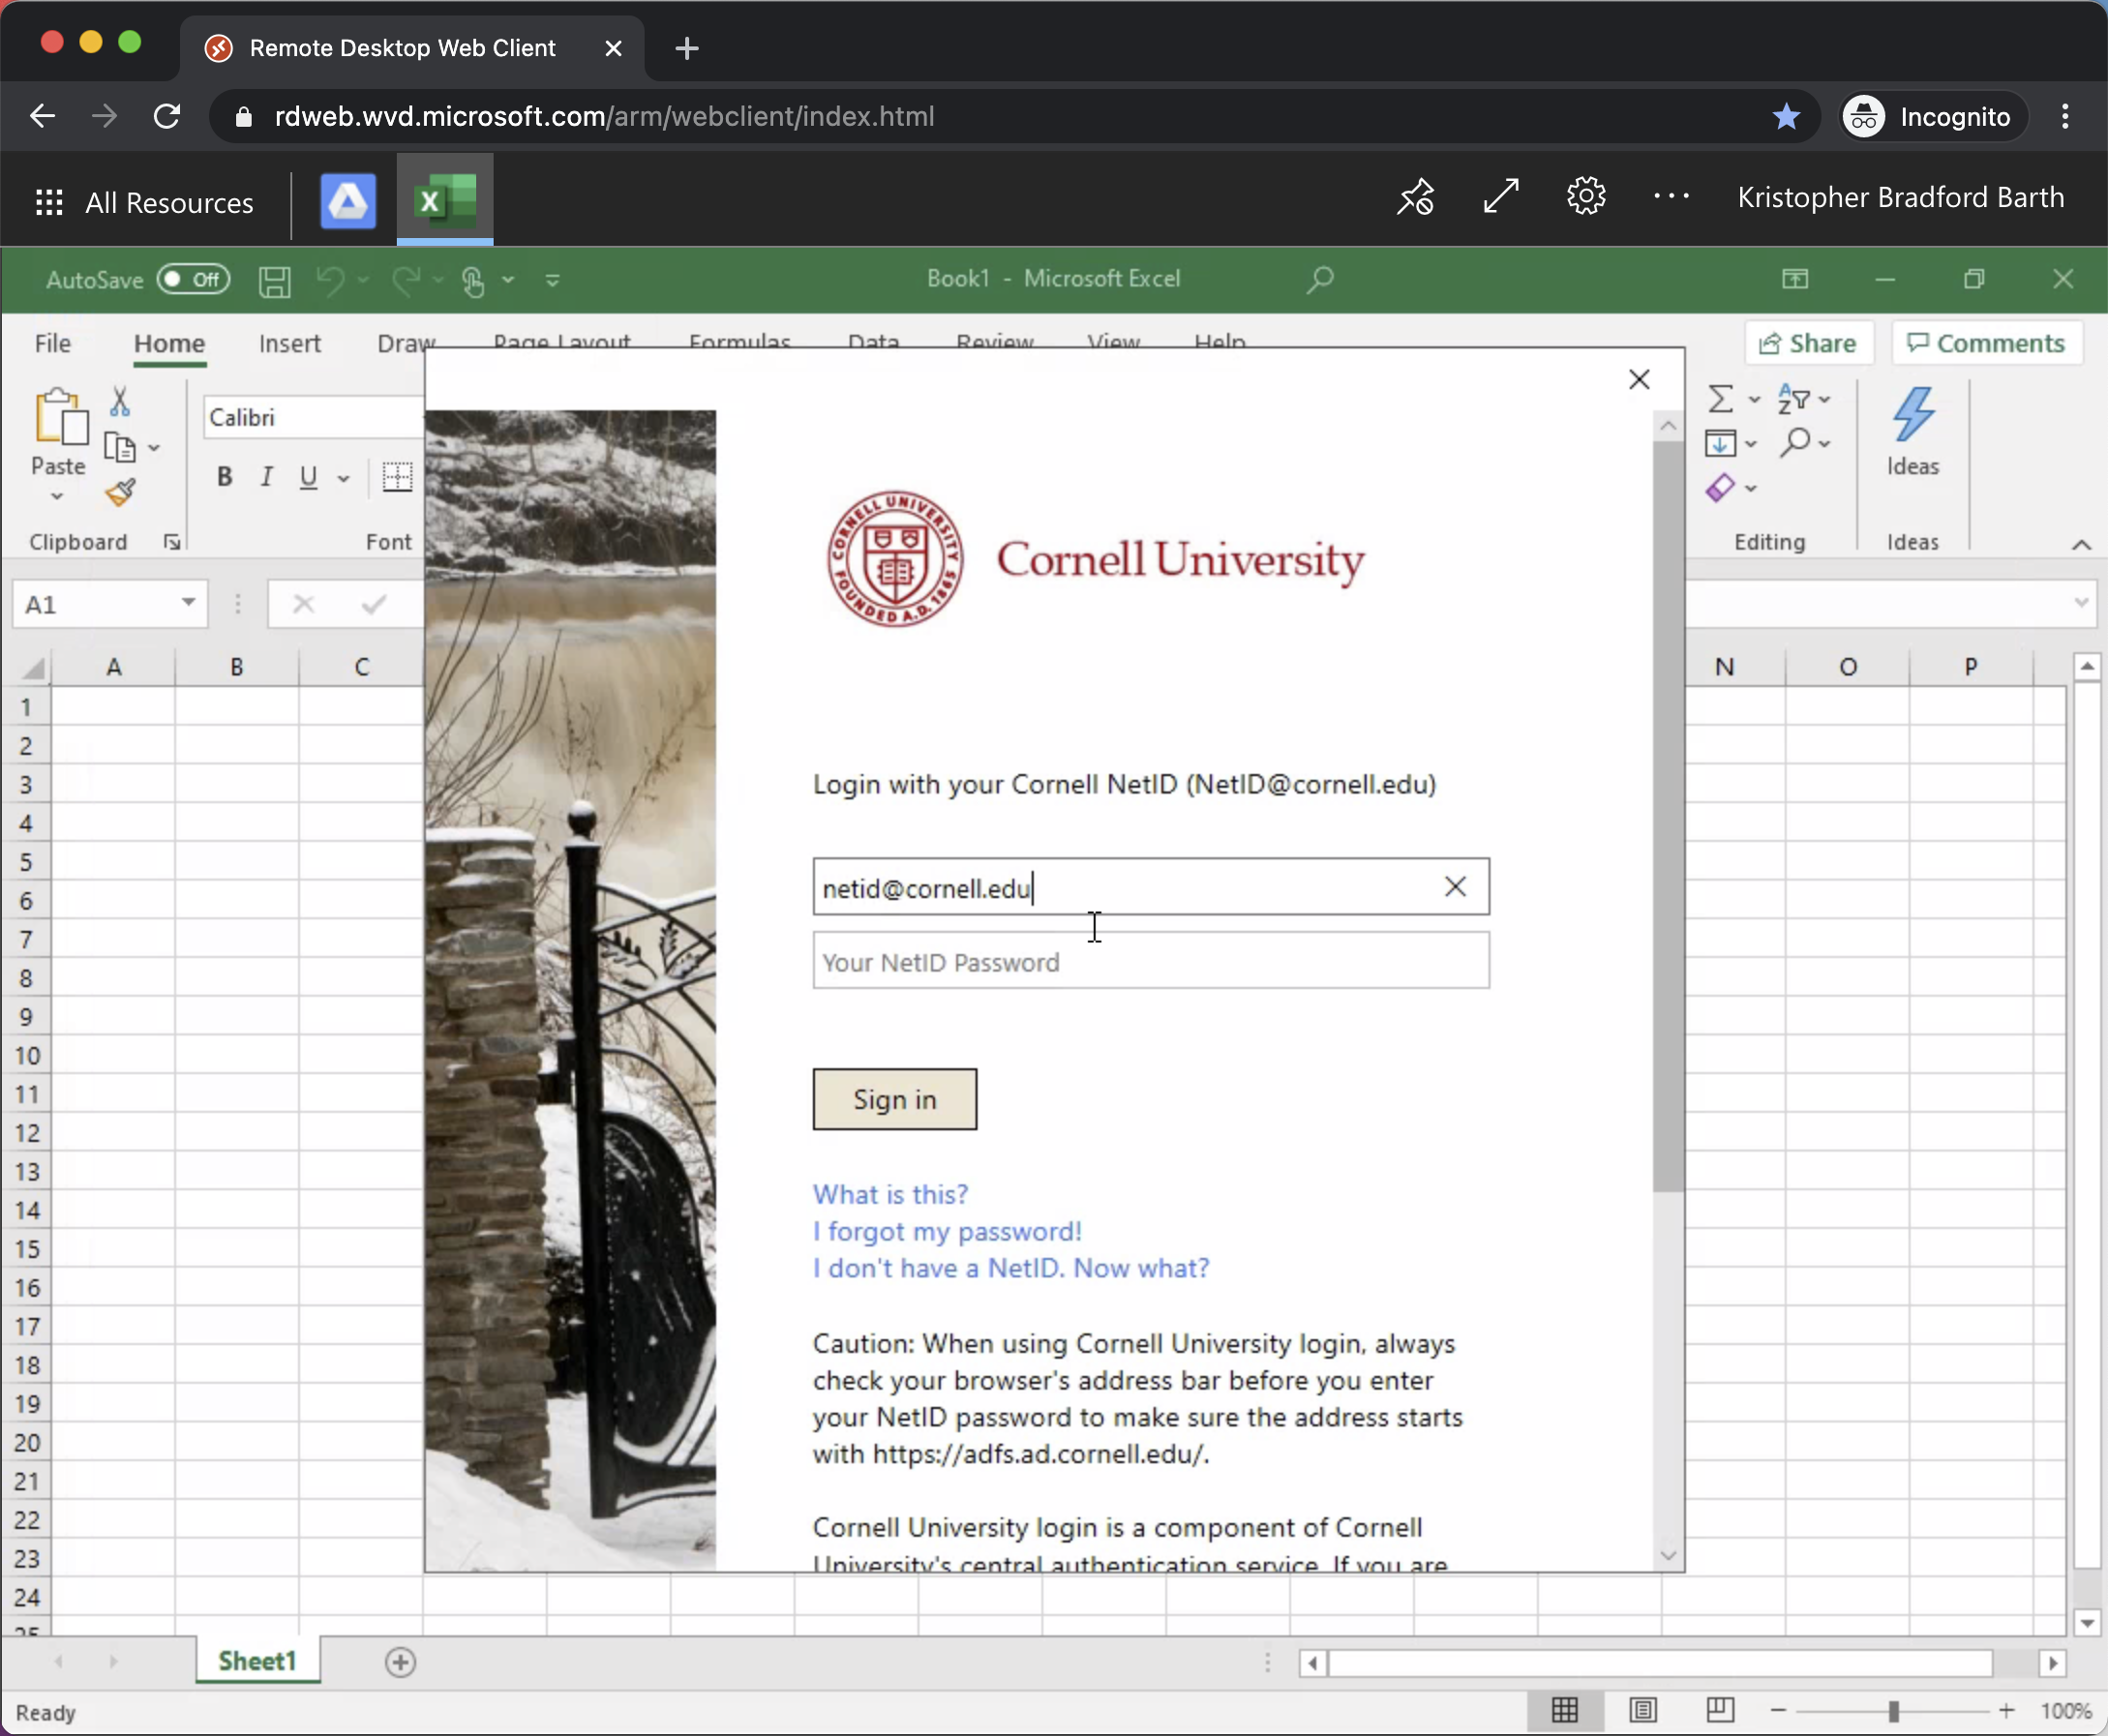
- Complete the DUO 2-Factor authentication step:
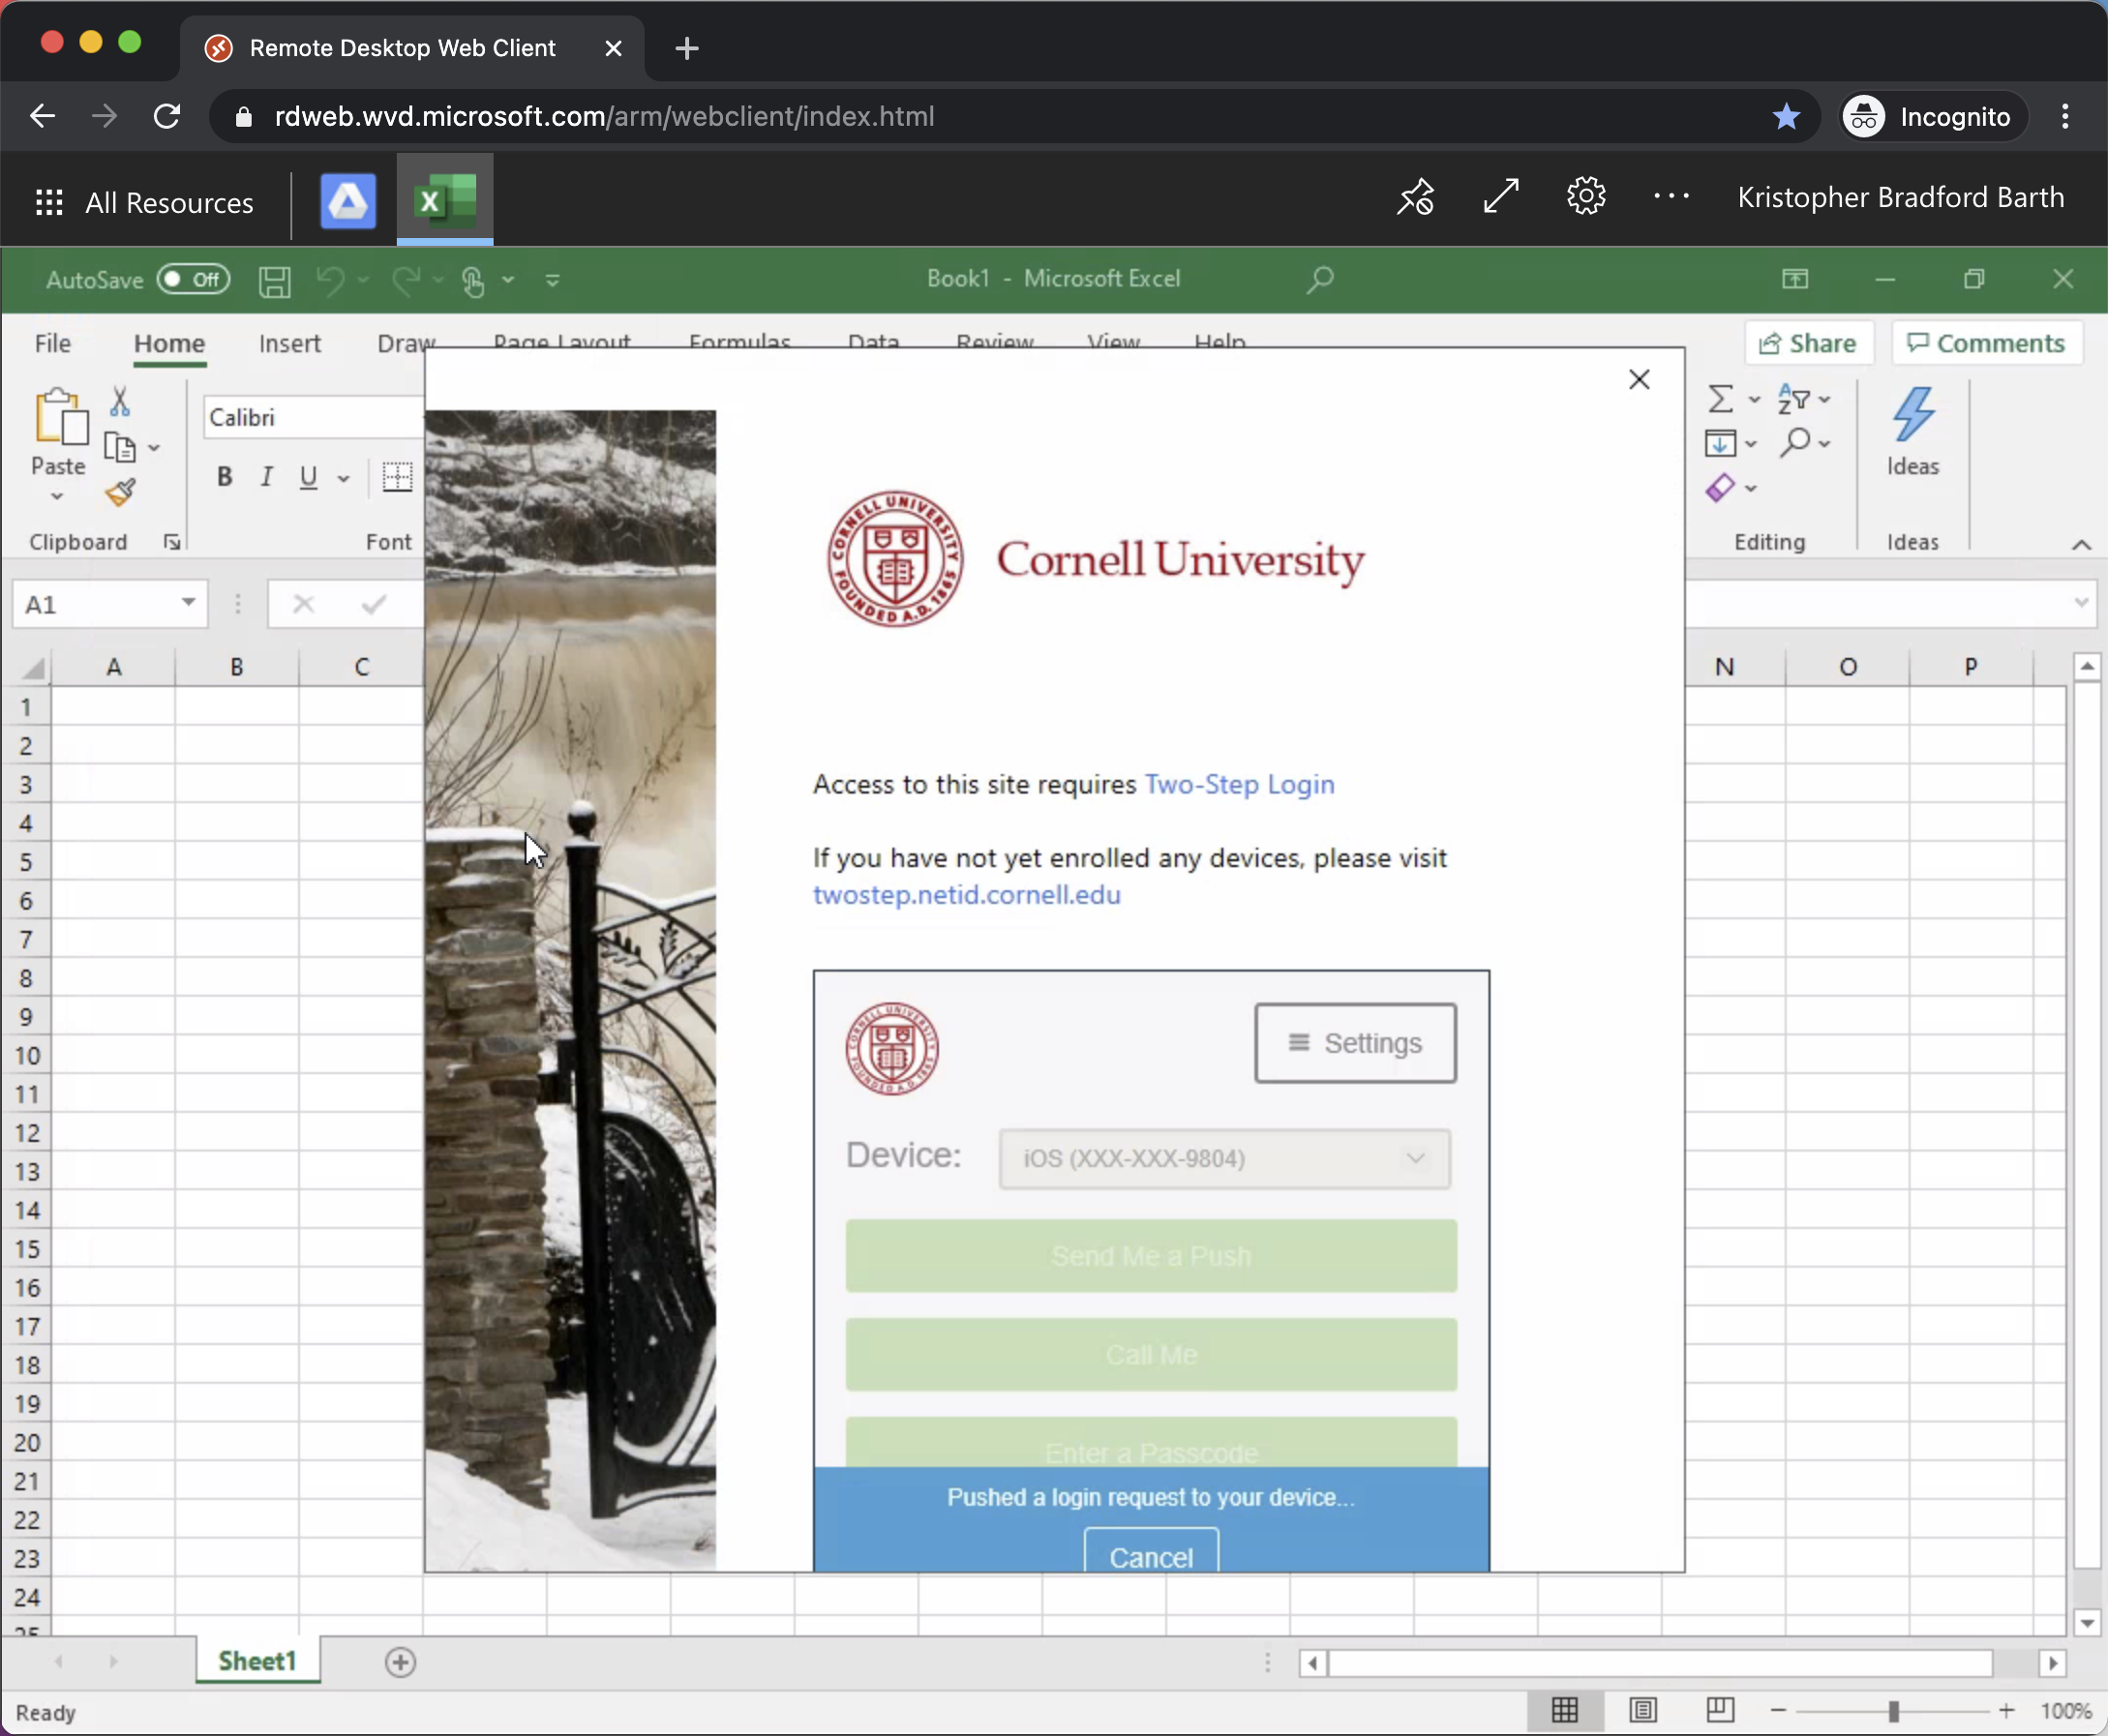
- Click the All Resources button at the top left of the window and click the '@RISK 7.6' Application:
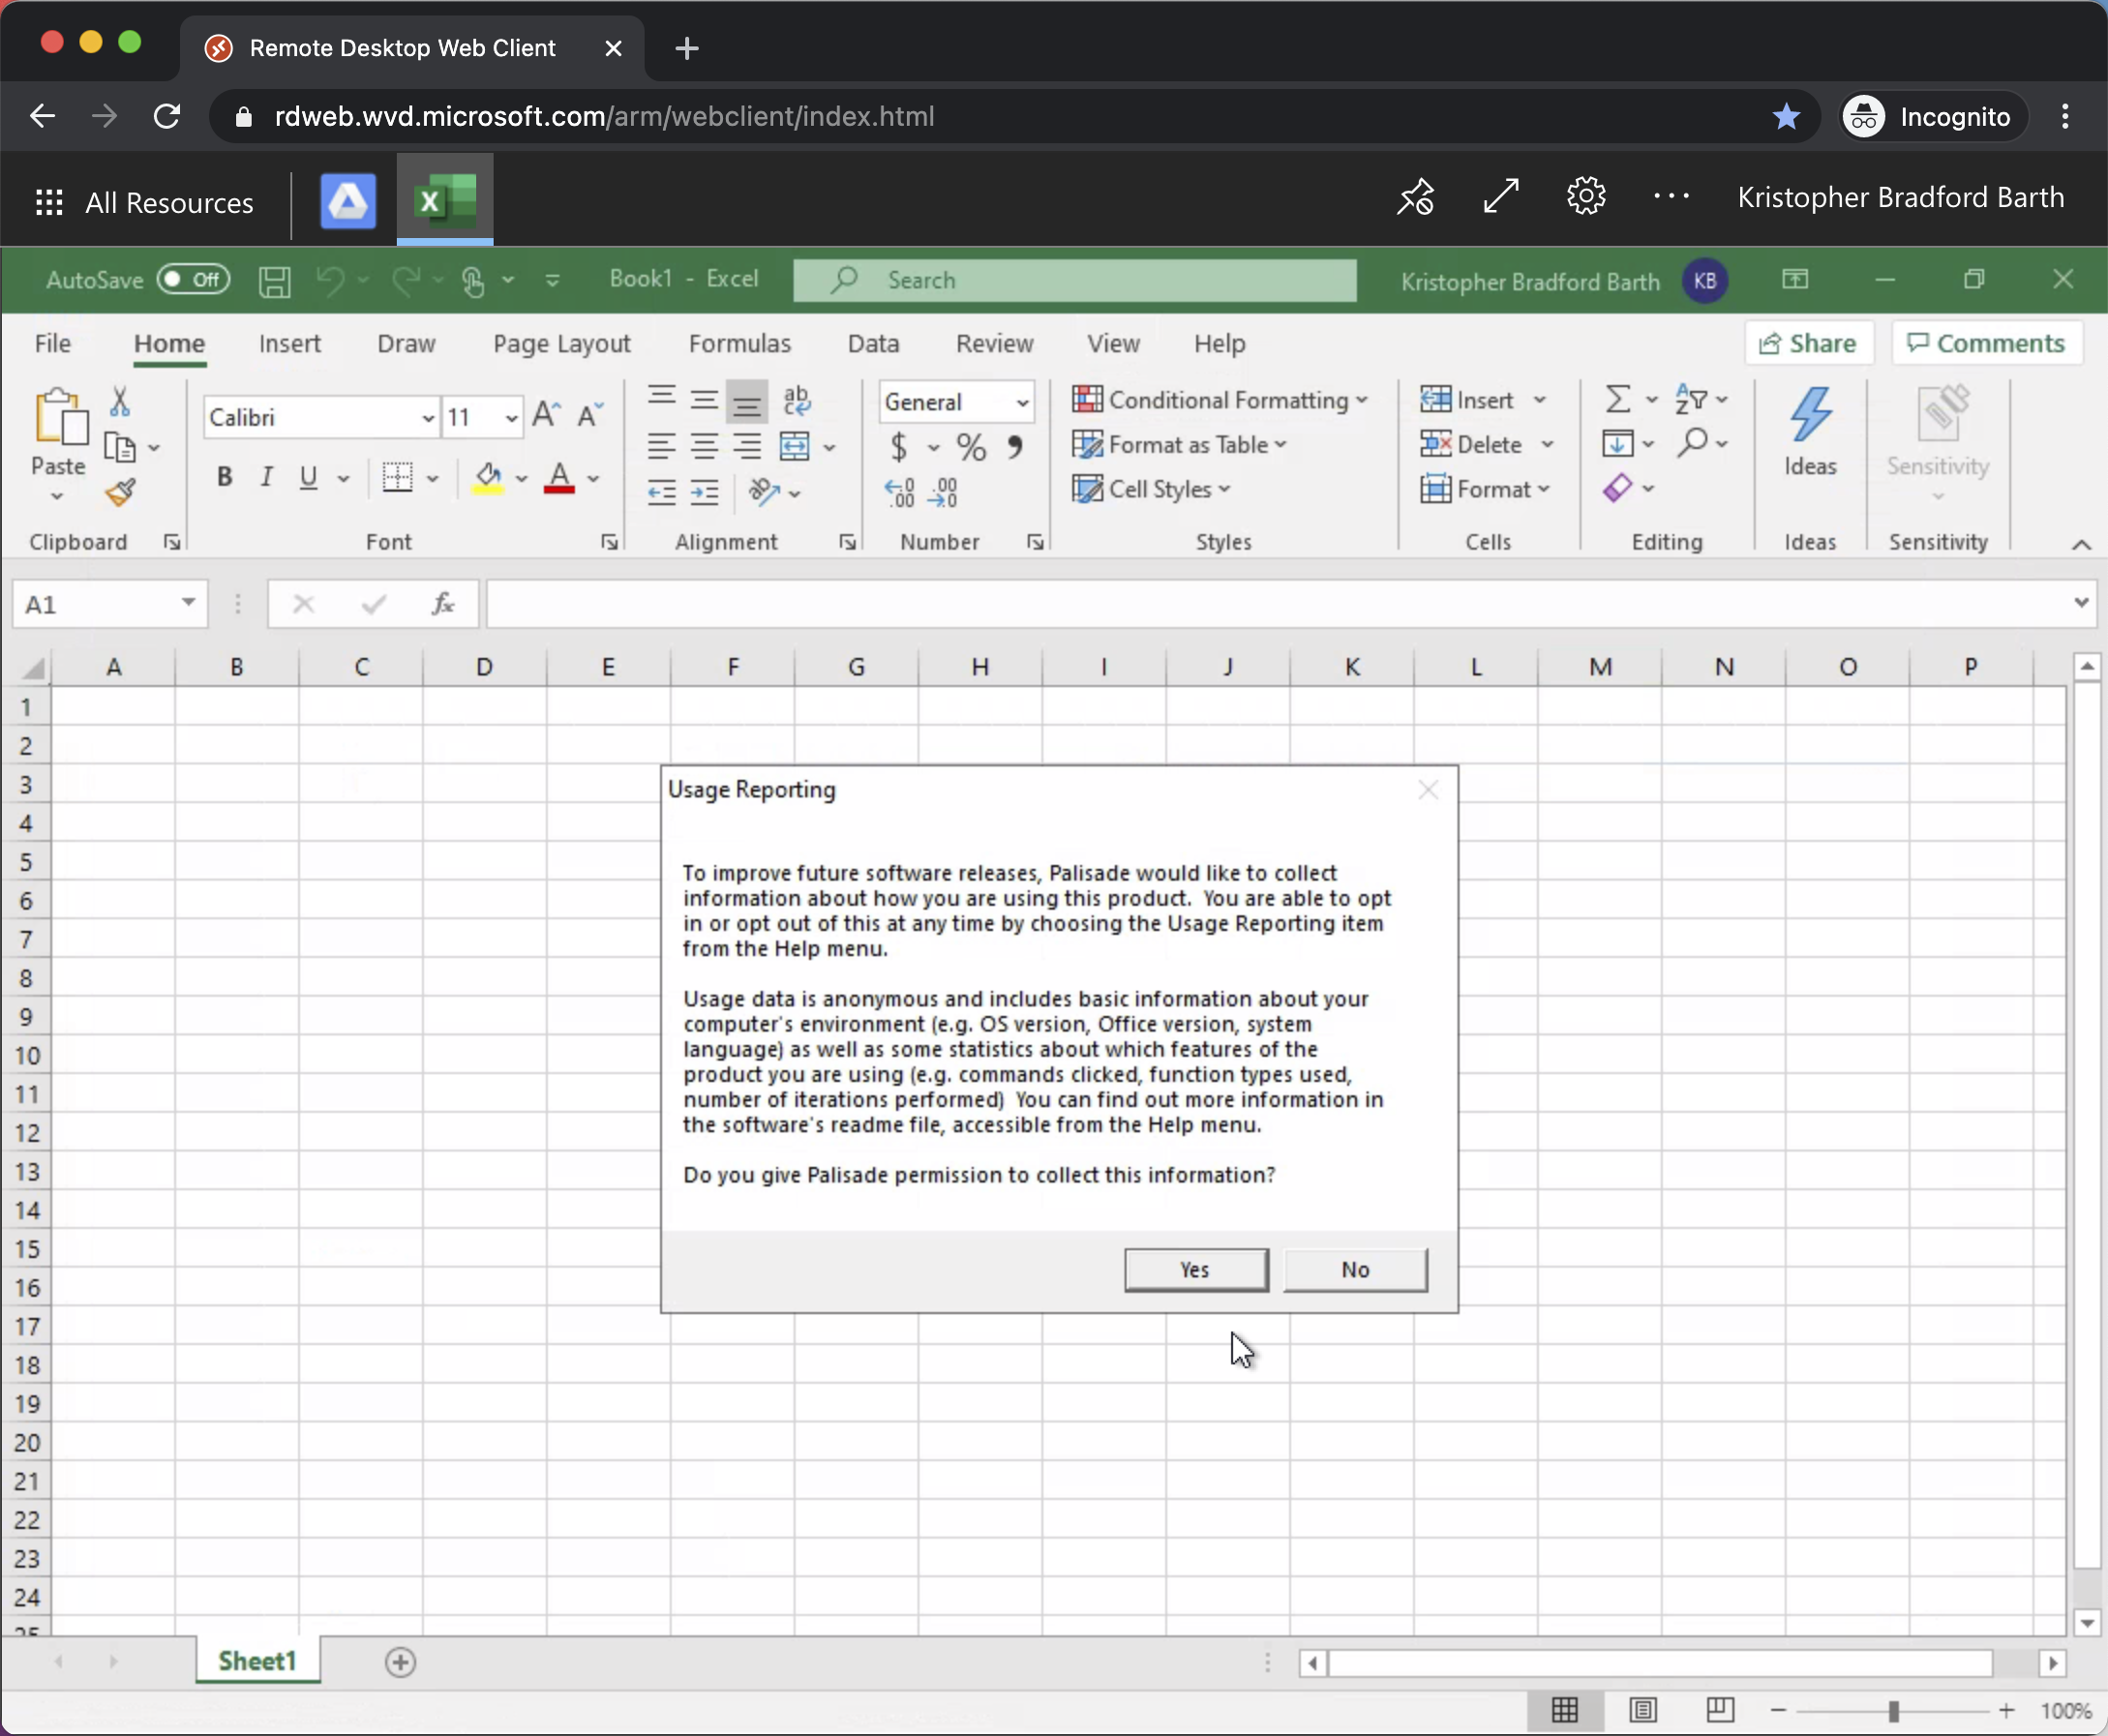
- "@Risk" will run and ask if you want to share statistics, select yes or no
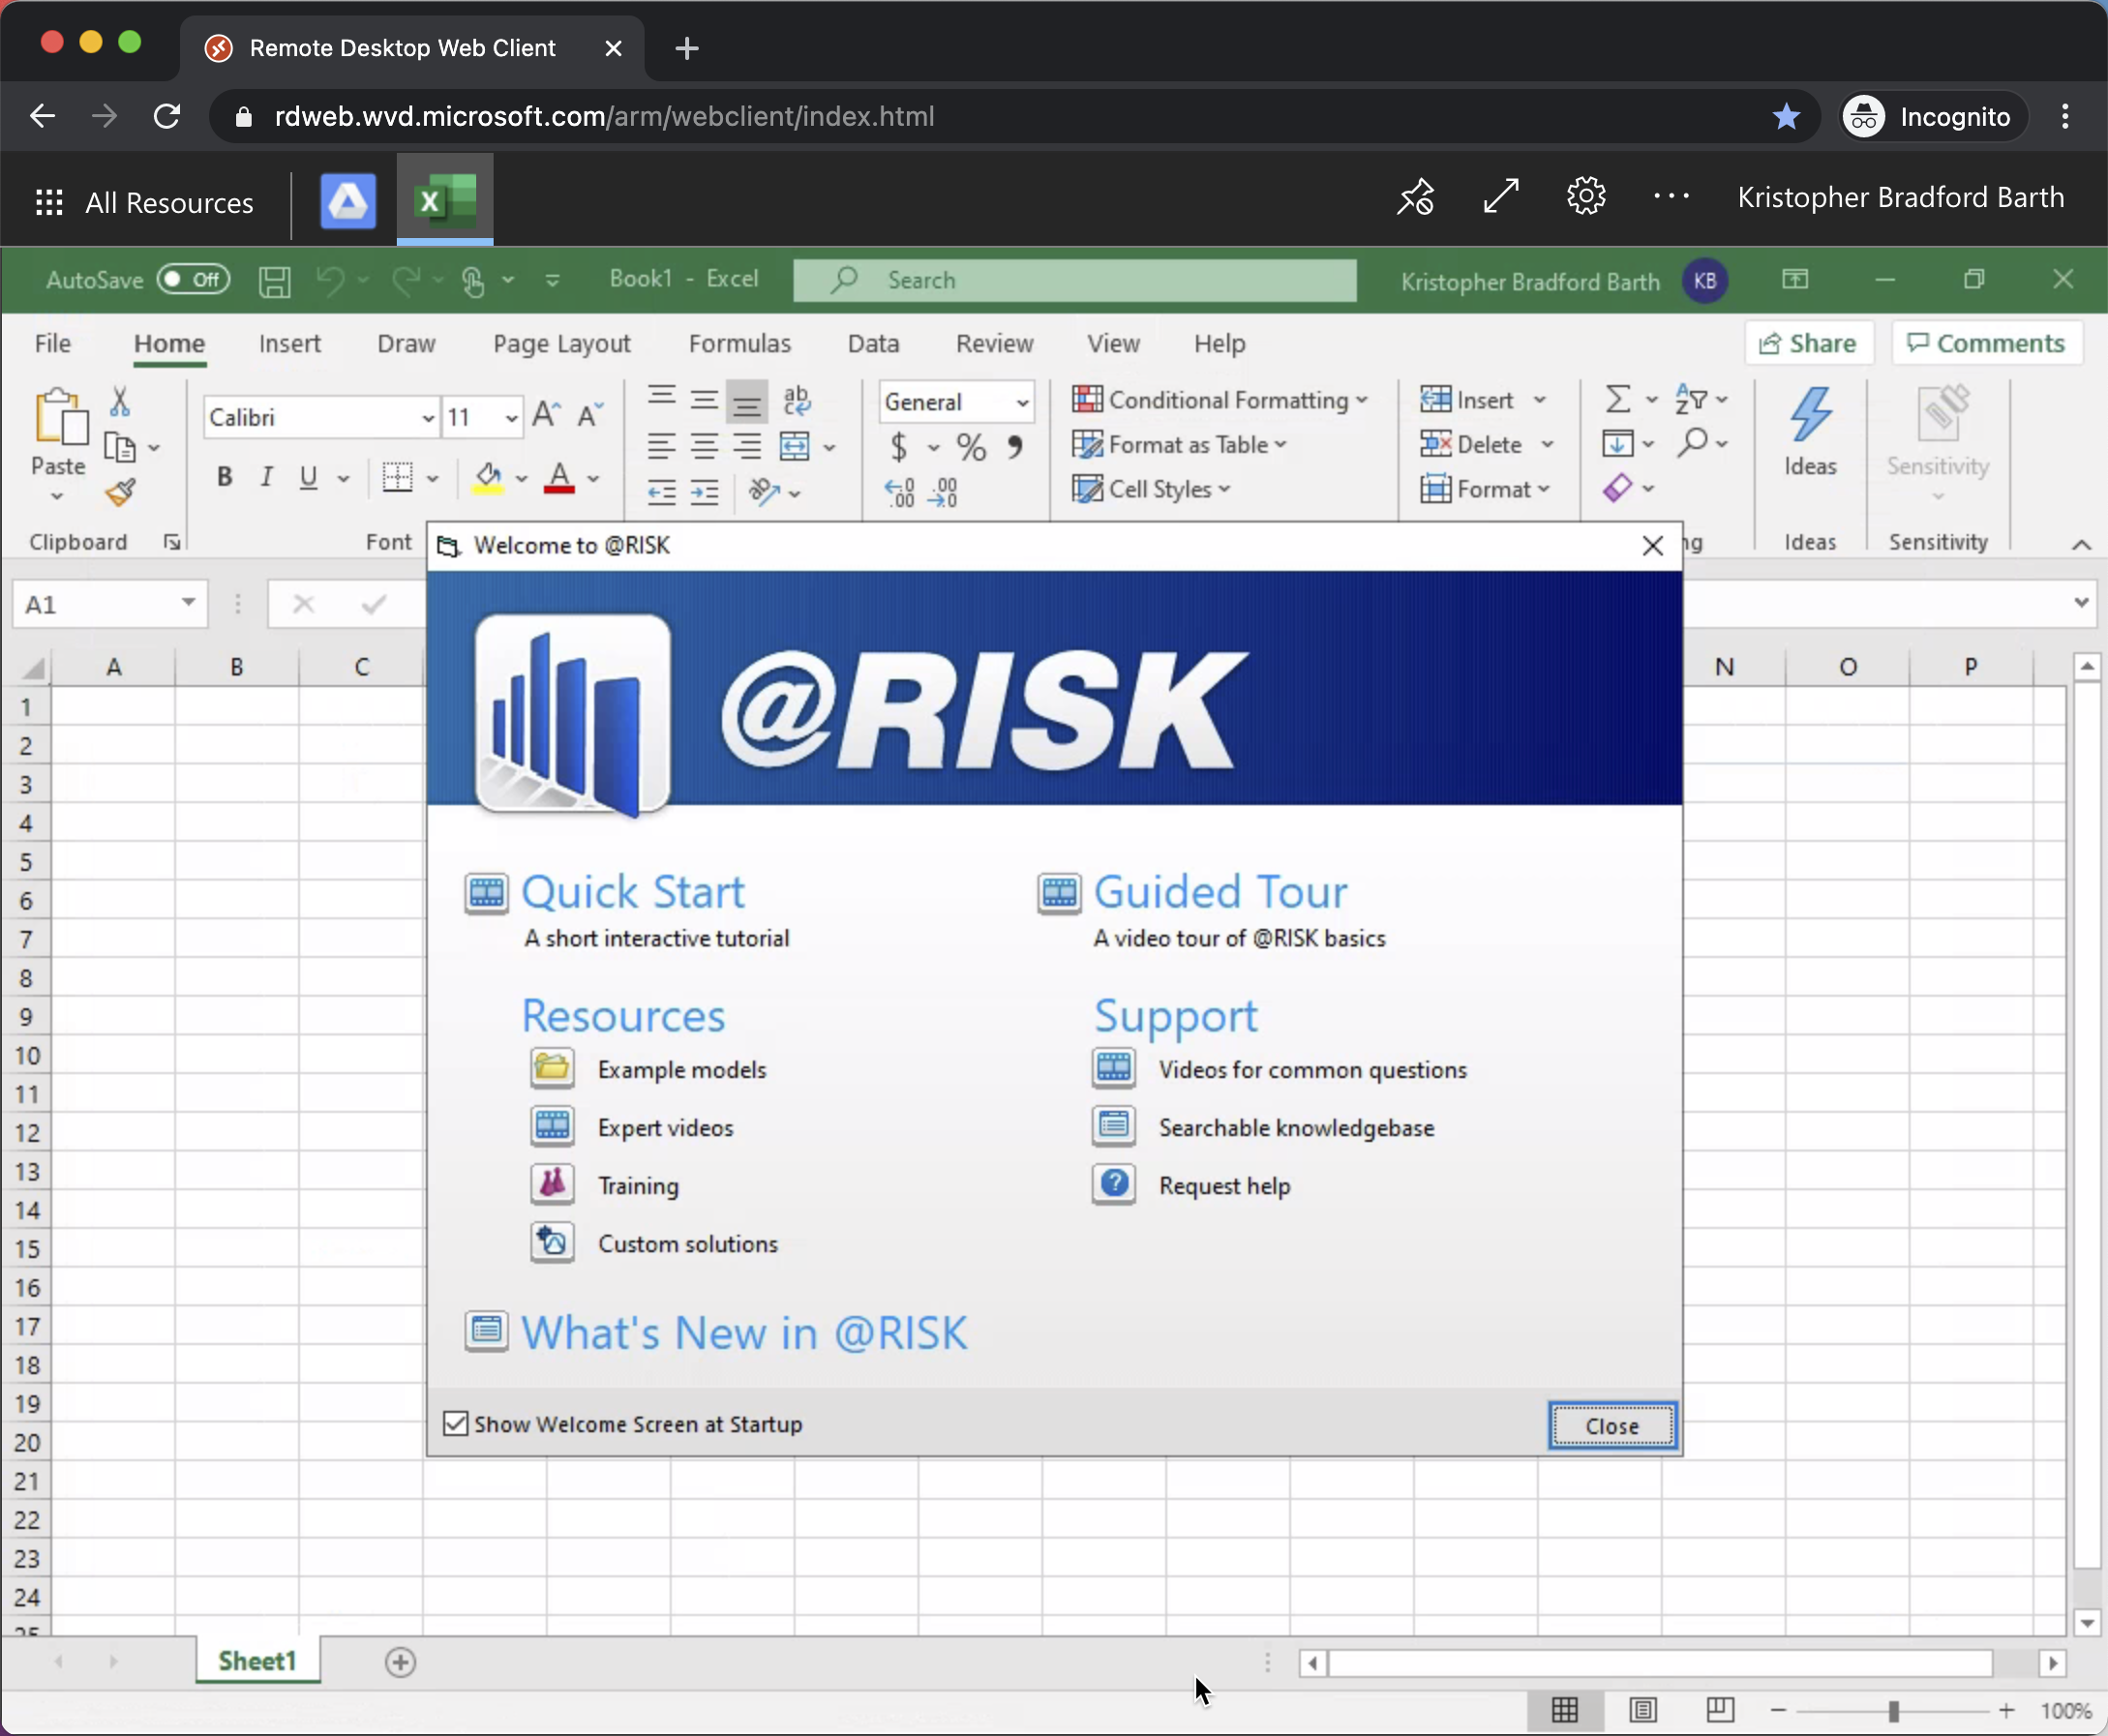
- "@Risk" has now launched, chose and option from the splash screen or hit 'Close'
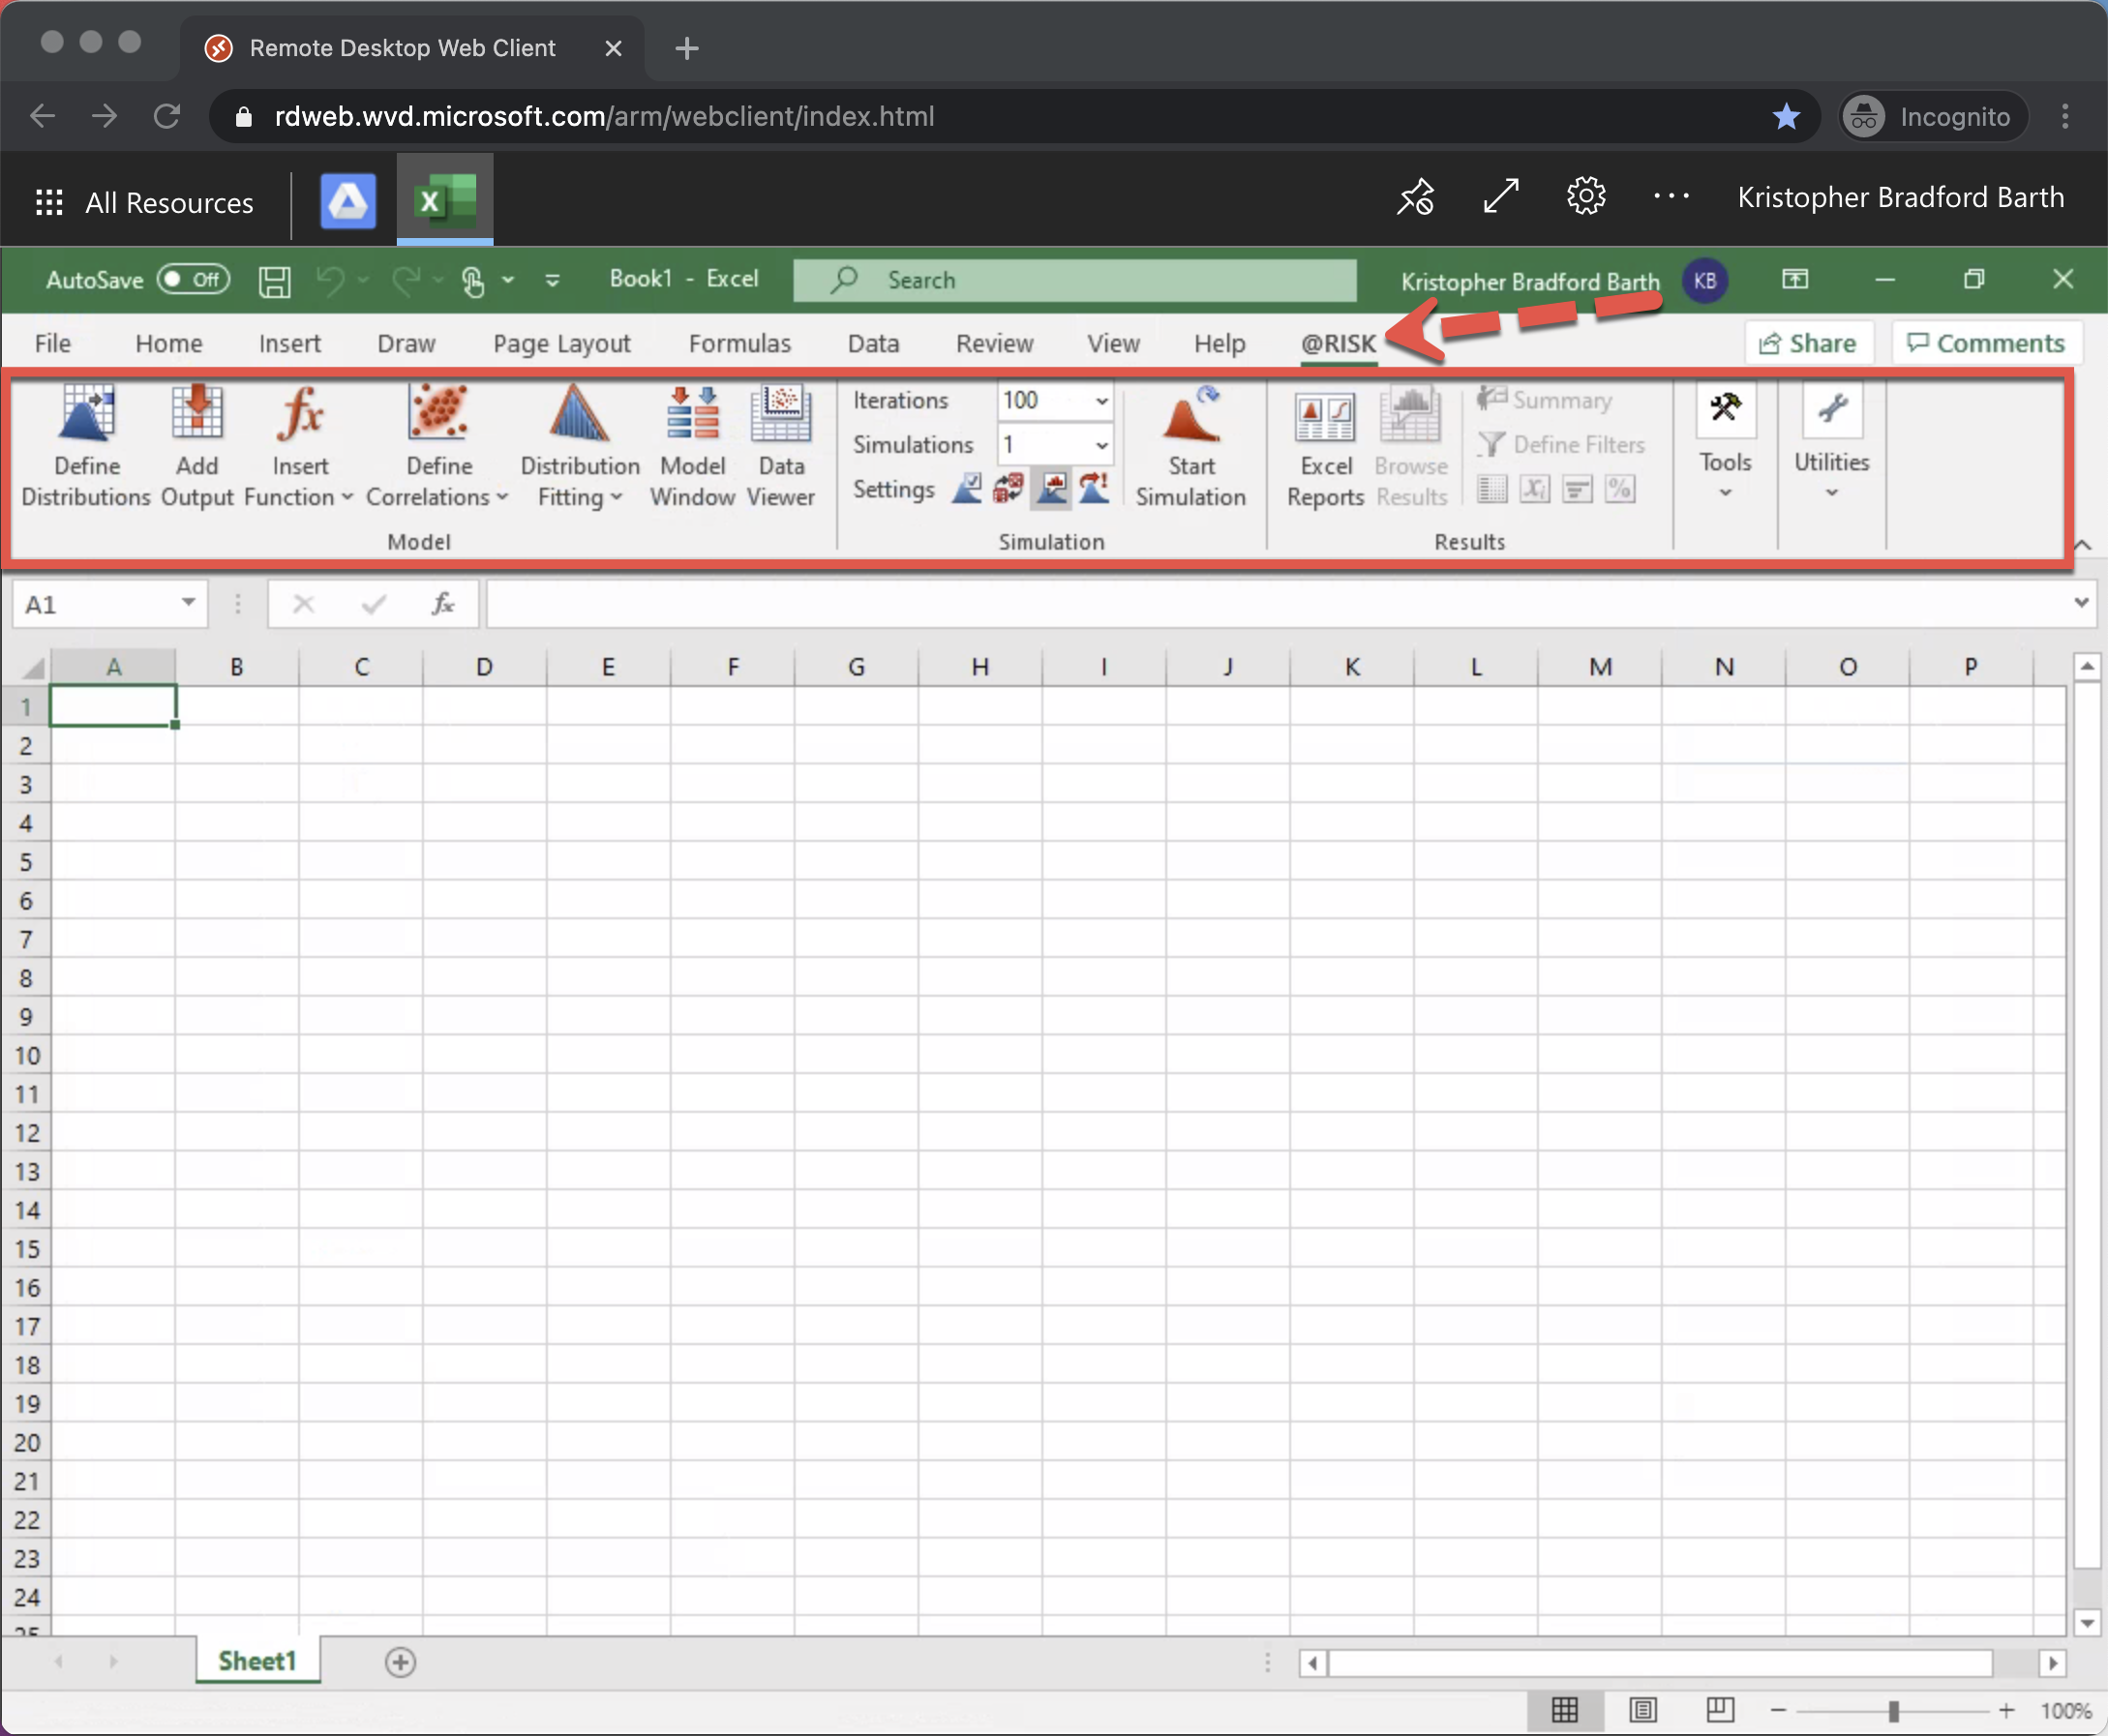
- You will notice "@RISK" is and its functions are now added to the Excel Ribbon:
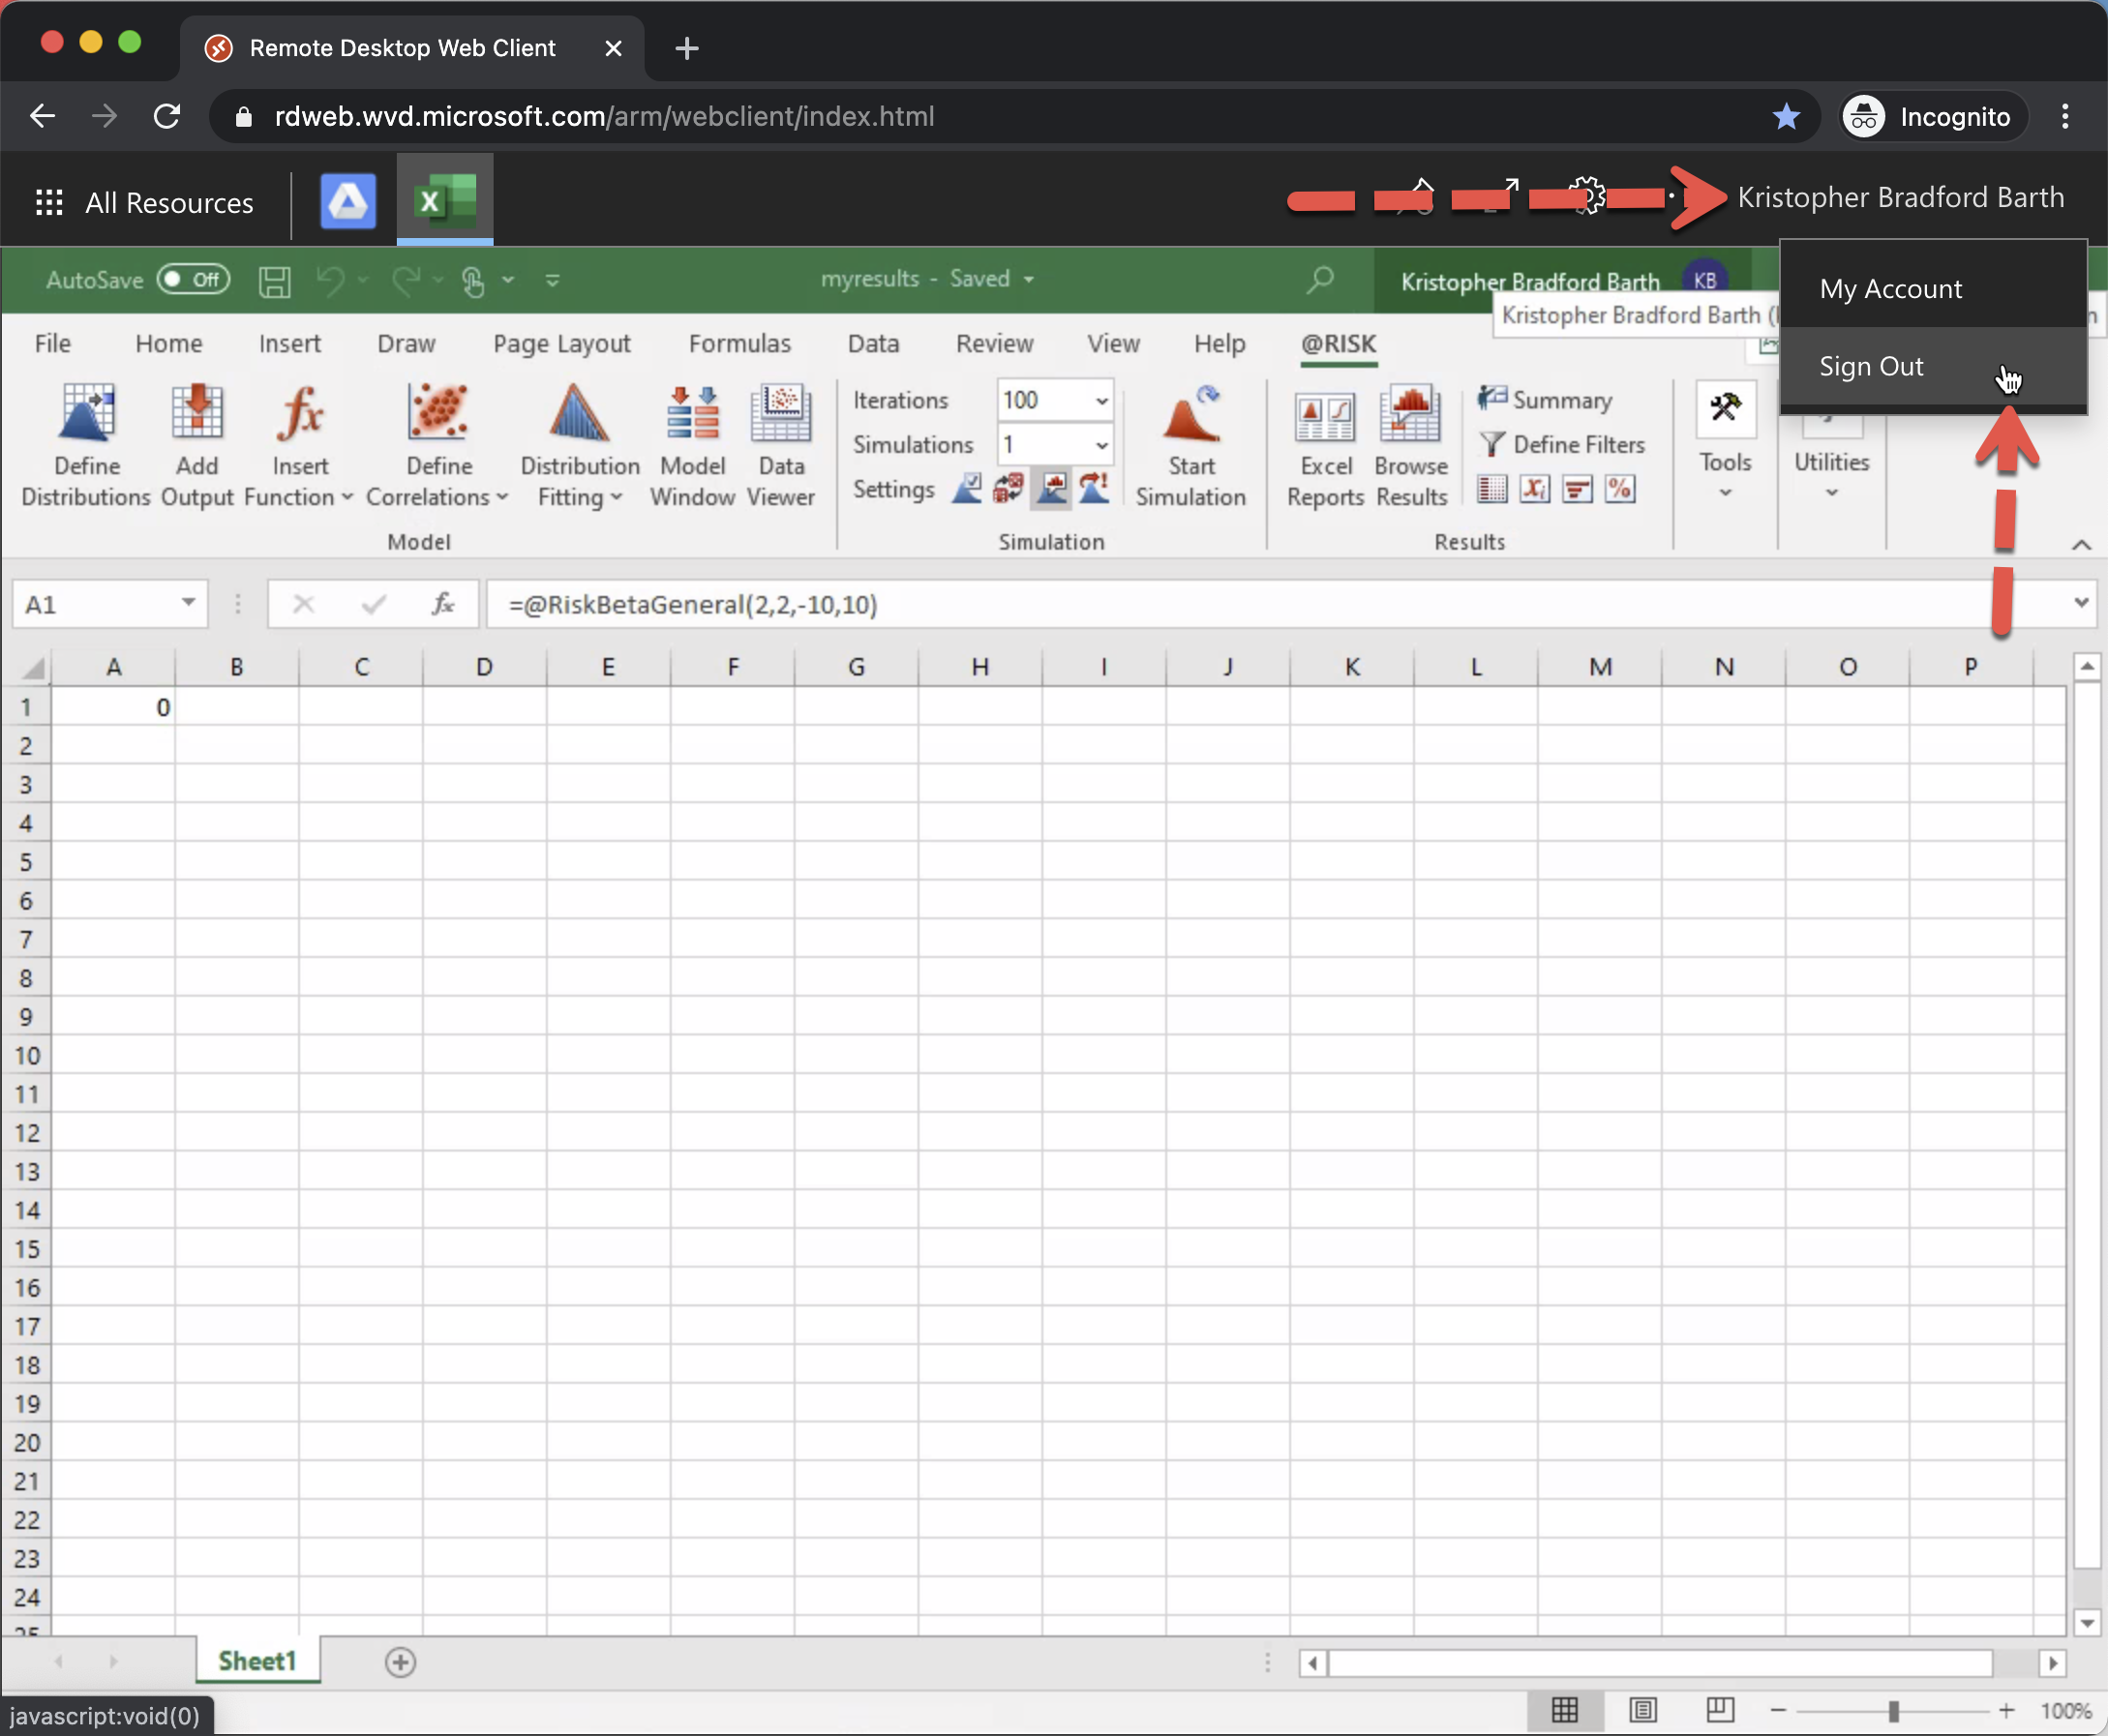
- Once this initial sign on process is complete, you can click your name in the top right corner and select sign out.