*** This version of Confluence is for testing only and contains a copy of content from June 29th 2026. No changes will be preserved. ***

For mobile development, there are two servers, the prod server, and the test server. Make sure to switch the server URL to the proper value in {{devdev-mobile/lib/helper/API.dart}} .
There are two parts to this onboarding process: front-end and back-end. For the front-end part, it takes around 2 hours to complete. The goal is to locally build and run the iOS app on the simulator/Xcode and test the App on your phone using Testflight. For the backend part, it takes around 2-3 hours and the goal is to build the container and try to access both the prod and test servers.
...
flutter doctor to guide you through any other necessary installations (e.g., Android Studio, Chrome, CocoaPods, etc.) flutter doctor , maybe this would helpbrew install cocoapods```cocoapods dev-mobile/lib/helper/API.dart``dart .flutter doctor yields no error, proceed with the following steps in https://flutter.dev/docs/get-started/editor to build and run the appdev-mobile`` mobile directory.open -a Simulator`` Simulator in the terminal and then run`` run flutter run``run .flutter run`` run in the terminal....
For the TestFlight build, use the prod server by switching the server URL to ``https://mobile-prod.diaper-project.cfcom:5001/api`` in ``devdev-mobile/lib/helper/API.dart``dart . Note: the server URL may get updates in the future, please refer to the infra team/documentation for the new server URL.
...
Build number to be the proper version when submitting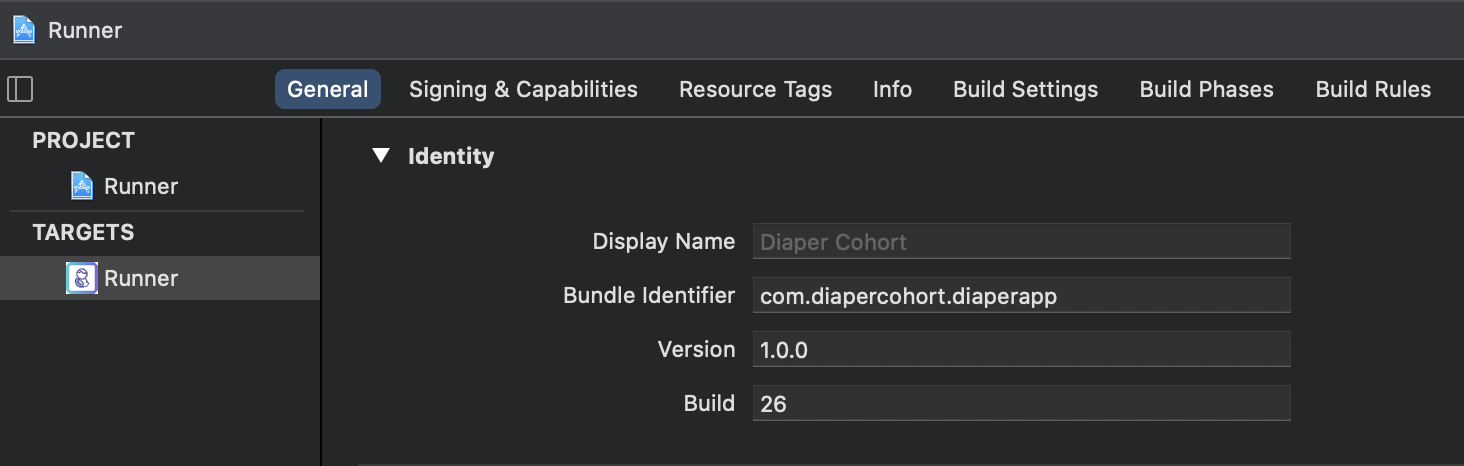
Re-sign Runner`` Runner step when distributing App, if you encounter ``Missing Missing private key`` key error in the below screenshot, refer to Distribution certificate / private key not installed - Stack Overflow. 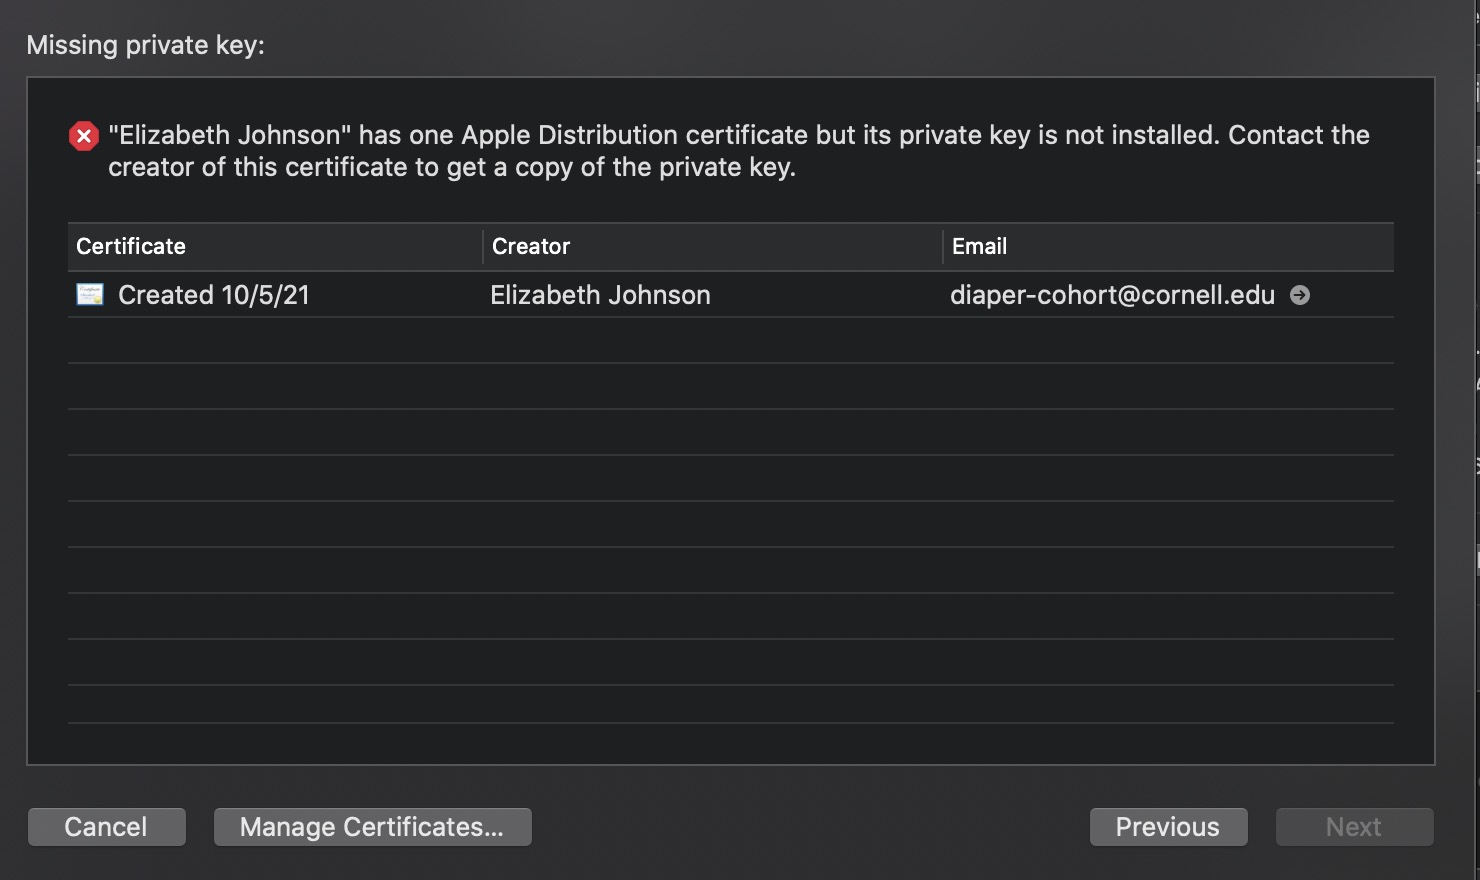
flutter.h not found, rm ios/Flutter/Flutter.podspecflutter cleanflutter runNow Archive again, the problem should be fixed.
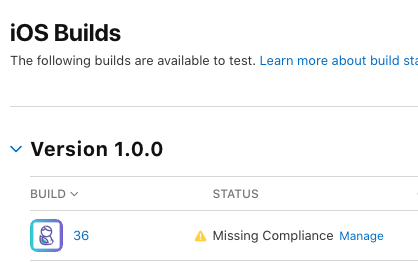
Once the app has been uploaded, go to App Store Connect and log in, you can find the new build (may take a while after uploading from Xcode) as in the screenshot.
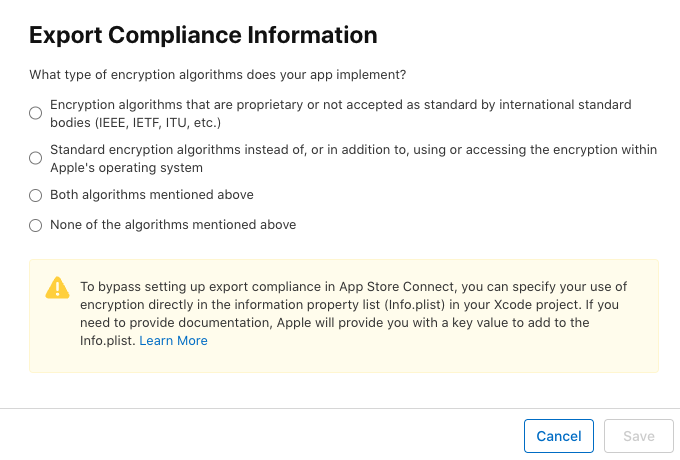
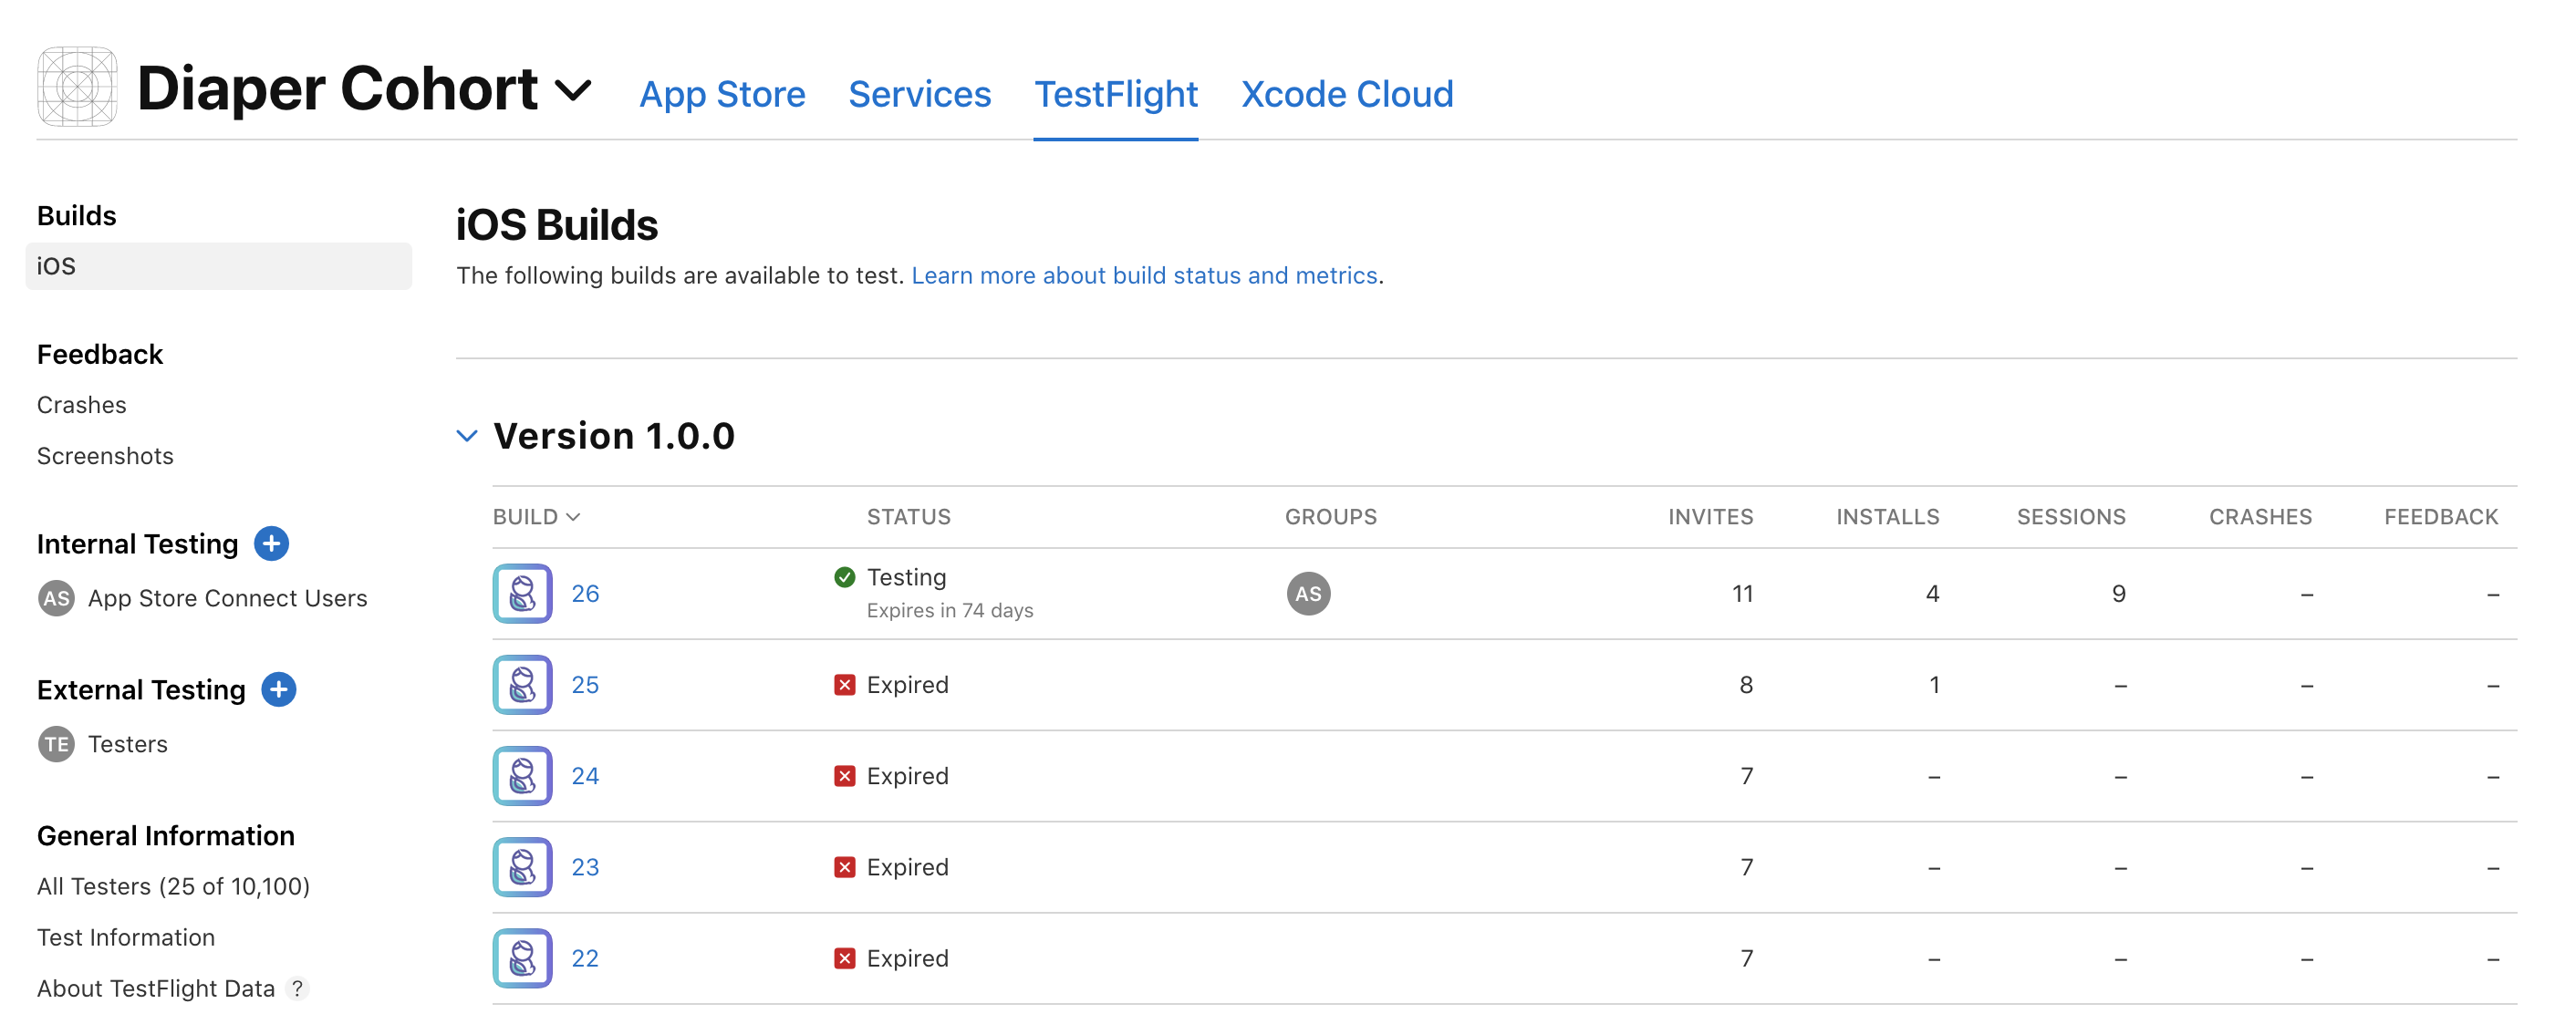
Then, download the app TestFlight from the App store and Redeem Diaper Cohort with the TestFlight invitation code. There, you can play with your most recent build.
