*** This version of Confluence is for testing only and contains a copy of content from June 29th 2026. No changes will be preserved. ***

...
Download from www.bitkinex.com and then launch the installer.
...
...
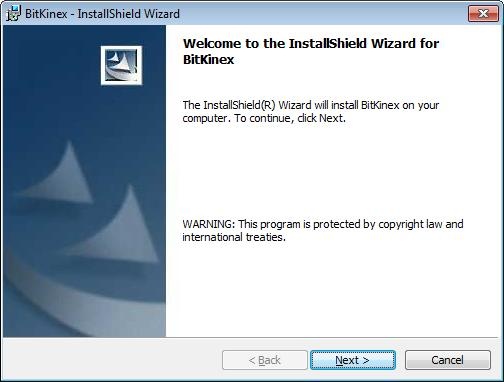
Click Next to continue.
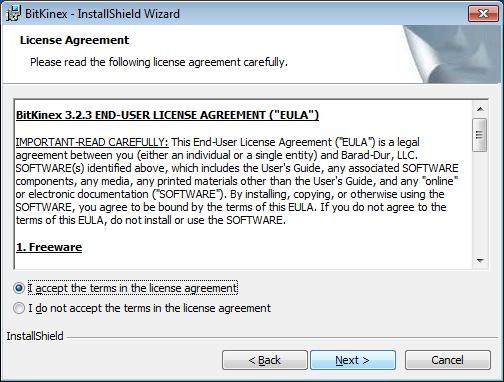
Click Next to continue.
...
Under most circumstances you will leave this off unless you are at a rempote remote office with limited bandwidth. Click Next to continue.
...
These network configuration settings are normally a 1 an one-time process, you can modify the settings later using the File | Options menu. Leave "Yes, I want to configure a data source now" option checked and click Finish.h2:
This example uses our Static Web hostign hosting server as an examplethe server, the webDAV url for all of the CIT hostign hosting services will follow the format of https://<server-name>.kproxy.cornell.edu and can include a sub-directory.
...
Be sure the protocol switches to https before clicking Next.
Use youe your NetID and associated password to log in.
...
Your setup is now complete. Test your connection by leaving the checkbox check box checked and clicking Finish
...
You can now open your DAV share by launching BitKinex. You can drag and drop files to your website account via DAV and interact with it as if it were a folder on your local machine.
On the small Bitkinex window, right click on the http/webDAV section, and click on "new - http/webDAV"
In the blank space provided [ ], enter the display name of your connection. Click off it or hit Enter
This is just the server address, no https:// or sub-directory. Eg. <server-name>.kproxy.cornell.edu
Select SSL for security, and enter your username and password. If you enter your password here it will be saved. We recommend leaving it blank so it will prompt you to enter the password as you connect.
On the left panel under Server, click on Site Map. Click on the Path entry that is just "/" and add your default directory, this is typically your instance name. Make sure the location specifies, "Directory (webDAV-compliant)". Then click Update.
Click OK, and then double click the connection you just created. Enter your password when prompted.
