Versions Compared

Key

  • This line was added.
  • This line was removed.
  • Formatting was changed.

Connect to the Server

  1. Generate EC2 Key Key (skip this step if you have EC2 private SSH key locally)  
    1. ssh into / (open via aws ec2 console) the EC2 ubuntu VM (DIAPER-production-key.pem is in the box folder diaper confidential ask Liz for access), create the new user (if not yet created)
      Code Block
      sudo adduser newuser
    2. switch to the new user
      Code Block
      sudo su - newuser
    3. If you has EC2 key, you can skip this step. 
    4. In the EC2 VM, generate key by using
      Code Block
      ssh-keygen
    5. Hence, we get id_rsa (private key) & id_rsa.pub (public key)
    6. Store into the folder in home/accountnumber/.ssh => /home/usernameaccountuser/.ssh/filename
      Code Block
      mv id_rsa.pub authorized_keys 
    7. exit to ubuntu:
      Code Block
      exit
    8. copy Move the private key into ubuntu's home for download (temporary), use 'chmod' to change file's permission if necessary:
      Code Block
      sudo cp /home/newuser/.ssh/id_rsa /home/ubuntu/
    9. Download id_rsa from to local 
      Code Block
      scp root@1.1.1.1:/pwd -i "DIAPER-production-key.pem" ubuntu@ec2-3-239-18-167.compute-1.amazonaws.com:/home/ubuntu/id_rsa ./
  2.  Connect to EC2:
    1. Code Block
      ssh -i  <private.key> -L 6445:localhost:6443 username@ssh.diaper-project.com
      1. -L mean to forward server's port to local, because Kubernetes exposes port 6445, we would like to forward it to localhost:6443.
      2.  Username is your NetID. An admin account holder should be able to create the linux account for you.

    2. If permission error

      Code Block
      sudo chmod 600 private.key
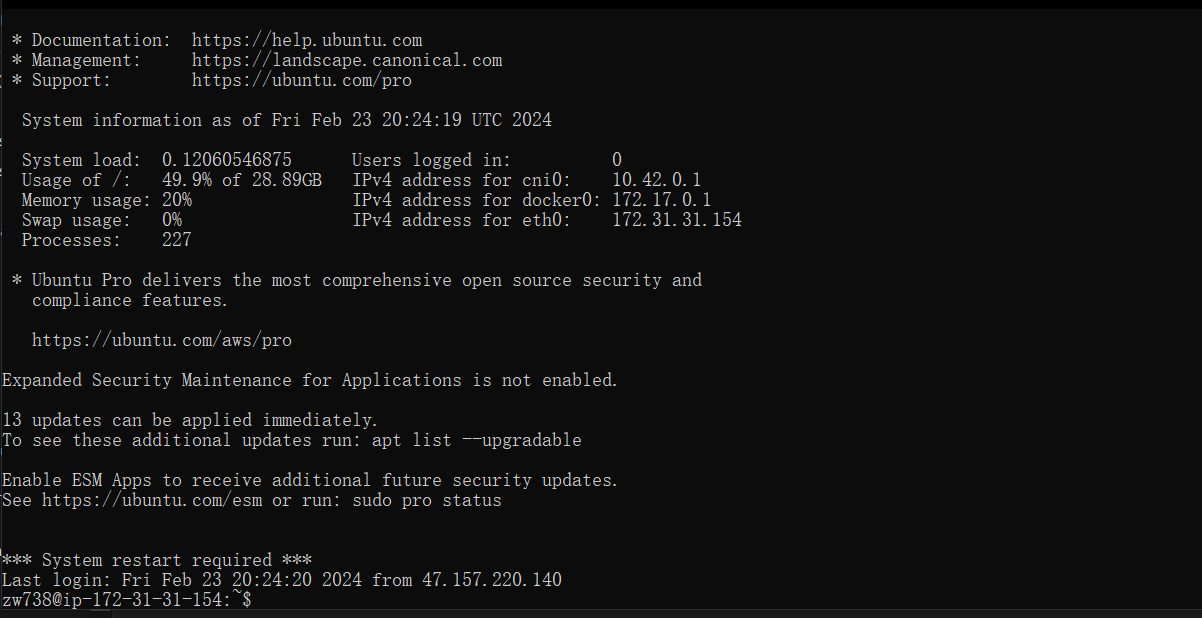
    3. You should see a pop-up looks like this, which means that you have already connected to the server.

...