 Sign-up for free online course on ANSYS simulations!
...
| Include Page | ||||
|---|---|---|---|---|
| ||||
| Include Page | SIMULATION: ANSYS - Crank 7 Solve Content | SIMULATION: ANSYS - Crank 7 Solve Content
Step 7: Solve!
Before we start the solution, we should check our model for errors. Enter check in the Input window and press Enter.
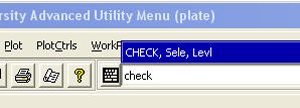
All warnings and errors found will be displayed in the Output Window. You might see warnings regarding the size of several mesh elements. These warnings can be ignored due to the large overall number of elements in our model.
Now we're finally ready to kick back and let ANSYS do some of the work.
Main Menu > Solution > Solve > Current LS
Click OK in Solve Current Load Step menu.
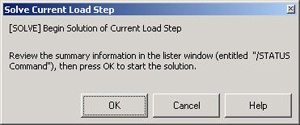
Again ignore any warnings that may pop up. ANSYS should cheerfully report "Solution is done!"
Verify that ANSYS has created a file called crank.rst in your working directory. This file contains the results of the (previous) solve.
Go to Step 8: Postprocess the results
...