*** This version of Confluence is for testing only and contains a copy of content from June 29th 2026. No changes will be preserved. ***

...
Yueteng | yh958@cornell.edu
| Table of Contents |
|---|
Multiple versions of docs are kept in this page in the following order:
...
...
Solved these problems:
...
In terminal, run the above command to do some cleaning. (There might be some dangling volumes not garbage-collected yet by docker).
(Optional) In Docker Desktop, on the Container / Apps tab, delete all related containers of this project.
(Optional) In Docker Desktop, on the Images tab, except busybox, delete all related images of this project. Do NOT delete busybox.
Switch to git branch docker2, where the new code resides.
If everything goes swimmingly, it is recommended to merge docker2 into the branch you're working on (master, feature, etc.).
Some overview:
alpine Linux.alpine Linux does not include many necessary libs for development, explaining why Python extension fails and additional lib installation (RUN apk *) in DockerfileDockerfile: The base image FROM is changed to python:3.8.6, a full-feature image. You will also see many lines commented out, unnecessary for the moment.docker-compose.yml : This is used for development (also the default one). You can see all env variables for development.docker-compose-prod.yml: This will be for production. Not finished yet.docker-compose.debug.yml.old: Just some backup. Ignore it....
| Code Block | ||
|---|---|---|
| ||
# Path for online repo backend-online/dev-backend # Path for offline repo backend-offline/dev-dashboard |
Go to the path as above.
| Code Block | ||
|---|---|---|
| ||
# For the first time # Or whenever you want to update the image, e.g changing Dockerfile, requirements.txt docker-compose up -d --build # Otherwise docker-compose up -d |
...
This could take a minute.
Note: If there is an error message says" cannot import name 'Markup' from 'jinja2', you can try to fix it through the means provided by ImportError: cannot import name 'Markup' from 'jinja2'.
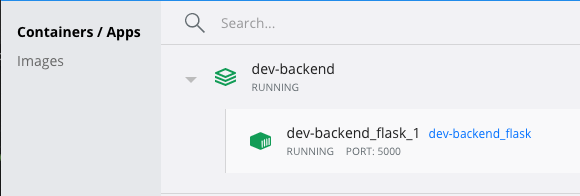
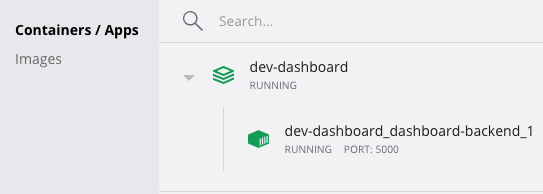
You should see a new container running.
Name is based on the path (not random anymore)
On VS Code, make sure you've installed these two extensions:
...
For the first time, it could take a minute to load.
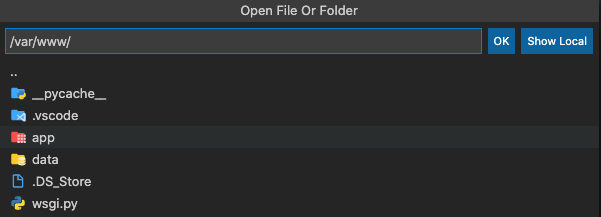
For the first time, click File > Open and enter the path above /var/www/ . Then you will be at the working directory.
From the second time, VS Code will remember to open this path automatically.
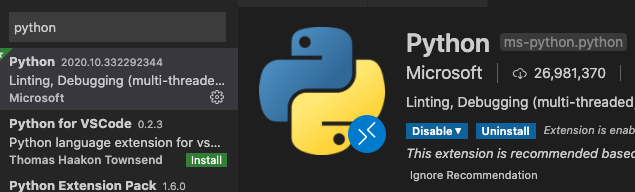
As always, make sure you've installed this Python extension, and it is enabled in container.
...
docker_code subfolderwww and docker_code as two pointers to the same folder
| Code Block |
|---|
# Visit http://localhost:5000/
{
  "message": "Welcome to the Dockerized Flask MongoDB app, again and again and again (this will auto-reload)!"
}

# Change the message at app/views/static.py
# For instance, add "test" at the end

# Visit http://localhost:5000/ again
# Notice the end now includes "test"
# It's auto-reloaded
{
  "message": "Welcome to the Dockerized Flask MongoDB app, again and again and again (this will auto-reload)! test"
} |
...
On VS Code, click the Remote button at bottom left > Close remote connection.
| Code Block | ||
|---|---|---|
| ||
docker-compose down |
...
Remote - ContainersPython

After installing, you should see a button for this extension at the bottom-left corner of VS Code
...
Click the remote container button > Open folder in container > Open your working directory with Dockerfile inside the repo. For instance, for backend-offline subteam, choose backend-offline/dev-dashboard/dashboard-backend

You should now see a progress notification at the bottom-right corner. Note that this will take a minute (Only for the first time opening the working directory. Next time it would start very quickly).
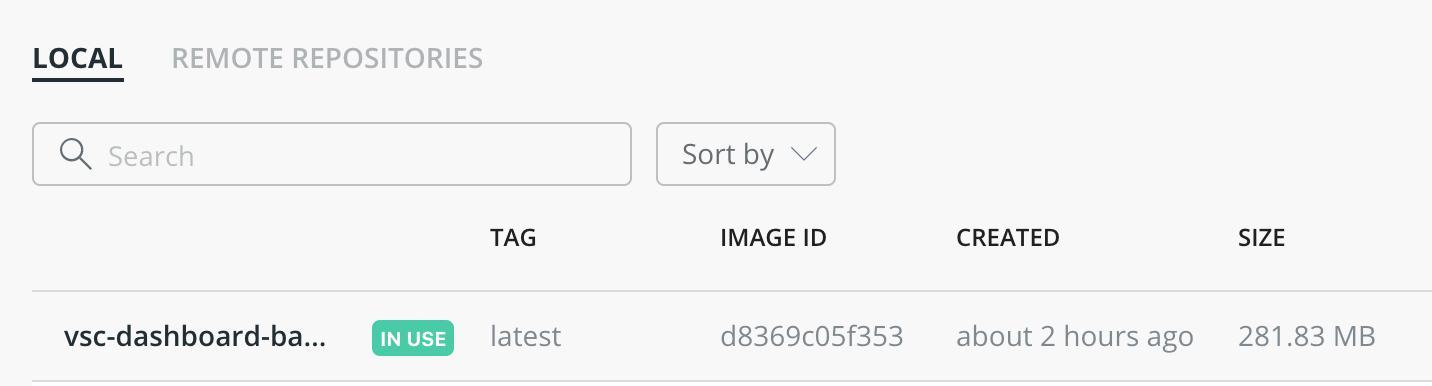
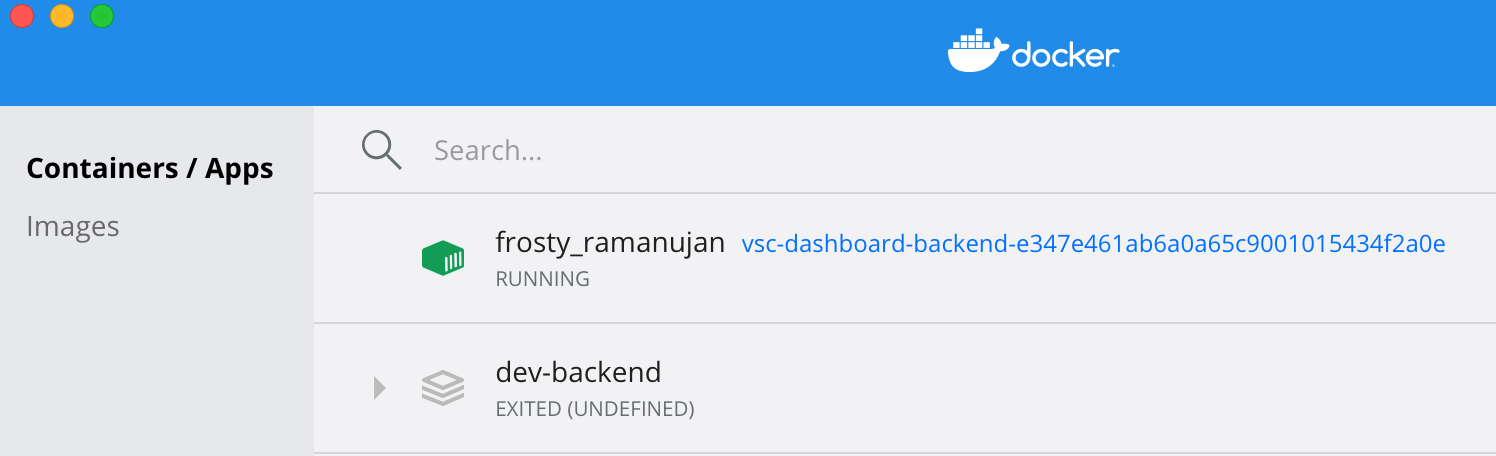
When completed, you'll notice VS Code has deployed an image (name starting with vsc-) in your docker, and has inserted/started an container (name including some random scientist/mathematician).
...
For python, click the area, which shows Python 3.6.8 64-bit above, and choose the interpreter Python 3.6.8 64-bit (it should be at /usr/local/bin/python)
Now you're ready to develop, run, and debug in container!
To exit, simple click the remote container button at the bottom-left corner of VS Code > Close Remote Connection.
| Code Block | ||
|---|---|---|
| ||
{'_id': ObjectId('5f8771822ca2e28e9b5572df'), 'test_field': 'test_value'}
Linux-4.19.76-linuxkit-x86_64-with#1 SMP Tue May 26 11:42:35 UTC 2020 |
...
| Page properties | |||
|---|---|---|---|
| |||
|
